I have canned food in the past. It was delicious but a lot of work. I had to pick the plums from my tree (and pick up the hundreds that had fallen on the grass), wash them, cut them, peel them, chop them, cook them with lots of sugar and then finally can the jam (which involved sterilizing jars in a giant bath, filling the jars and then putting them back in the bath). It was fun but it was also a big event—not something I can do on a weeknight.
Sauerkraut, on the other hand—real sauerkraut that is fermented thanks to our microbe friends, and not merely pasteurized in a vat of vinegar—is so simple and so good for you. Preserving food through fermentation not only makes the food more digestible, it actually increases its nutritional value.
On top of all the health benefits sauerkraut offers, making it produces almost zero waste. That includes its production—no electricity required. So if Armageddon hits, and the grid collapses, I can still make kraut in my dark kitchen (if I can find cabbage).
Ingredients
- Cabbage
- Salt
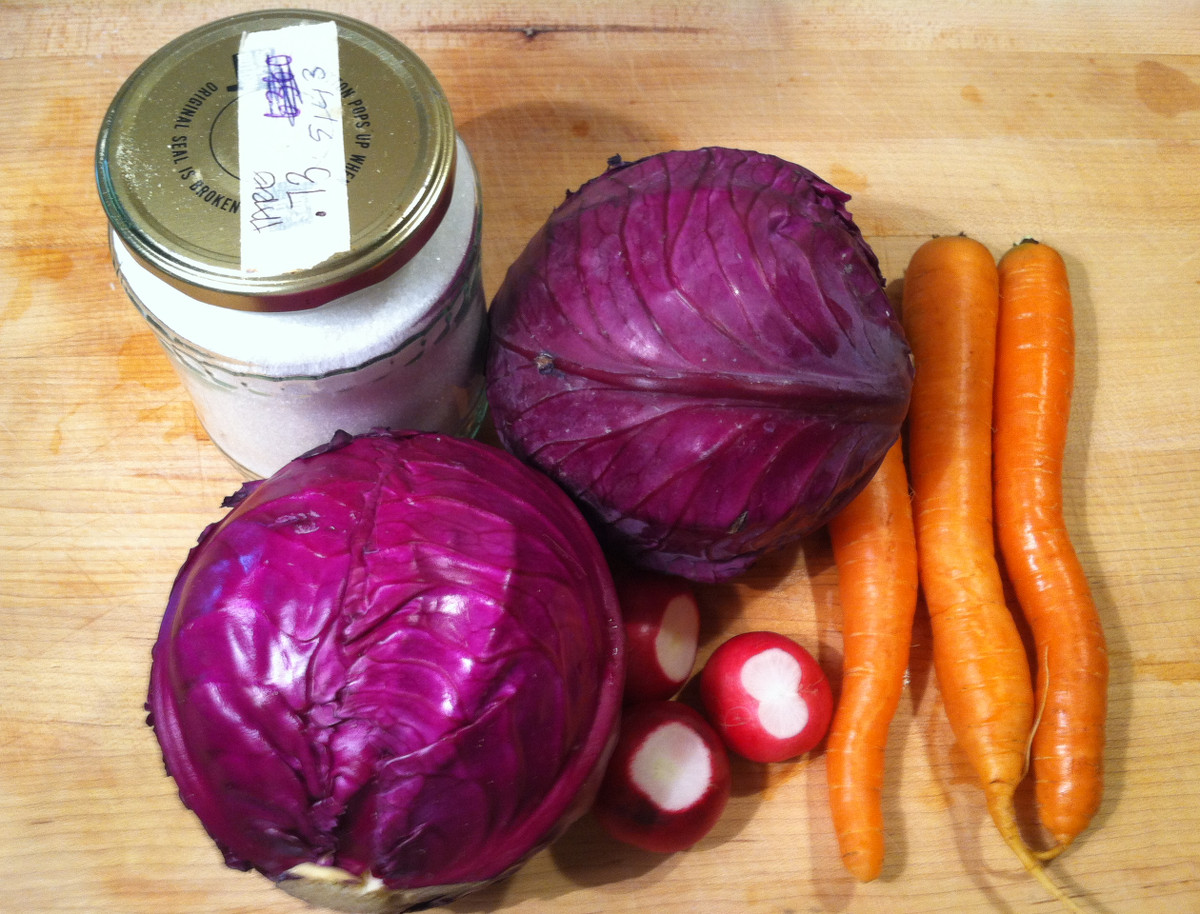
I added carrots and radishes to this batch. You can also toss in chopped onions, minced garlic, thinly sliced ginger or other vegetables.
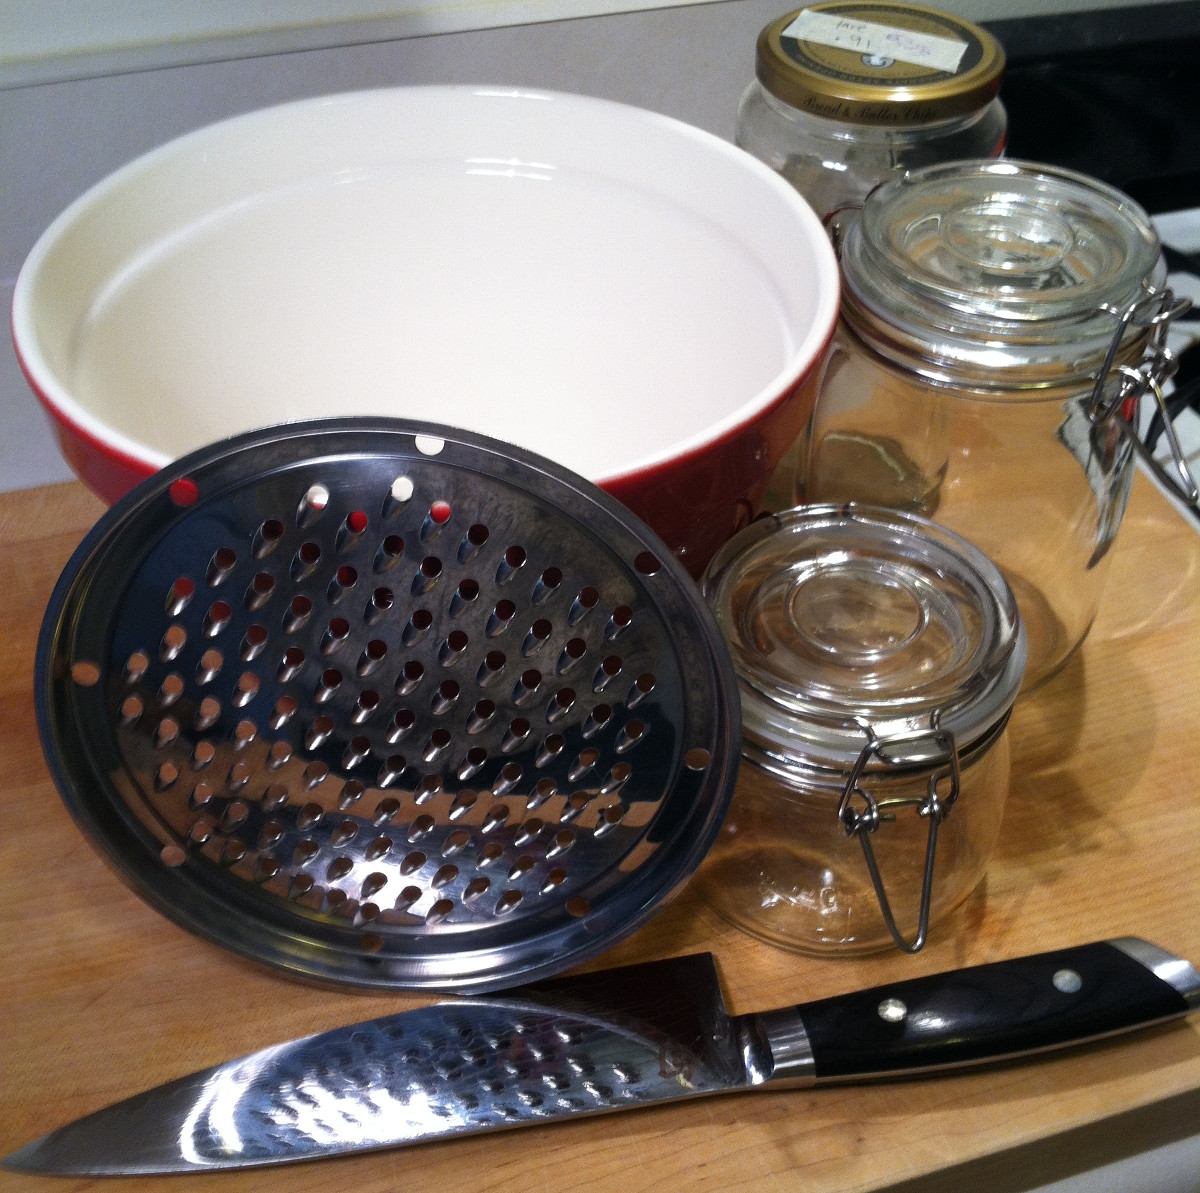
In addition to simple ingredients, you need only simple equipment. Gather the following:
- Cutting board
- Knife
- Bowl
- Glass jars
Optional equipment:
- Grater. I grated my carrots and radishes (this provides the microbes with greater surface area on which to reproduce and thrive), but you can also simply chop them.
Directions
1. Quarter the cabbage and slice off the core (you can see that I’ve removed the core from the two bottom quarters in the above photo).
2. Chop the cabbage thinly.
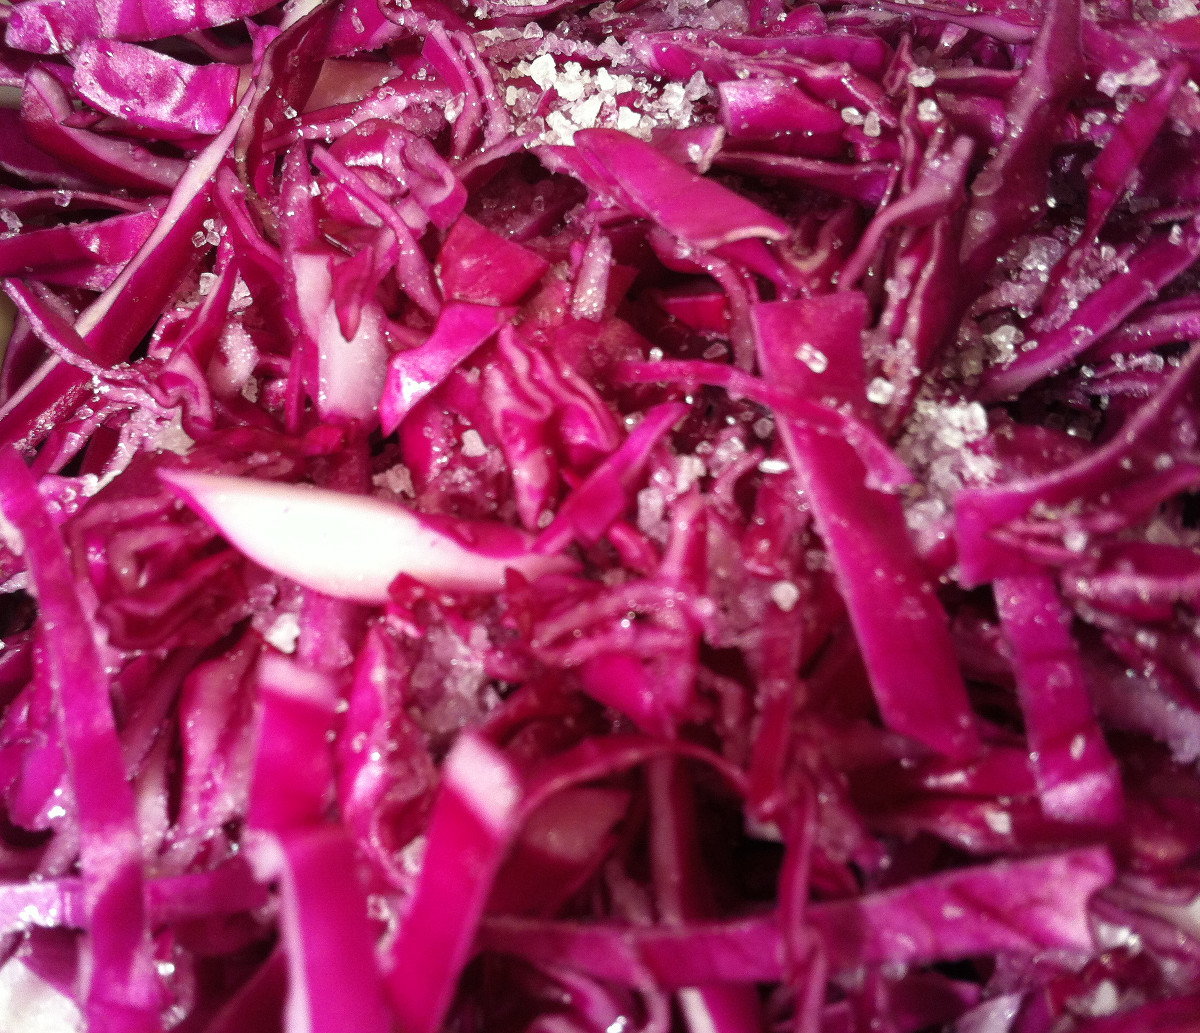
3. Place a layer of cabbage in a bowl and sprinkle it with salt.
For 2 small heads of cabbage, 5 carrots and 5 radishes (I added more carrots and radishes after I chopped the initial veggies you see in the pic at the very top of the post), I used about a tablespoon of salt. It was a bit too much. Go easy on the salt, sprinkle it as you go and taste. I added more vegetables to dilute the salt.
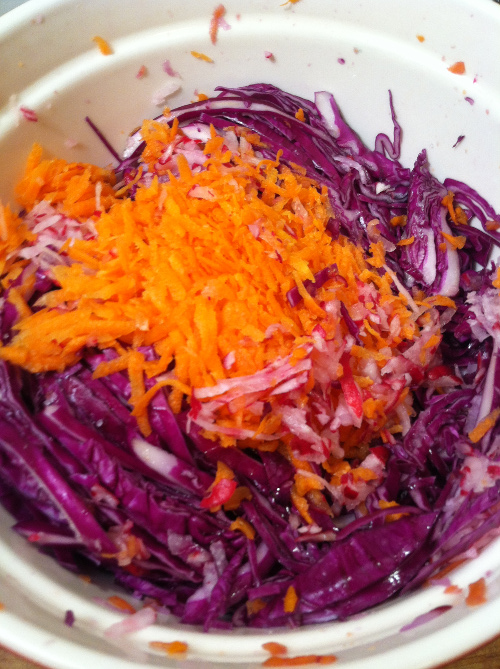
4. Shred or chop some carrots and radishes if desired, add to the bowl and mix together.
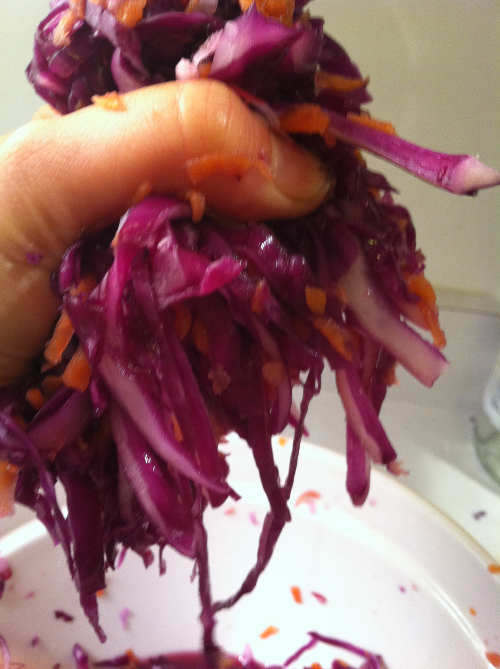
5. Grad handfuls of the chopped, salted vegetables and squeeze them.
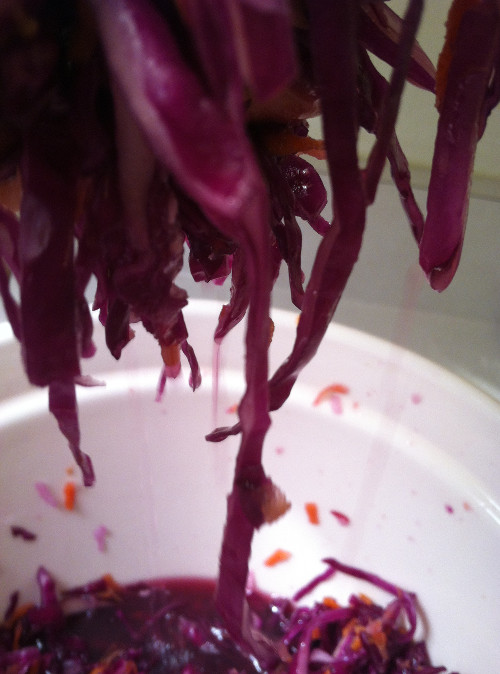
This helps break down the cell walls and release water. In the photo below, you can see the vegetables’ juices dripping down into the bowl.
6. Let the vegetables rest.
I worked on some sourdough crackers while my vegetables sat for a couple of hours. (You don’t have to wait that long though. An hour would probably suffice.) In the above pic, you can see all the liquid starting to pool in the bowl (love that color!). I often put a small plate over the vegetables and a weight on that to draw out more water.
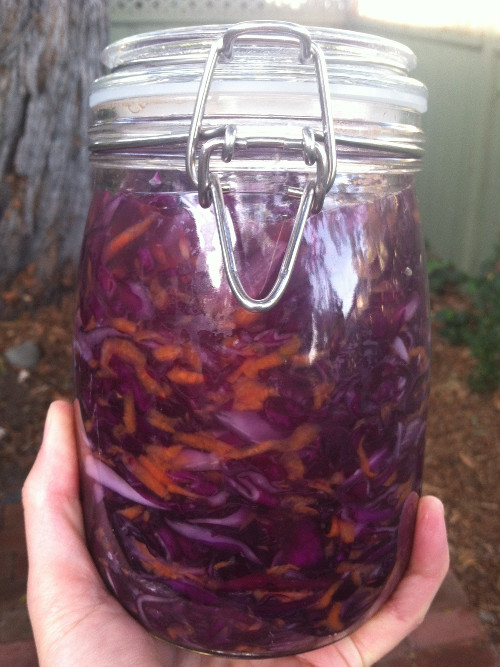
7. Pack the vegetables and liquid into jars and shove the vegetables down to the bottom so they’re covered with liquid.
I actually needed only two jars. I’m amazed at how much you can cram into a jar!
8. Wait.
Put your jars in a cool place. Taste them after three days. If you like the flavor, you’re done. Transfer your jars to the refrigerator where they will keep for months, if not longer. I usually ferment my sauerkraut for least a month before eating it. You may want the flavors to develop for a longer period or you may prefer a milder kraut. Keep tasting your kraut weekly until you sense it’s ready.
If you use simple glass jars without a rubber gasket, for the first several days, open them daily to release pressure. Also, you must make sure that the vegetables are always submerged in liquid. I use a marble pestle or my clean hand and shove them down under the brine if they start to float up. I’ve done this daily with this batch this week. If the vegetables bob up to the top and emerge from the liquid, you’ll wind up with a brown layer of nasty-looking vegetables on top. Don’t worry if this happens! Just scrape those mushy vegetables off and throw them in the compost bucket. The vegetables underneath will be fine.
I think a large population of microbes lives in my kitchen. These jars started gurgling after only a day or two. In fact, I forgot to put a plate under them, and one oozed purplish liquid out onto my spartan white shelf. So, put something under your jars to catch anything that spills out.
For a fantastic how-to video on homemade sauerkraut, watch fermentation guru Sandor Katz make it here.
Alas, my kraut wasn’t completely waste-free. Twist ties with plastic labels held my farmer’s market radish and carrot bunches together. I’m not sure what to do about that. I guess next week, in addition to cabbage, I’ll add vegetables that have zero packaging, like onions and garlic.







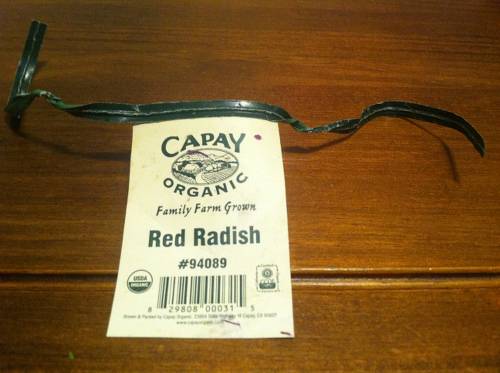
I think about those produce twist ties and if there is an alternative. I’ve bunched greens on farms and it’s either that or rubber bands. I am sure they get the job done but they can not be composted.
Oh I know, the twist-ties bother me too! I buy produce from vendors based not only on the quality of the food, but their choice of twist ties! Many vendors at my farmer’s market use rubber bands to bundle the food and I just remove those and hand them back when I’m buying the stuff. Some use small twist ties without labels like this…I have to grow my own food…
I make lots of jam – yes it’s work, but my family eats loads of it, so when I make it myself, I know exactly what’s going into it. This time of year, I am canning every night, because it’s the height of the harvest here and if we’re going to eat locally all year long, I need to put things up pretty much daily.
Sauerkraut, on the other hand, none of us care for, so the batch I made last year ended up being given away or thrown to the chickens. And using fermenting as a means of preserving only keeps foods edible so long. For our family, canning (and freezing) is a far better method.
[…] now I have three things fermenting away in the pantry. The first recipe I tried was sauerkraut. We love fermented foods. Kimchi is one of my absolute all time favorite things to eat. Now that we […]
I am making up my first batch of Sauerkraut, I have it all finely chopped with a little salt, and have squeezed it until my hands hurt, but there is hardly any liquid. Is this a problem? Should I add water?
Hi Chris, yes you can add water. It’s very important that the vegetables are completely covered with water when you pack them in the jar. I wouldn’t squeeze them until your hand hurts. I let mine sit with a plate and a weight on top of that for a couple of hours. That should draw out more water. I hope that helps. I need to update this post and mention that. I should have had that info in here. Sorry about that.
Hi! From my father`s experience, he always let the chopped cabbage sit for, say, few weeks in large bucket without lid (just plate and some weight) until it`s ready for canning. Lots of juice comes out almost immediately, without adding any water. Sometimes it`s just too little salt, if the juice don`t come out! Then, he put cabbage in large glass jars, puts the lids on, and places in cool place.
Thanks for bringing that up. I make such small batches that I just ferment directly in jars but I have fermented in an open crock a couple of times. It’s very efficient and you can make large amounts of kraut. I’m actually writing a post about my garlic-dill kraut this week or next, so I’ll mention that method too 🙂
Can you make this with regular cabbage (the white kind??)
Yes you can! I make it with red or green, or sometimes a combo of the two for a pretty pink color.
[…] the sauerkraut experiment I have been planning for a while. I went with the instructions from the Zero-Waste Chef, who has lots of recipes for fermenting all sorts of things on her […]
Why do you not need to burp jars with gaskets?
I made this last week and moved it to the fridge about 3 days in. when it was fermenting on the counter, it was completely submerged in the liquid from squeezing the cabbages, but when I looked at it today after being in the fridge for a couple days, all of the liquid was dried up… should I add more liquid to it? or is it okay since it’s in the fridge and I don’t really want it to ferment anymore anyways….
Hi Alyssa,
That’s fine and always happens to mine in the refrigerator. You don’t need to add any liquid to it.
~ Anne Marie
Thank you so much for this article. It is the most concise, to the point, all inclusive guide for a complete newbie, like myself, I have seen thus far. I will definitely bookmark this site as it will not stop at sauerkraut.
Is this for the saurkraut workshop (I hope)?
This is the recipe I’ll use but here is the post on the workshop lottery if you’d like to enter: https://zerowastechef.com/2020/04/13/online-sauerkraut-workshop-lottery/
[…] sauerkraut with just a cutting board, a knife, bowl, and glass jars. Here’s Bonneau’s blog post that details the process. You can actually ferment any vegetables you’re not going to use […]
Hi! Do you sterilise your jars for sauerkraut?
Hi Leah,
No I don’t. Bacteria would just recolonize the jars and if any bad bacteria were to get in there, the good bacteria of the sauerkraut take over and kill them. I wash them in warm, soapy water before I use them.
~ Anne-Marie
I made the sauerkraut, and it tastes great, but the texture is very soft. What did I do wrong, & how can I make it crunchier next time?
For ties strips of banana leaves are what I use here here or coconut twine maybe Amazon might sell it?
I use the ties to separate my onions, using a pantyhose or other mesh type holders.
Also, in the garden to hold plants, use the tags to hold the ties away from the plants. In the house for holding cables, holding bags up on wall hangers, repairing broken wicker containers, and anything else that I can think of at the moment. I am determined to find a use if I have to take something.