
After heroically decluttering my fabric stash, I transformed abandoned jeans into a denim bag. I’m obsessed with making these—so fun and so quick! Sew one in the morning and fill it at the grocery store in the afternoon.
The fairly self-explanatory (and numerous) pictures below outline the process, kind of like IKEA instructions for assembling a desk but less confusing (I hope).

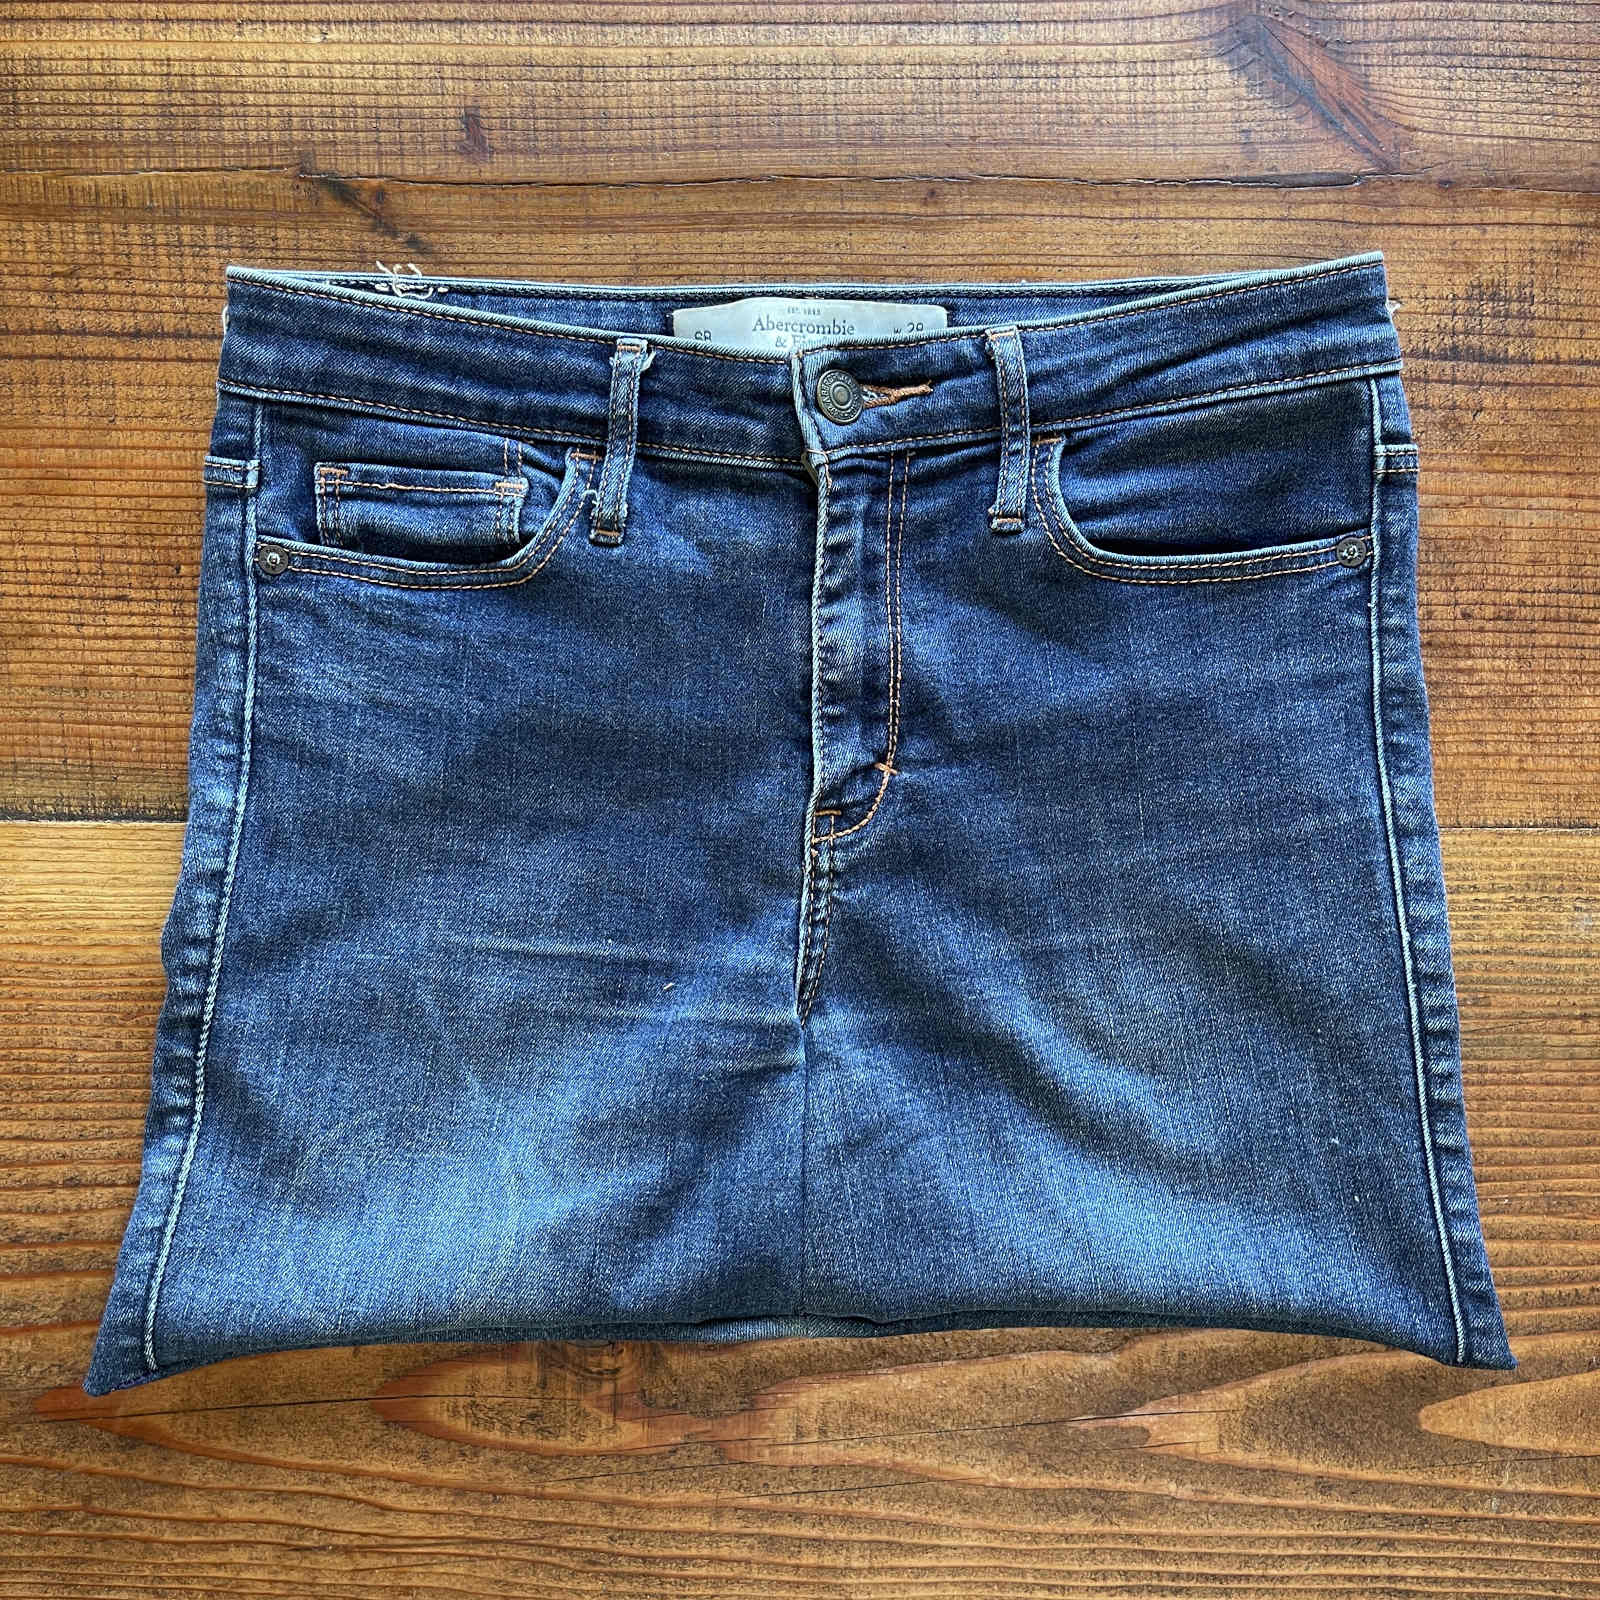
Step 1: Choose a suitable pair of old jeans for your denim bag
Look for sturdy denim that isn’t one gust of wind away from disintegration. If the zipper has broken, remove that and sew the fly flap shut. (Or leave the zipper in and sew carefully around it.) Rips are okay—you can repair and reinforce those. I follow this quick method to patch denim.
For this post, I found a pair of jeans that the sewing fairies had already worked on (I think my daughter MK used some of the denim to make a quilt). The fairies began step 2 (cut off the pant legs) and completed step 3 (tear out the inner seam at the crotch). More on those steps next.
Step 2: Cut off the pant legs
I eyeballed this but should have measured from the left side of the waistband down to the desired length and matched that length on the right. Oops, I was in a hurry (so many photos to take and edit…). I could have patched up the tear in the left pant leg but I wanted a fairly short bag so I cut the leg above the rip.


Step 3: Tear out the inner seam at the crotch
Time to get out your seam ripper! Although I learned to sew in middle school, I never learned how to use a seam ripper properly. Apparently I’m not alone. My Instagram Reel demonstrating seam ripping has racked up by far the most views of anything I’ve ever posted on there. (Thank you @zakfoster.quilts for the life-changing tip!)


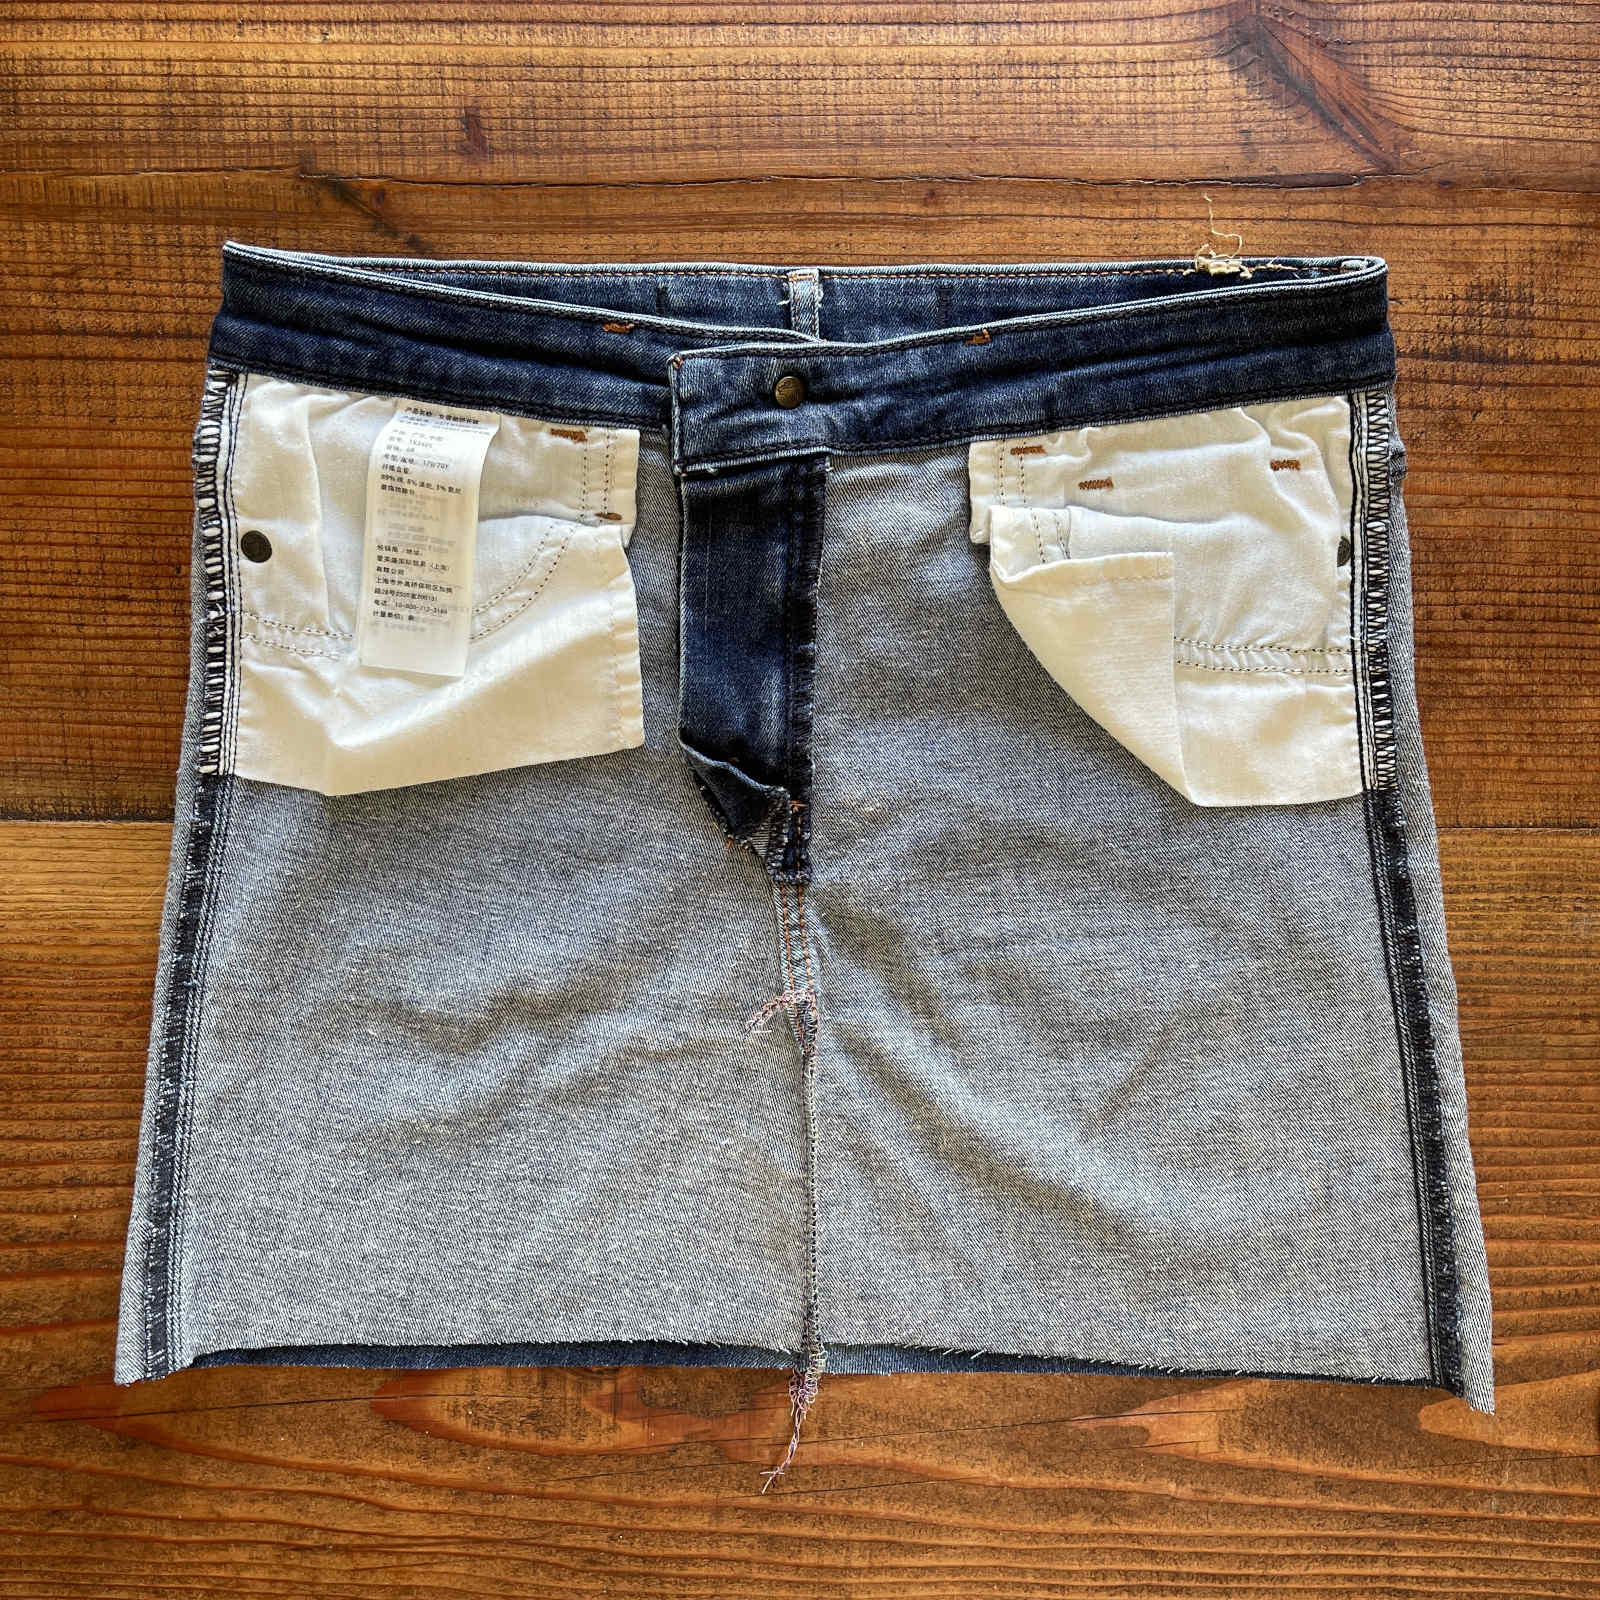
Step 4: Trim the crotch fabric
To make a flat front and back, trim away the curves of the crotch. The jean wearer’s shape will have been forged into the rear kind of like a death mask but don’t worry about that. That impression provides a bit more volume.


Step 5: Sew the denim bag
With the right sides facing together, pin what’s left of the front legs in the center. Repeat in the back. Sew these seams shut. You now have a flat front and back. Now sew along the bottom of the bag.
I used a serger to sew my seams. (I bought a like-new, secondhand Huskylock on Craigslist for $200!) A serger sews two rows of stitches while it trims the fabric edge and finishes it with an overlock stitch to prevent fraying. On a standard sewing machine, sew the seams and zigzag the raw edges.


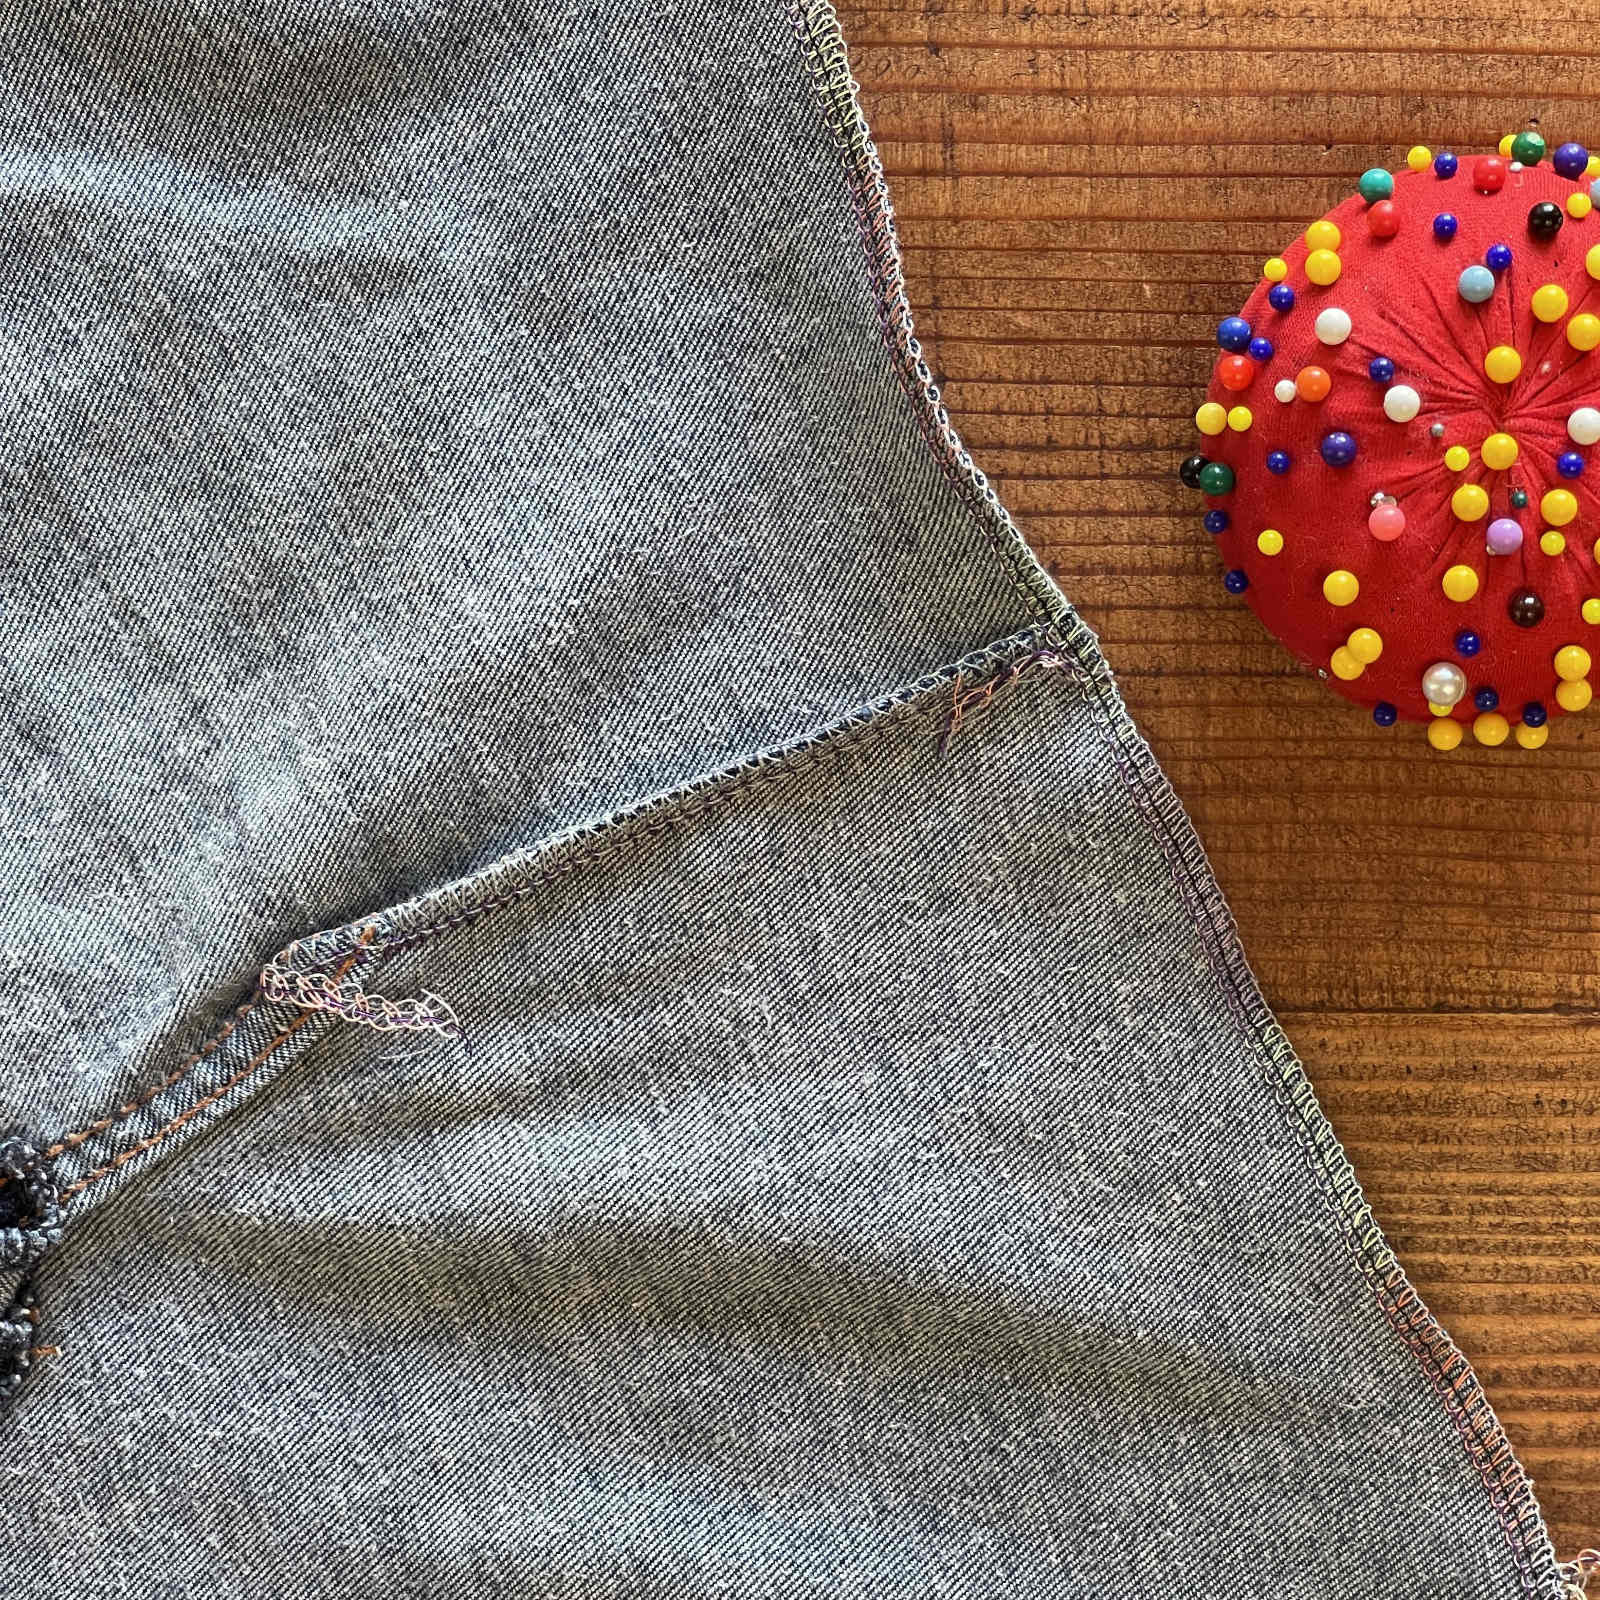
How to make an optional simple flat bottom
A flat bottom better accommodates wide items in the bag. To make one, with the bag inside out, pinch the bottom edges into corners, pin them, trim those corners away and sew the seam. I cut off 1 ¼-inch pieces. You don’t want to cut very large corners or the bottom of the bag will be quite narrow. Or skip this optional step. Down near the bottom of this post, you’ll see MK’s denim bag sans flat bottom.


I’d like the remove the label inside the back waistband rather than advertise for this clothing company but the label has been so heavily stitched into the waistband that I might damage the fabric if I remove it.
Step 6: Make and attach denim bag handles
Cut handles out of either the pant legs or sturdy, contrasting fabric (upholstery fabric works well). Since the legs of these jeans had already been cut off, I didn’t have much fabric left for handles and so made them from the leftover legs of another bag.
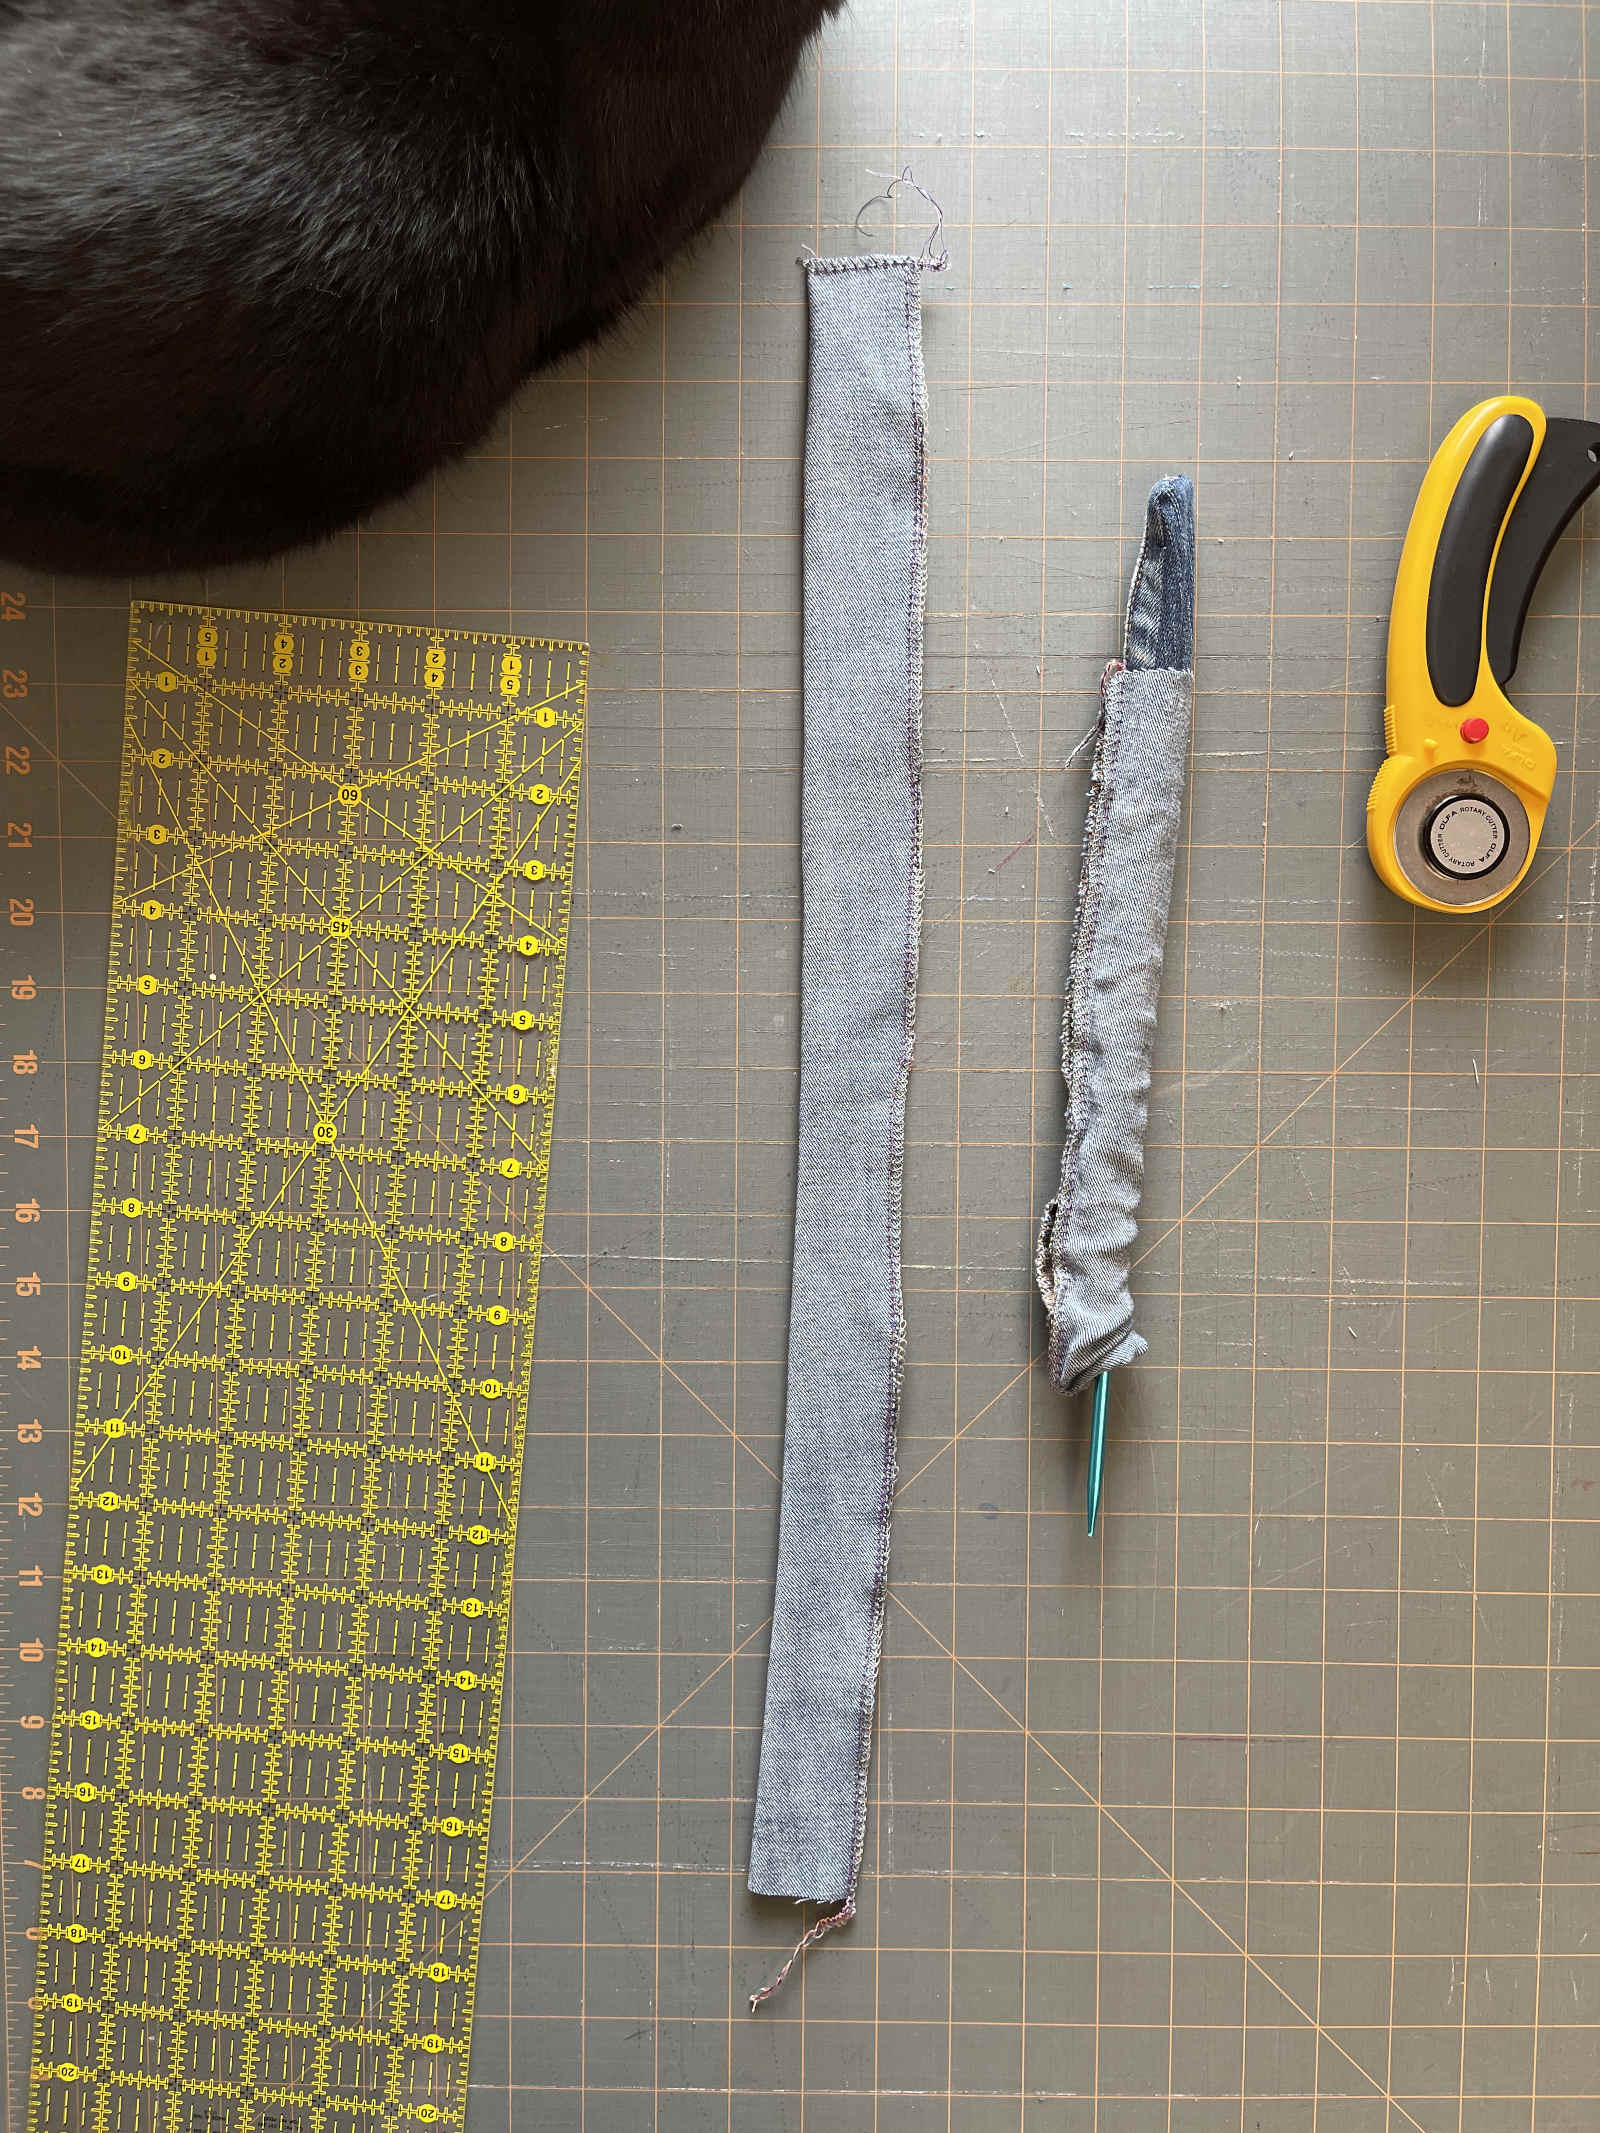
- Cut two equal strips. The strips below measure 3 ½ inches wide by 22 inches long before sewing. The bag I made for MK had shorter handles. Customize yours to the length you like.
- With wrong sides together, sew the strips along the side and across one end.
- Turn the tubes inside out. You can do this by pushing the sewn bottom through the tube using the top of a knitting needle (not the pointy end!). Sew the open end shut. I simply serged across the open end because that seam won’t show inside the bag but if you’d like to make it neater, hem the opening and sew it shut on a sewing machine (i.e., not on a serger).
- Iron the handles flat, pin them to the inside of the waistband and sew them on. With the inside facing up so I could ensure I stitched along the handle fabric and not outside of it, I sewed an X surrounded by a box (see the pic down below).


Take your denim bag for a test drive!
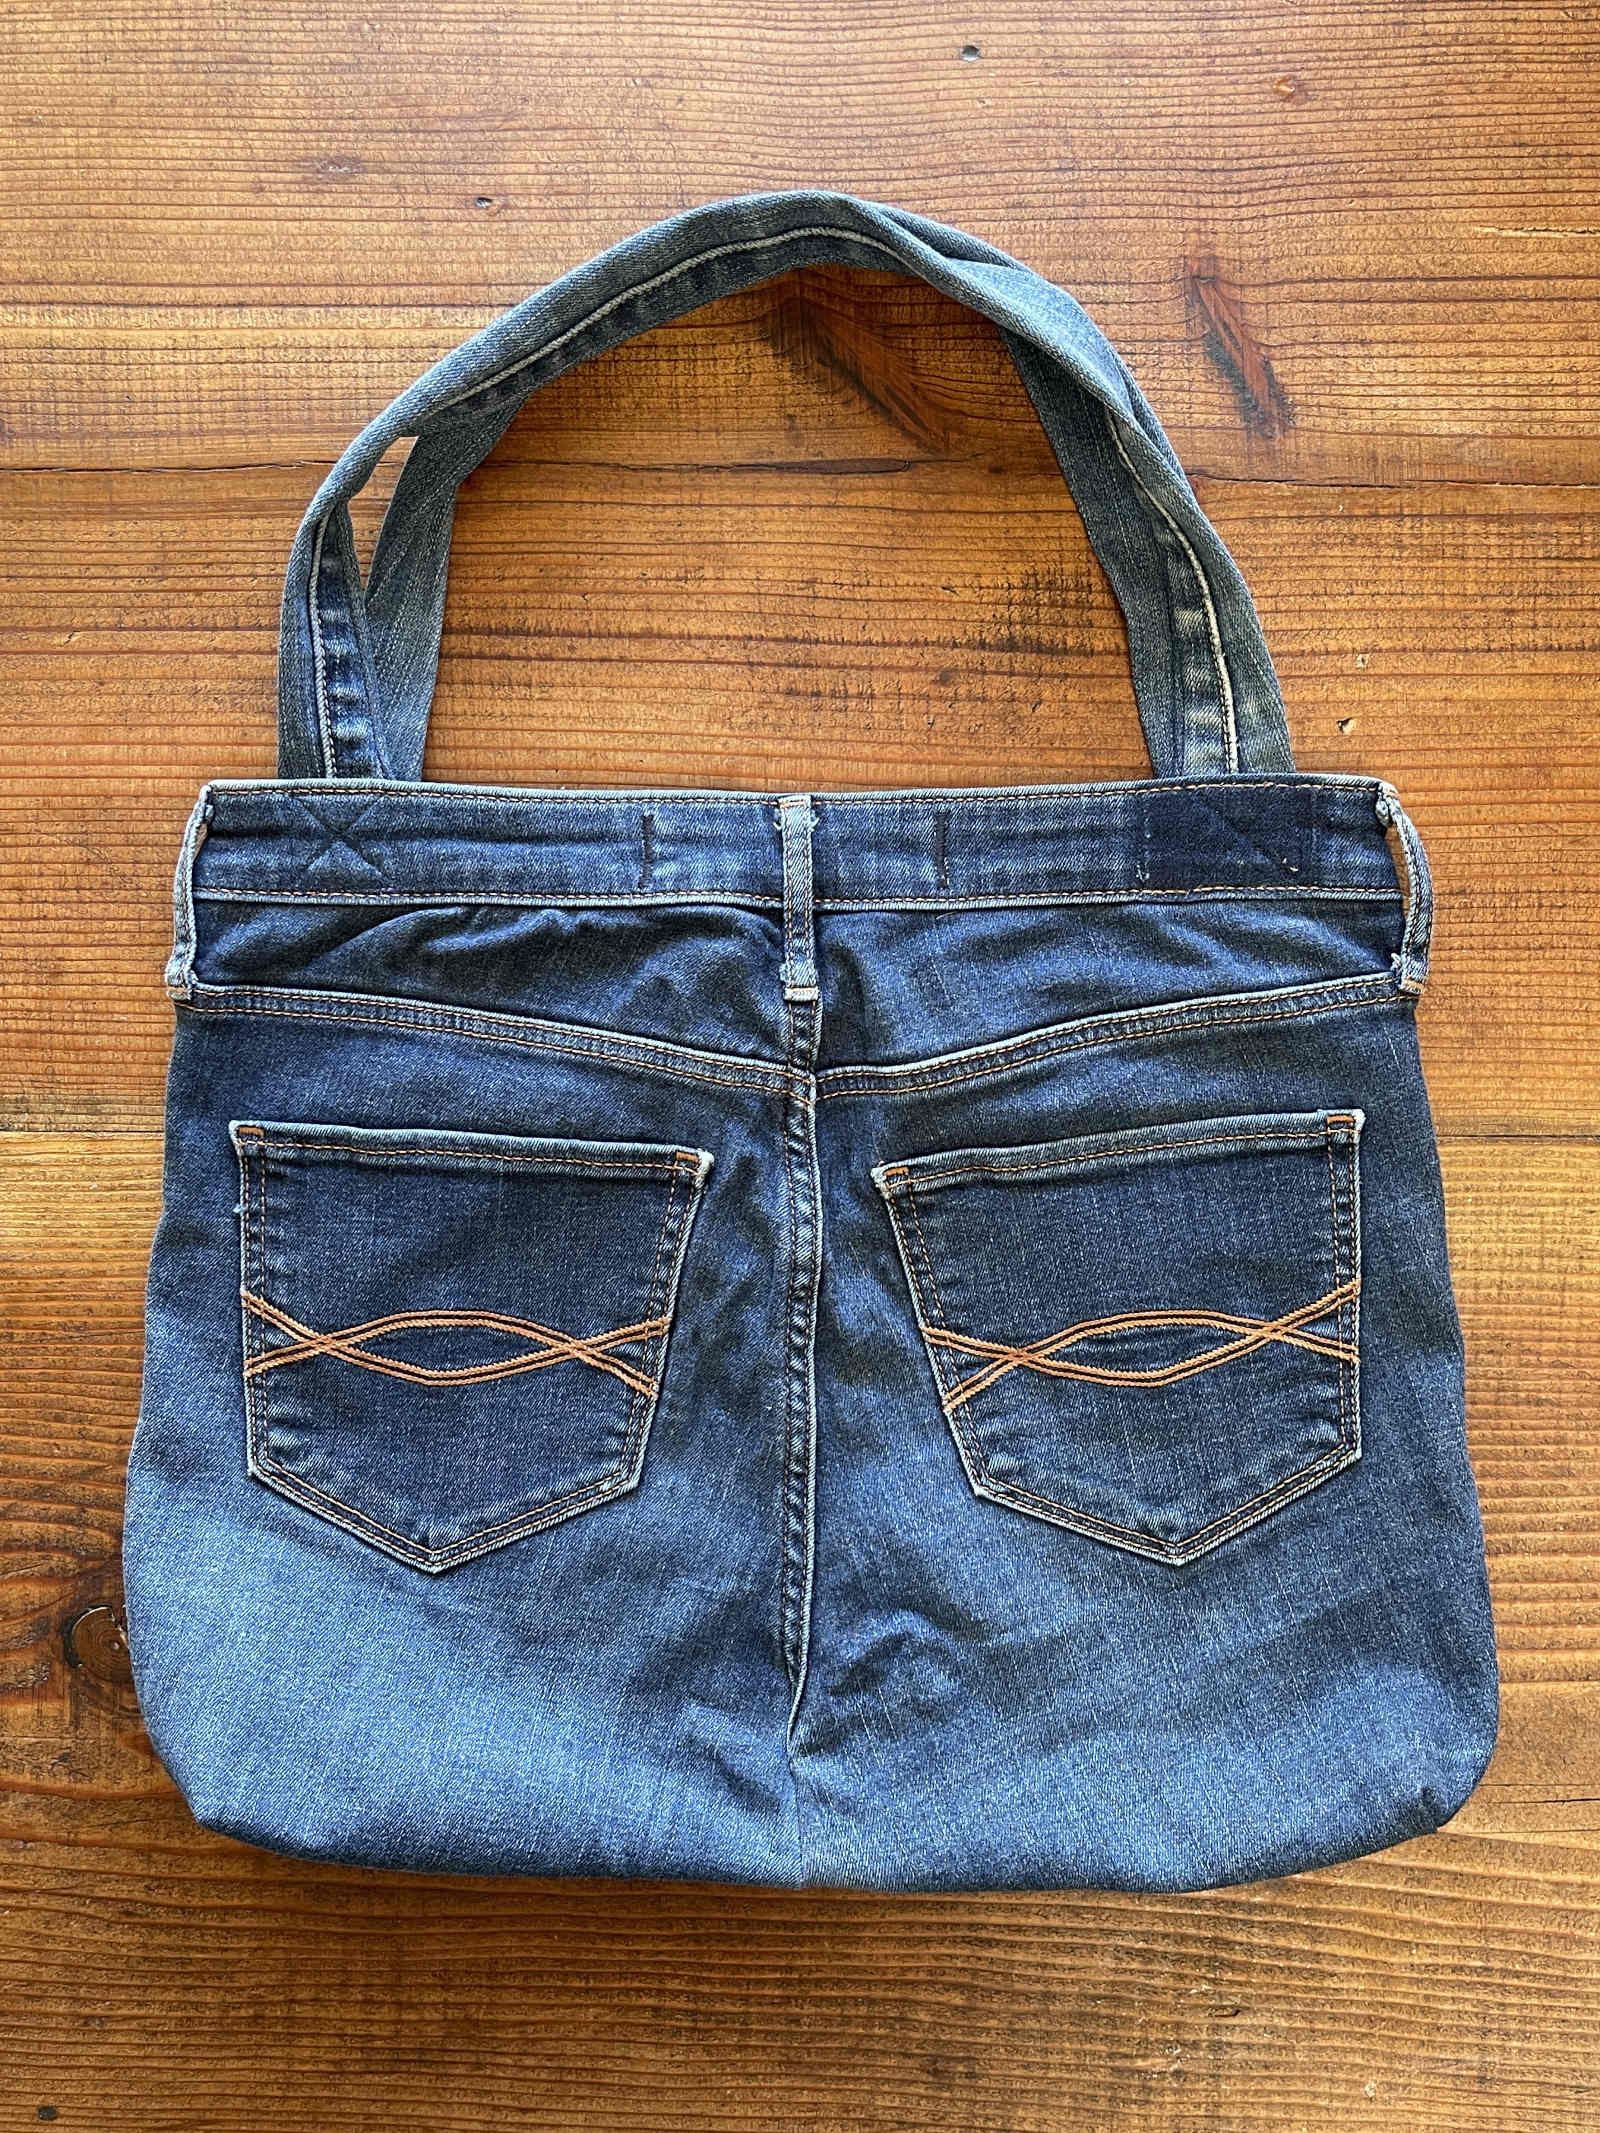


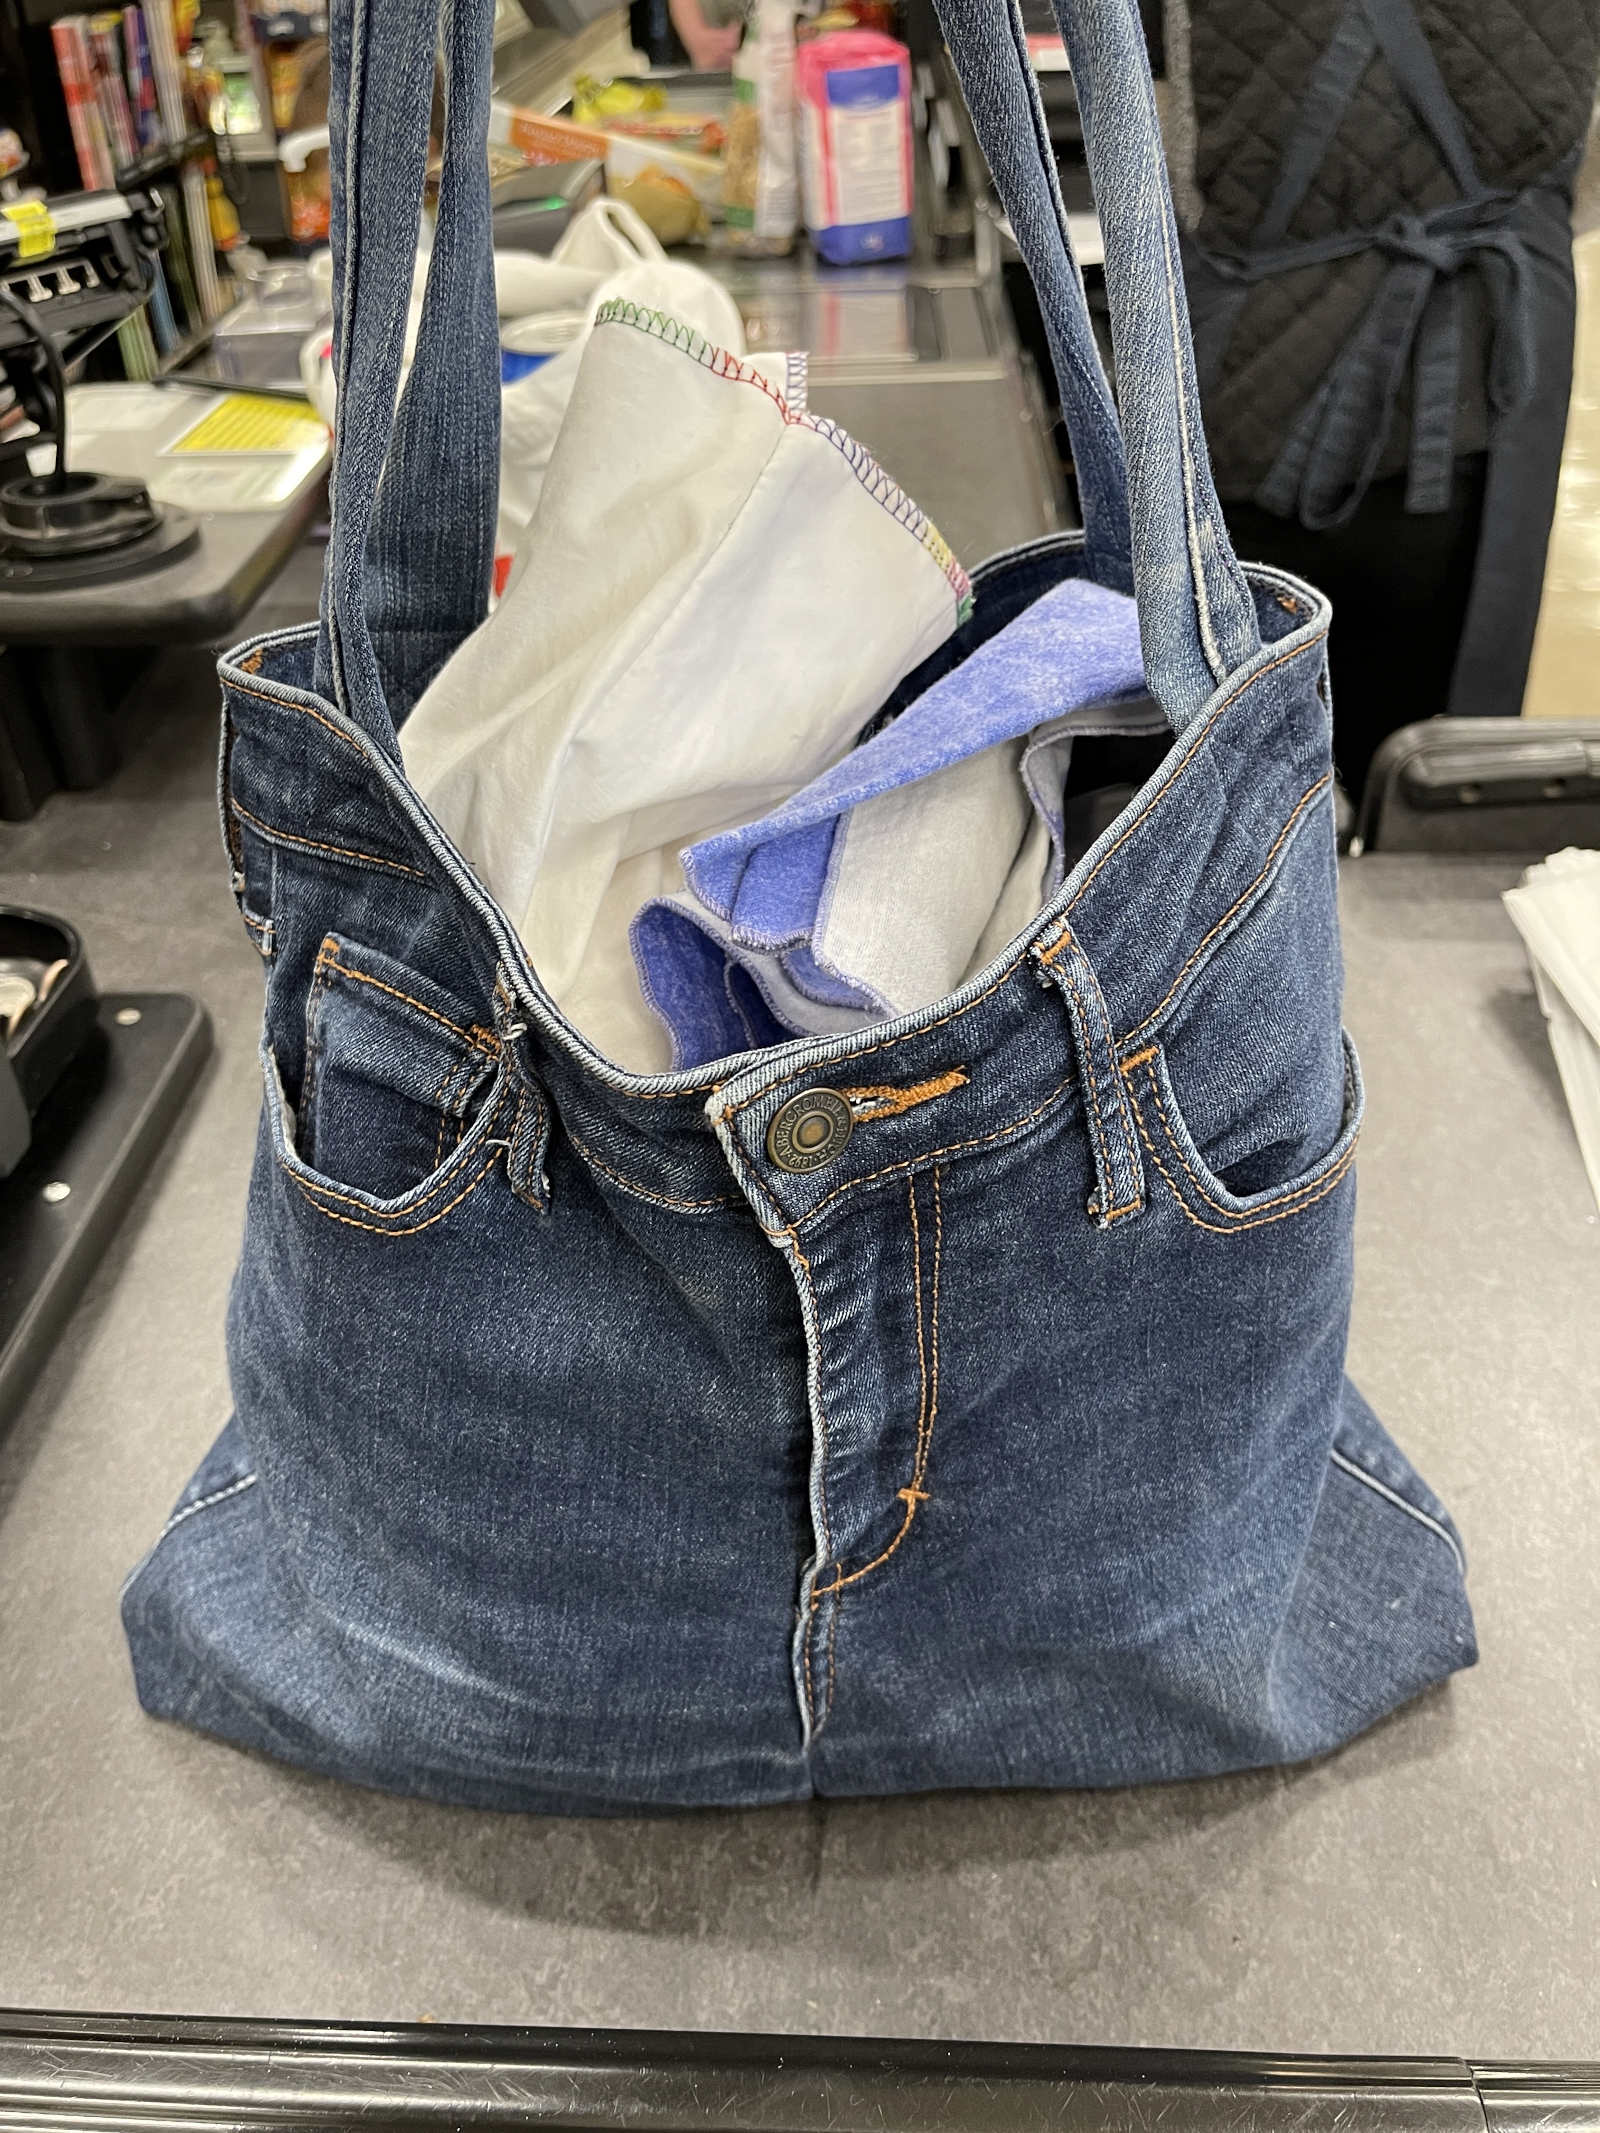
By transforming no-longer-loved jeans into a denim bag, you keep clothing out of our overburdened waste stream, enjoy a sense of accomplishment, harness your creativity and fashion a one-of-a-kind conversation piece that costs zero dollars, all from an old pair of pants!

I need to try this with some of our worn-out jeans. Some of my reusable shopping bags are finally starting to wear out! It also occurred to me that, if you needed a bigger bag, you could pick up a pair of larger-sized jeans at the thrift store.
Brillant, I changed a pair of my jeans into a belt bag for my husband with utilising the zip as part of it!
Oh I would love to make one of those! Great idea!
Its not perfect but I’ll post some photos on instagram later
I am a teacher and need a bag that has tons of pockets for separating out different items. You can buy teacher bags for hundreds online but now I am just going to make this instead!!!