
Six months since my last fundraising workshop to support people living in Ukraine, Russia continues its assault on the country. In addition to killing and injuring thousands, the war has also further stressed a stressed global food supply—Russia had blocked Ukrainian exports of wheat, Ukraine’s second-largest crop. Via a sea corridor facilitated by the UN and Turkey in July, stockpiled wheat has been slowly shipping.
Part fundraiser, part thanksgiving for the wheat we have, let’s bake sourdough bread together in this interactive workshop. Invest a bit of time over a weekend to learn a life-long skill that will bring you nourishment and comfort in a chaotic world—and raise funds for a good cause!
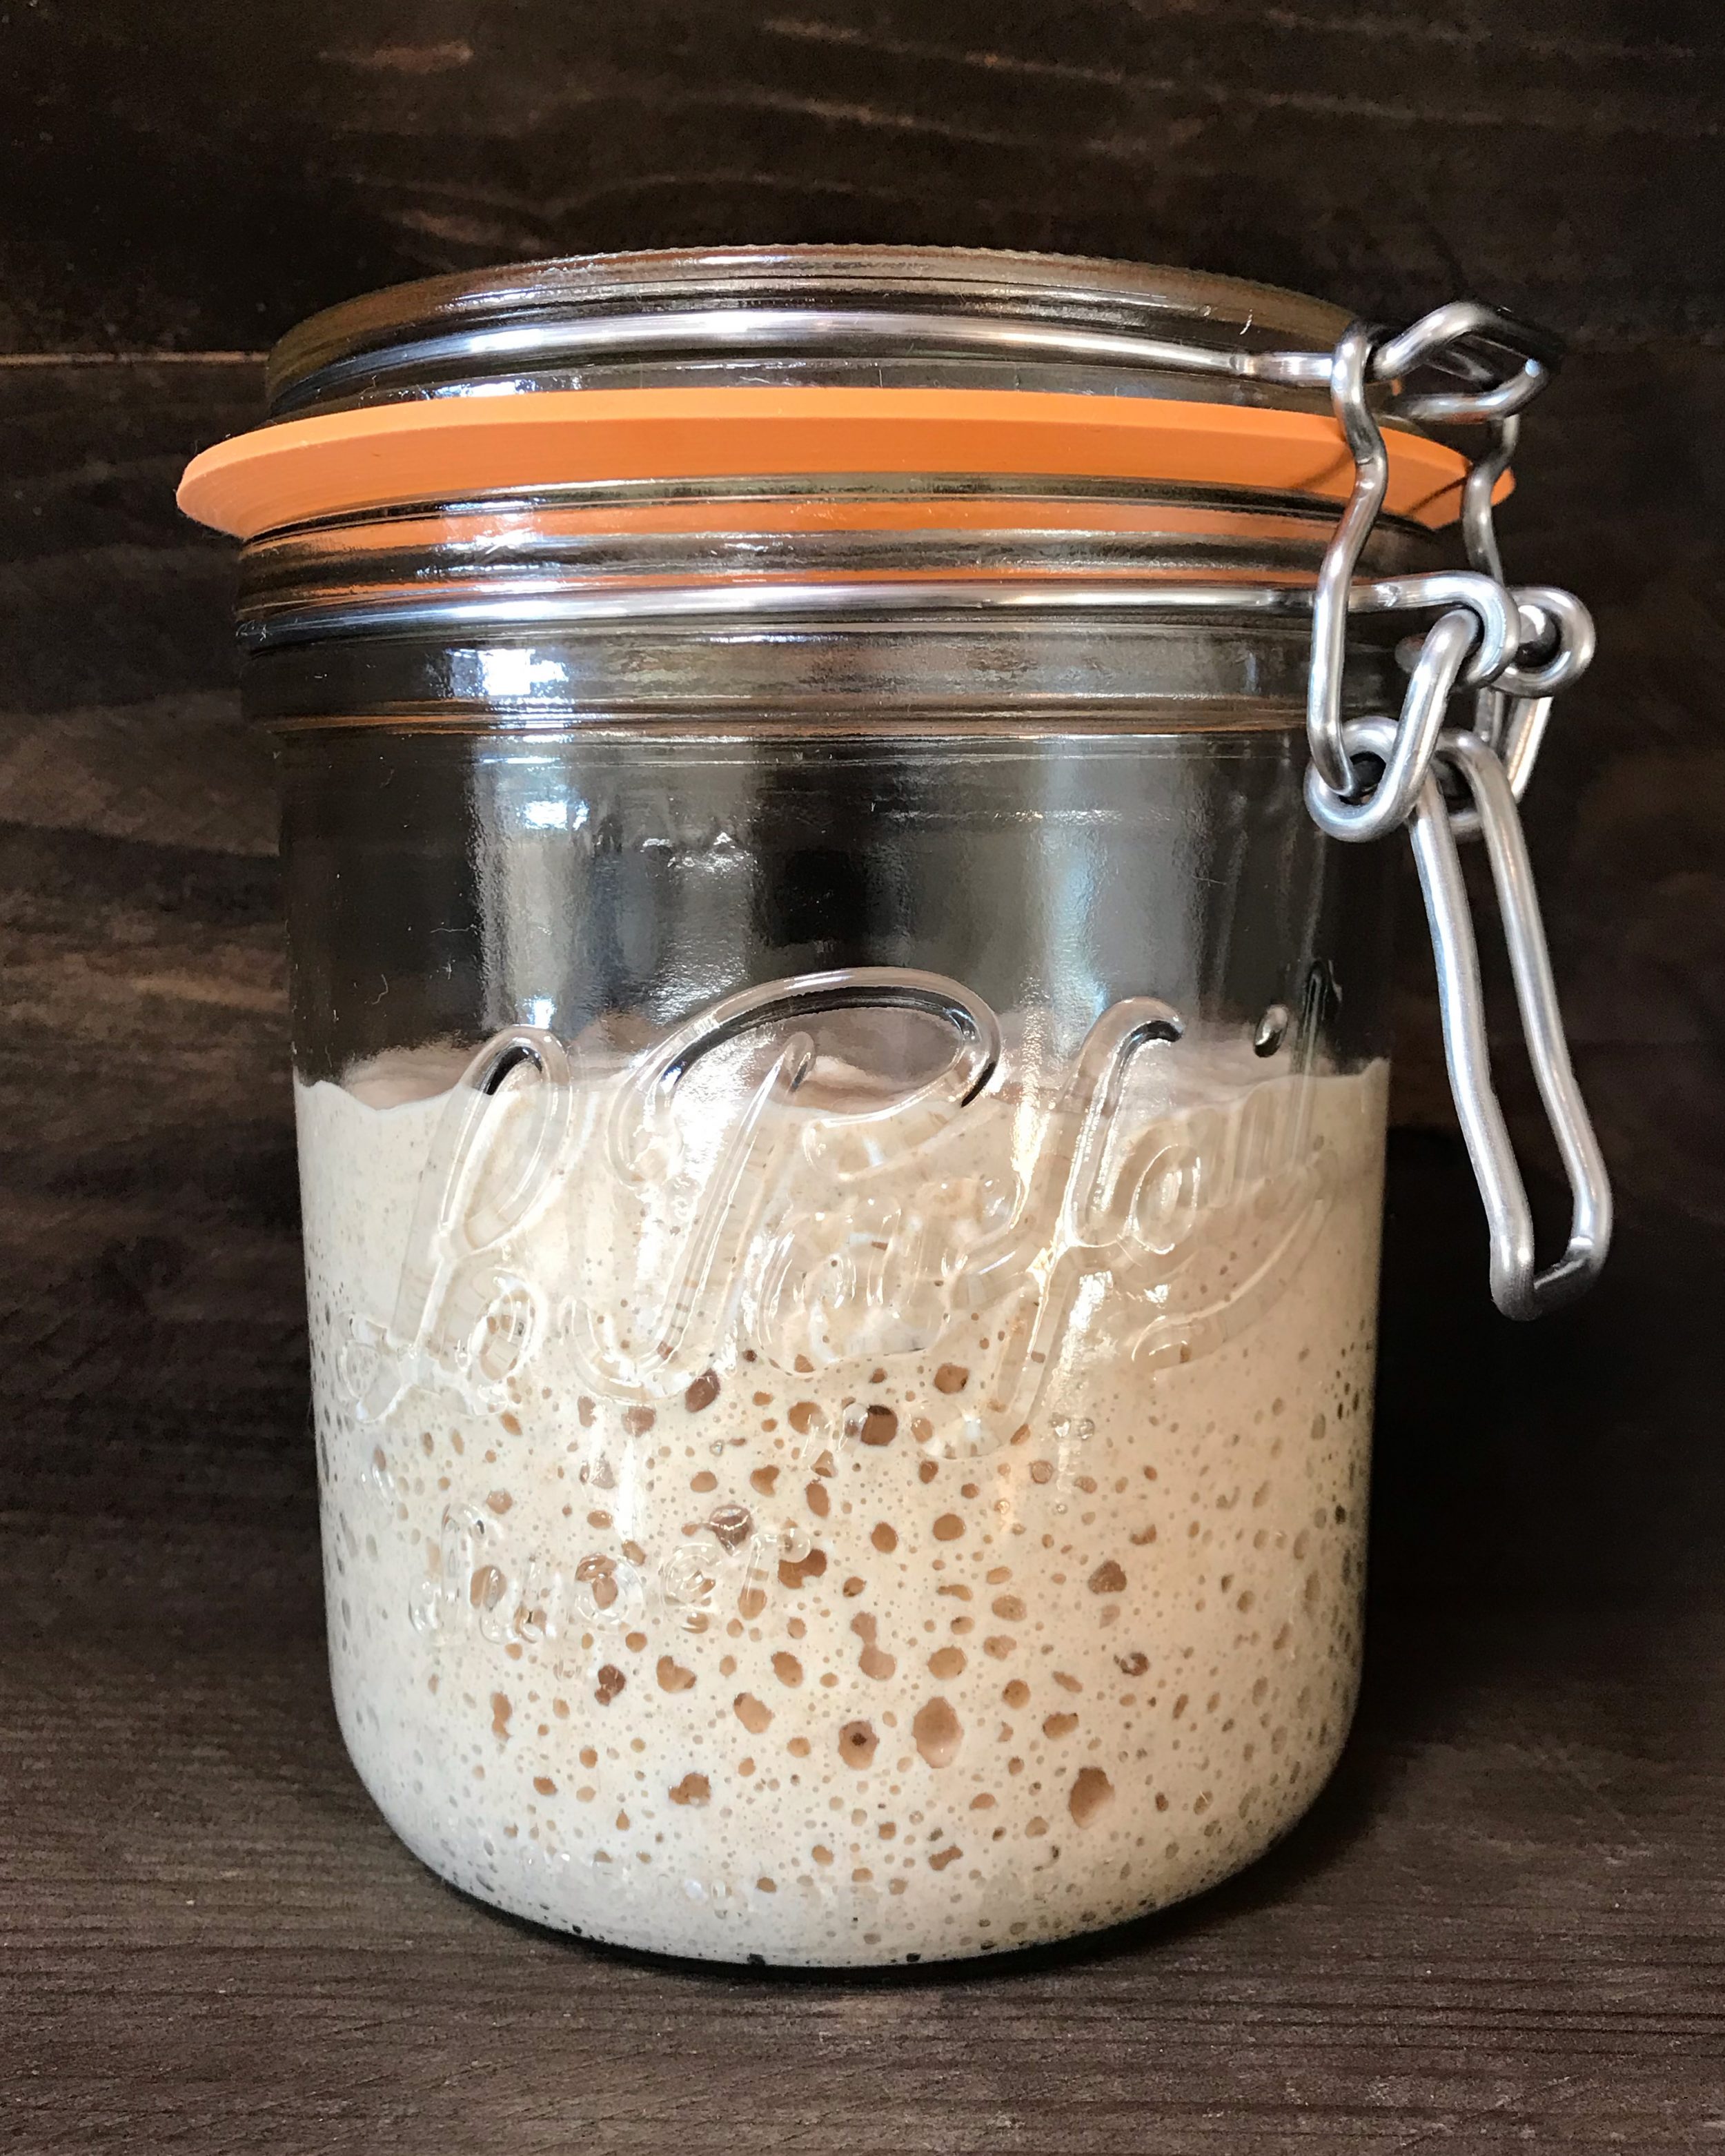
Please note! You will need an active sourdough starter to participate in this class.
Have questions about your starter? Go here for my sourdough starter FAQs.


Class begins on Friday, October 14th
We will meet several times over the weekend. On Saturday, while we are offline during the bulk fermentation, I’ll stand by. If you need help, please call. I’ve also included lots of time in the schedule below to answer your questions.
- Friday 7am–7:15am PT: feed our starters
- Friday 7pm–8pm PT: soak the flours and make the leaven
- Saturday 7am–8:30am PT (give or take): make the dough and begin the bulk fermentation
- Saturday noon–1:00pm PT (give or take): form the loaves
- Sunday 7am–8:00am PT: bake the loaves!
If you can’t make it to each session, I will record these and email everyone the video links at the end.
How to secure a spot in the fundraiser
Suggested donation: $45 per spot or more. But please, if that is too steep, donate what you can afford. It all adds up!
STEP ONE: Donate directly to any of the organizations below—or to another one that supports Ukraine.
- CARE
- Doctors Without Borders/Médecins Sans Frontières
- Global Giving
- International Fund for Animal Welfare
- International Committee of the Red Cross
- Razom Emergency Response
- UNICEF
- World Central Kitchen
STEP TWO: Next, email proof of payment to zwc.fundraiser@gmail.com (a screenshot works) and you will receive the top-secret Zoom link for the workshop. Please include the donation amount in your email so I can track the total amount this class raises.
Class materials for two loaves
Equipment
The right tools make baking easier. However, you don’t need all of the expensive tools that I’ve listed here. When I was stranded at my mom’s in Canada at the beginning of Covid, I used the minimal equipment she has and I baked fabulous loaves. Go here for a post on making bread without the fancy tools.
For preparing the dough
- Scale (optional but highly recommended for accuracy)
- Measuring spoons and cups if you don’t have a scale
- Fork
- Rubber or bamboo spatula
- Kettle or microwave to heat water up a bit
- 4-cup glass measuring cup
- Large ceramic or glass bowl, 4 to 5 quart capacity, or about 10- to 12-inch diameter
For shaping and proofing the dough
- Dough scraper
- Clean surface to shape the dough on (wooden board or countertop)
- Two 9-inch banneton baskets OR two 9-inch bowls (any material) lined with thin tea towels
- Thin tea towel or baking sheet to cover formed loaves
- Space in your refrigerator to proof your formed dough overnight
For baking the bread
- 5-quart cast-iron Dutch oven or larger; cast-iron combo cooker; covered 10-inch glass pyrex dish (5-inches tall, minimum); large uncovered cast-iron skillet; pizza stone; or cookie sheet
- Very sharp knife or lame
Miscellaneous
- Apron
- Something for taking notes


Ingredients
- Your jar of active, lively starter
- 650 grams whole wheat flour (5 cups)
- 250 grams unbleached all-purpose or bread flour (1 ¾ cups)
- 200 grams rye or spelt flour (1 ½ cups)
- 25 grams salt (1 ½ scant tablespoons)
- Water
- Extra flour (any of the types listed above) for shaping and dusting the dough
- Cornmeal if you won’t bake in a Dutch oven or cast-iron combo cooker
Notes
- I use organic flour but non-organic flour will work.
- I use tap water in my bread. Filter your water if you prefer. If your water contains high levels of chlorine, the day before class, fill a container with water and cover it securely with a cloth to prevent impurities from falling in. Some of the chlorine will evaporate.
- You don’t need banneton baskets but they do make dropping the dough into a hot Dutch oven much easier. Mine look like these.
- A homemade lame to score your loaves changes everything! I made my own out of a razor blade and a wooden stir stick. If you opt to make a lame, be careful! My daughter Charlotte bought me this one for Mother’s Day last year and I love it.