
I teach fermentation classes and my students always have many questions during and after class (I love that!). This post outlines the basic lesson plan for my kombucha class. Near the end of this post, you’ll find my free brew log worksheet to take notes when you just start out.
Brew logs? Worksheets? Classes? Is kombucha that complicated to make? Not at all. If you can brew a pot of tea, you can make kombucha. In an ad for my classes, I once included the line “It’s so easy, you’ll want your money back.” I decided it wasn’t the best tagline and cut it.
The first kombucha class I taught in a commercial kitchen
I like to start my classes with a reading from the book The Art of Fermentation, which I highly recommend, written by fermentation guru Sandor Katz:
The idea that kombucha (or any ferment) is safe only in the hands of technical experts denies the long lineages of home and village production that spawned them and plays right into the disempowering cult of specialization.
I believe that cooking shows and competitions as well as beautiful blogs and cookbooks filled with stylized photos do many people a disservice. Cooking is not difficult, yet these media often depict it as such. As cooking has morphed into a spectator sport, fewer and fewer people seem to know how to do it, leaving us dependent upon the processed food companies, which happily—and profitably—supply our dinner for us. It’s time to take back the apron!
Safety
Some people are put off by the idea of fermentation because they worry they will mess it up and get sick. Fermentation is actually extremely safe. In fact, it’s safer than many other types of food preparation. Bad bacteria—including botulinum—cannot survive the acidic environment of a fermentation. The good bacteria crowd them out and they die.
What is kombucha?
Kombucha is effervescent fermented tea that people have been making and drinking for thousands of years around the world. Legend has it that it originated in China in 220 BC and spread from there.
Benefits of kombucha
Online, you’ll find all sorts of wild health claims attributed to kombucha—that it cures cancer, improves eyesight, prevents wrinkles and on and on. I am a big believer in the health benefits of fermented foods. They are full of probiotics that help maintain your gut and overall health. However, I would steer clear of the wild claims surrounding kombucha. Other people claim you should never drink kombucha, that’s it’s dangerous to play with microbes at home, it’s full of sugar—when in fact the SCOBY eats most of the sugar—it’s alcoholic and so on. Sandor Katz says kombucha is neither panacea nor peril. Not all ferments agree with all people. Try and it and judge how it makes you feel.
Kombucha supplies
The only trick to making kombucha is finding a good mother to get started. In my class, I give students a piece of my highly virile and sought-after mother, Etheldreda. Otherwise known as a SCOBY (a symbiotic community of bacteria and yeasts), a mother will transform sweetened tea into an effervescent, probiotic and delicious fermented beverage.
If you can’t find a SCOBY, you can grow one out of good, raw kombucha. Pour an inch or two into a jar, cover it securely with a cloth, set it aside on a counter or shelf and wait a week or two. A thin film should form on top. This is your SCOBY.
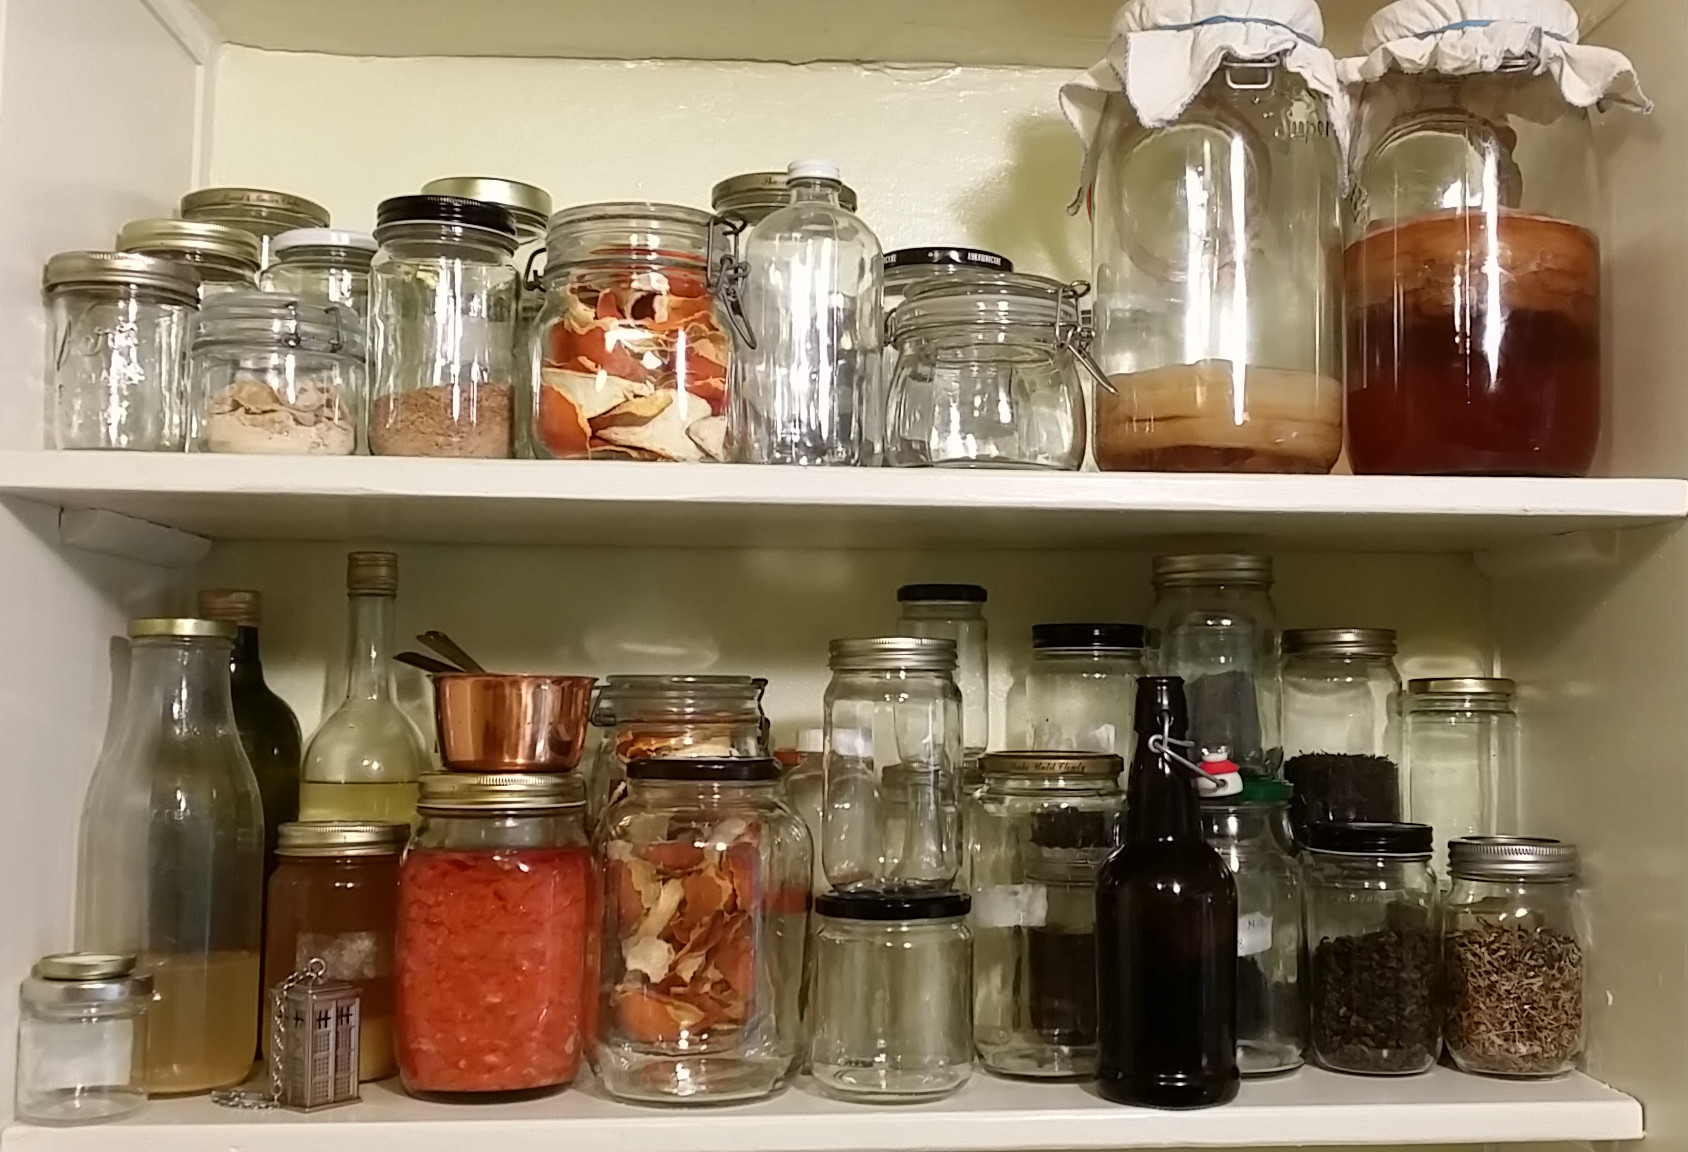
In class, we use wide-mouth glass jars for brewing kombucha. I prefer glass so I can see what’s going on inside the jar (it’s fascinating!), however ceramic will also work. Unlike some other ferments (such as mead), you want this one to come into contact with as much air as possible in order to attract acetic acid bacteria. In class, I also supply students with a piece of breathable fabric for covering the top of the jar while the kombucha ferments. This allows air in but keep nasties and flies out.
For your initial fermentation, you need tea and sugar. (If you want to add flavoring, you do this during the secondary fermentation.) Black, green, oolong or white tea will work. Don’t use anything scented with oils, like Earl Grey. The oils may cause your mother to shrivel and die.
You cannot make kombucha without sugar—the sugar fuels the fermentation and very little sugar remains in a finished batch. In fact, if you let yours ferment for several weeks, your mother will consume all the sugar and transform your ferment into vinegar—a useful accident in my opinion. Between kombucha and scrap vinegar, I can make most of the vinegar I need.
Do not use stevia as a sweetener. Use real sugar. Sandor writes that people have used “honey, agave, maple syrup, barley malt, fruit juice and other sweeteners” to great effect and other people have seen their mothers shrivel up and die. If you do any experimentation, don’t use your entire mother. I generally use organic evaporated cane sugar. I’ve also used sucanat, rapadura and coconut sugar.
The basic method
Follow these five basic steps to brew kombucha:
- Brew sweetened tea
- Allow tea to cool
- Backslop with kombucha or live vinegar
- Add the SCOBY
- Wait

1. Brew tea and sweeten
Brew 1 cup of very strong, concentrated tea. While it’s hot, add about 1/2 cup of sugar and stir to dissolve. You may want more or less sugar in your next batch, depending on your taste preference. It looks like a shocking amount of sugar, but the mother will consume most of it, not you.
2. Allow tea to cool
After the sugar has dissolved, add three cups of cool water. You cannot add the mother until your tea has cooled. Hot water may kill her. Brewing concentrated tea and then cooling it with water takes less time than waiting for a full four cups of hot tea to cool down.
Chlorine may also adversely affect your mother. If your tap water contains high amounts of chlorine, several hours or the day before you make kombucha, pour tap water into a vessel and leave open to the air to dissipate the chlorine. Although I have not had this problem myself, I have read about it and like to make students aware of it.
3. Backslop with kombucha or live vinegar
After the tea has reached room-temperature, stir in either fresh, lively kombucha (about 1/3 cup) OR 2 tbsp raw cider vinegar (i.e., Braggs).
4. Add the SCOBY
Gently drop your mother into your jar and cover the vessel with a porous cloth that allows air to circulate. The mother should float to the surface.
5. Wait
The first time I made kombucha, my mother sank to the bottom and there she remained. I had put off making my kombucha for at least a week after I received her in the mail from a friend. Initially, no transformation took place in my brew and I felt guilty for neglecting my mother and allowing her to die (or so I thought). However, after about a week, a new film formed on the surface of my tea! Weak yet alive, my mother slowly fermented my tea over a period of a few weeks. Today, my active, lively, fertile mother constantly makes babies and my kombucha ferments quickly (about a week).
Set your kombucha aside to brew in a warm spot where the air circulates. It does well with a temperature of between 75 and 85°F. As it brews, it will lighten in color. Taste it after five days or so. If you like the taste, you can drink it now at room temperature, move it to the refrigerator for later or you can bottle it for a secondary fermentation (see optional step 6) and then chill it. Either way, set some aside to brew the next batch and keep the cycle going.
Optional step 6
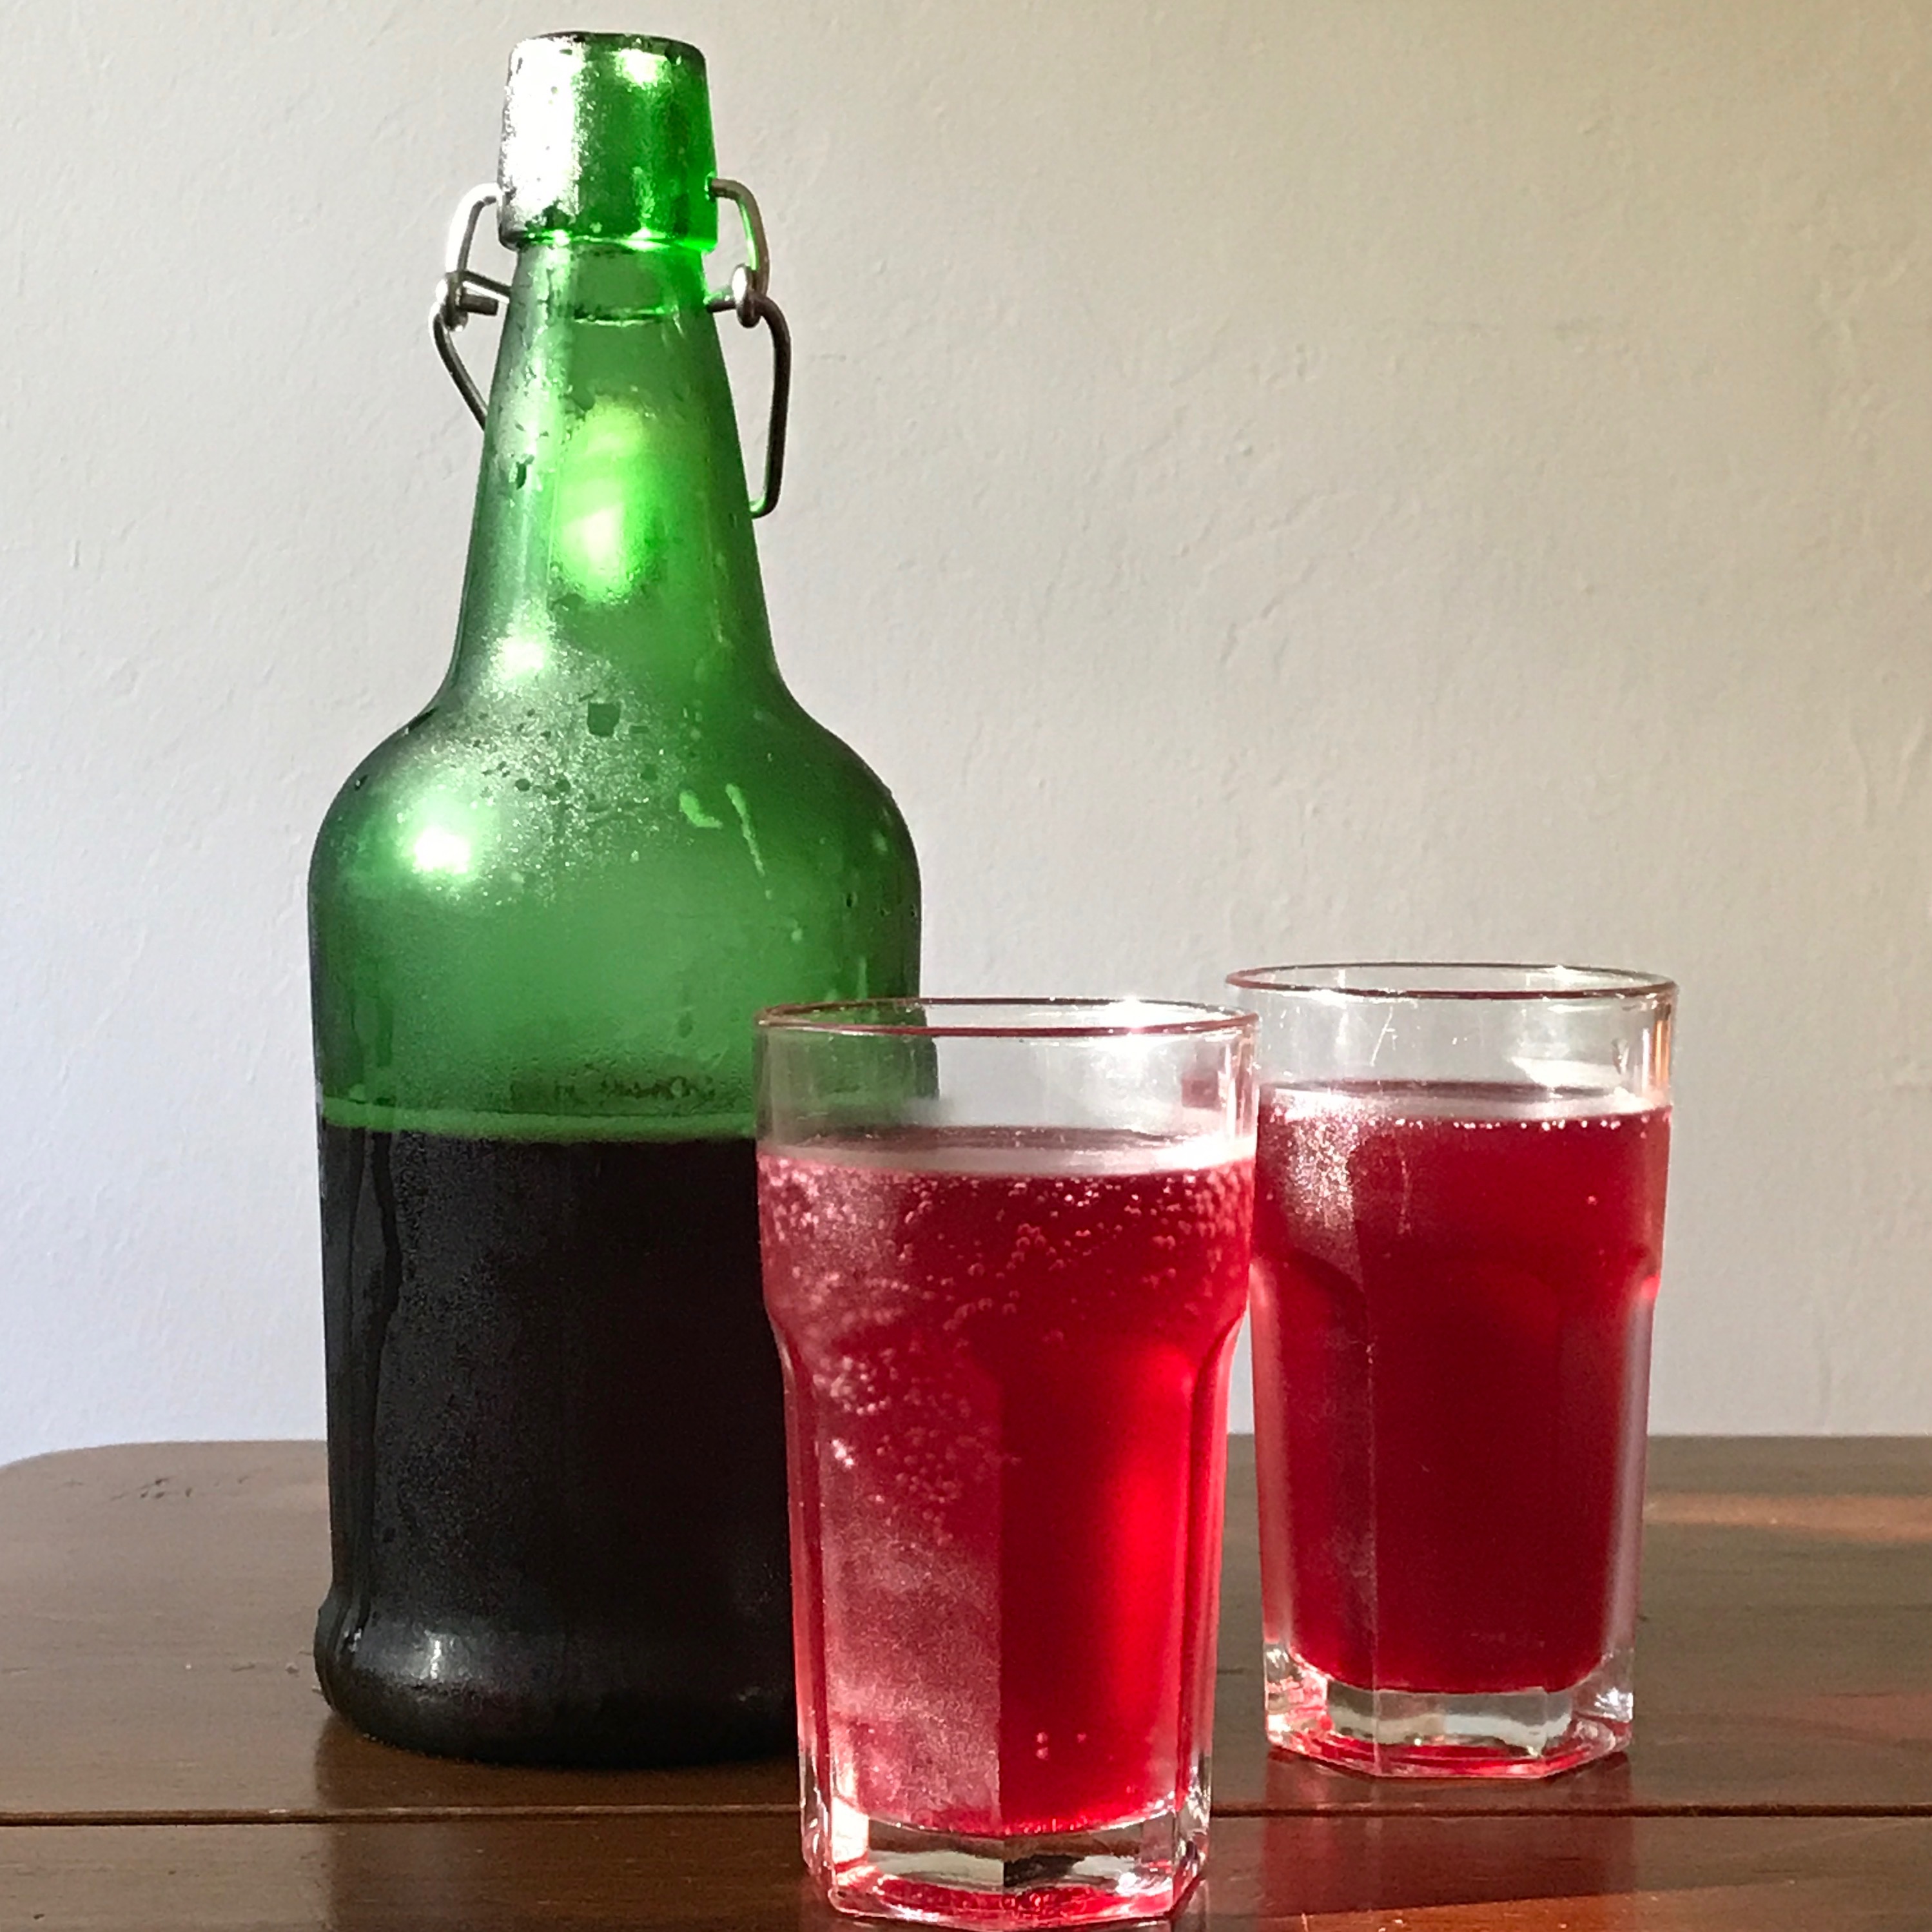
Bottling your kombucha will increase the carbonation. At this point, you may flavor it if desired. Use 80 to 90 percent kombucha to 10 to 20 percent fruit or vegetable juice, OR fresh, frozen or dried fruit. I usually flavor mine with—this is per 16-ounce bottle—a few pieces of candied ginger, a tablespoon of hibiscus or chopped fruit. Here are more ideas for flavoring your booch.
For the secondary fermentation, I use bottles with a rubber gasket and clamp. Fill them, seal them and store them in a cupboard or cardboard box for a couple of days to carbonate before transferring to the fridge where fermentation and carbonation will slow down. Depending on how much sugar remains in your kombucha, the secondary fermentation may be very active. BE CAREFUL! Due to pressure from CO2, a byproduct of fermentation, glass bottles can and do explode if you let them ferment too long. Burp your bottles every couple of days (i.e., open them slightly) to release built-up CO2. If you store them in a cupboard or box, you’ll contain a possible mess—and glass shards.
This past spring, one of my daughter’s three bottles of kombucha exploded at my mum’s. Luckily, we had been out and no one was injured, including my mom’s three extremely timid cats (I bet they were terrified).
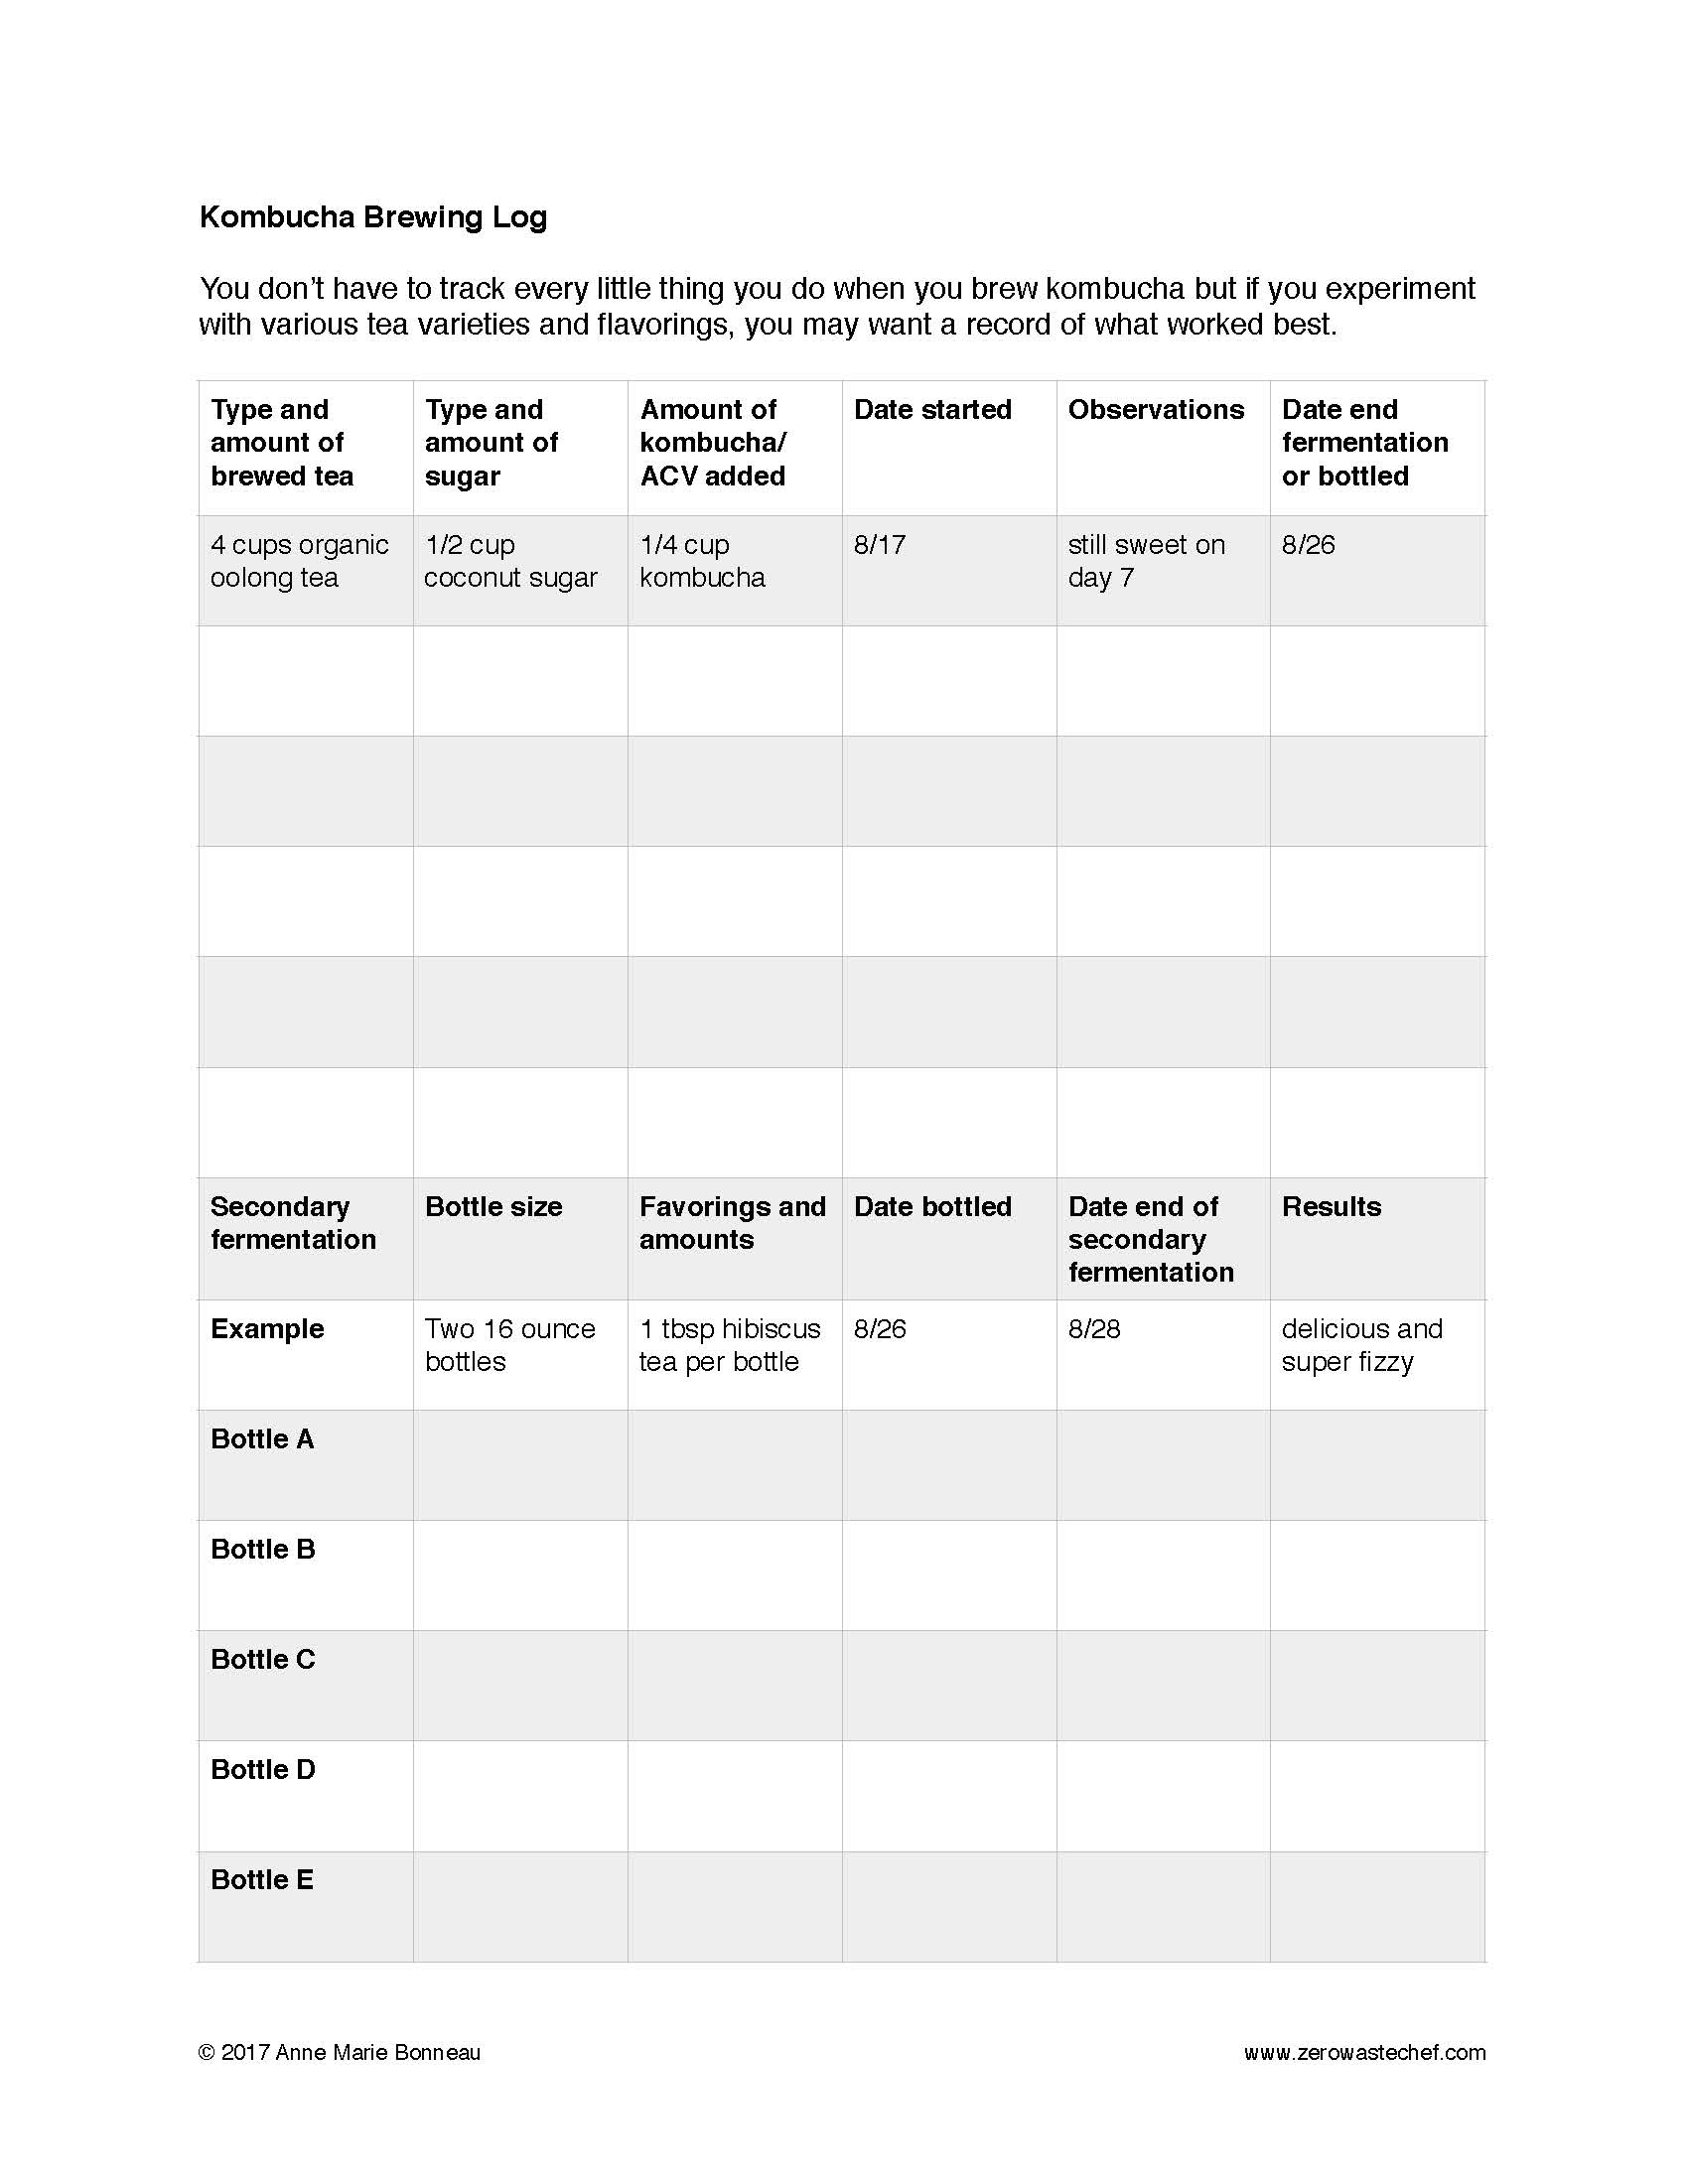
Another optional step: Take notes
Over the past few years, I have taken pages and pages of notes when making sourdough bread. I feel this played a crucial role in my ability to produce a good loaf. Kombucha is much, much less complicated. However, I have made absolutely fantastic flavors, only to forgot what I put in them. So it’s a good idea to track what you brew. This worksheet will help. Download it here.
One last optional but-wait-there’s-more step: SCOBY hotels and homemade vinegar
After you brew for a few months, your SCOBY will likely have grown like crazy. I highly recommend you make a SCOBY hotel—a place for your spare SCOBYs to relax and take a vacation from fermenting. Simply brew sweetened tea, inoculate it as usual, add your spare SCOBYs and let them sit for six to eight weeks. If the level of kombucha gets low in your SCOBY hotel, pour in a bit from your current brew to top it up.
Think of your SCOBY hotel as insurance. If you feel like experimenting with new types of sugar for example, use a spare SCOBY from your hotel. If it shrivels and dies, you have plenty of others. Do not experiment if you have only one SCOBY to work with. Similarly, if fruit flies invade one of your jars, you’ll have backup. Or perhaps, to your horror, dreaded mold forms on your SCOBY. This happened to me for the first time a couple of months ago. I was sad to compost my SCOBYs but I had others.
After several weeks of fermenting in the hotel, the kombucha will be very vinegary. Congratulations, you have made your own vinegar! Brew and sweeten a new batch of tea, transfer the SCOBYs and store your vinegar to use later. It will continue to grow more acidic.
An update: Travels with Etheldedra
When I give away a piece of my SCOBY, I am not being completely altruistic. I really just want more pins in my SCOBY map. I track the cities to which Eltheldreda has emigrated. So far, the diaspora mostly clusters around Northern California where I live. I have a few far-flung pins. I want 100 on here. So far I have 24. It will take a while…
If you live in the Bay Area on the Peninsula and would like a piece of my SCOBY, please email me here. These are a pain to send through the mail but we can meet somewhere near me, perhaps at the next Silicon Valley Zero-Waste Meetup. Just bring a jar. I am always happy to give away a few pieces of Etheldreda—even if I’ve already put your city on the map 😉
I use 1/4 cup sugar to every 2 cups of water – I think I pulled that from Wild Fermentation. I tend to use half green tea, half herbal tea, usually something my friend Rachel produces from her garden. It makes for a wonderfully floral kombucha, not too sour and not too sweet.
Yeah, that’s the ration in Wild Fermentation. I find it works well. Your tea sounds delicious! I wish I could say I make mine with homegrown herbal tea.
I make raspberry kombucha. It taste nice, crisp and flavourful, it is not ,however effervescent. Any suggestions. I use snap top jars for 2nd fermentation and then wrack through a sieve to flip top bottles.
Hi Patty-anne. Oooh, you’re advanced if you rack it! I’ve never tried that. Do you make mead and wine too? I do the initial fermentation in a large jar and then bottle it for the second fermentation. What are your snap top jars like? Maybe the lids allow the CO2 to escape. Could you add a little sugar for the last step in your flip top bottles? ~ Anne Marie
p.s. I like your double first name 😉
Regarding the raspberry kombucha. I make raspberry.. and dandelion together. I do not rack it. I make dandelion wine starter and add the same amount of fork smashed raspberries. I put this mix at about 15 percent into my bottles of kombucha when bottling.
I have researched all over Pinterest about Komucha brewing and yours is by far the best and thorough. Thank you very much! I can’t wait to brew my fist batch. I start tomorrow. Yay!!!
Thank you so much. I’m glad you found the instructions helpful. Happy brewing!
Hello. I’ve been asked to teach a Kombucha brewing class in our local city. I’m working on getting approved to sell Kombucha commercially. Have you found, at least in your city, that you need any special approvals to teach booch brewing classes or are there any certain requirements (like it must be in a commercial setting)? Not sure where to look to figure this out.
Where do you live? I’m in California and haven’t had to get any permits. The laws really vary though state to state. This website might have info that can help: http://forrager.com/laws
I’m in Arizona. Cottage law only applies to baked goods. Commercial Kombucha must be made in an approved commercial kitchen. However, I can’t figure out if teaching classes (and providing SCOBYs) falls under that same requirement. :-/
Ahhh, I see. Yes, this stuff is hard to figure out. I was at a solar cooking festival and demonstrators weren’t supposed to hand out samples (but some did anyway). I think the rules sometimes depend on who’s in charge of an event that day! I’m sorry I don’t have better info.
Ok. No worries. Thanks for your time!
Hello there from the arctic north of Iceland! I have been scouring the net for more tips and log sheets and found you. Your site is excellent, your information easy to follow, well illustrated, and friendly. I agree with Amy Sableski, it is one of the best sources of info on kombucha brewing I have found, so thank you! I have been brewing for a year in glass jars and dispensers. I need to step up the size of my brews and glass is just too expensive and cumbersome. I have heard bad and good things about brewing in food grade plastic containers (pvc free). Somes say yes, some say no. My friend who has been brewing for decades uses plastic tubs. What is your opinion/experience?
Hi Gabrielle. I’m glad you found the post helpful. Personally, I wouldn’t use plastic because I hate the idea of anything leaching into my acidic kombucha. Have you thought about doing a continuous brew in either a large glass or ceramic container? If you get a giant vessel with a spigot, you can replenish the kombucha as you drink it, without having to clean the container every time. You clean it out only about every six months. The container would still be cumbersome when you do empty it entirely and clean it but you do it so infrequently. Just a thought. ~ Anne Marie
I really want to try to make kombucha, but I am nervous that I’ll make my whole family sick! Any tips?
This is a great post! I really enjoy your posts on instagram too. A question about my SCOBY though: my scoby is slighly too big to easily float at the top of my crock when brewing kombucha. Should I trim it down to fit or is it okay to let it sit near the top of the crock partially submerged?
Thanks for your help!
I’ve just received my very first scoby!! Do I refrigerate it? Or just keep it on my counter?
Hi Lisa,
Congratulations! Just leave it on the counter. I would make kombucha as soon as you can and then put the scoby in there.
Enjoy!
Anne Marie
Hi, I want to be sure if I have to leave open my initial fermentation of kombucha and just put a cloth in the top of my jar or I must cover it tightly? Thanks in advance
Hi Rommy,
That’s right. Cover it with a cloth and secure it around the. You want the kombucha to come into contact with the air and also allow gases to escape from the jar.
~ Anne Marie
You specify RAW kombuch needs to be used to create a mother. How do I know if what I’ve purchased is raw?
My question is: how do you maintain your SCOBY after making an initial batch and them bottling some of that batch? How do you keep the main scoby in it’s jar going steadily so that you can keep taking some off to drink or to make secondary flavored drinks from?
Hello! After you make your first batch and either bottle it or drink it as is, you make more tea, sweeten it, cool it, add some kombucha from your first batch, unless you drank it all, in which case, you can add a smaller amount of apple cider vinegar with the live mother.
Put that brewed and sweetened tea in the jar with the SCOBY and let it ferment. Then repeat the process all over again when the kombucha is ready. You can keep it going for years. I hope this helps. Please let me know if it doesn’t.