
Click here to go straight to the recipe
Updated 04/19/20
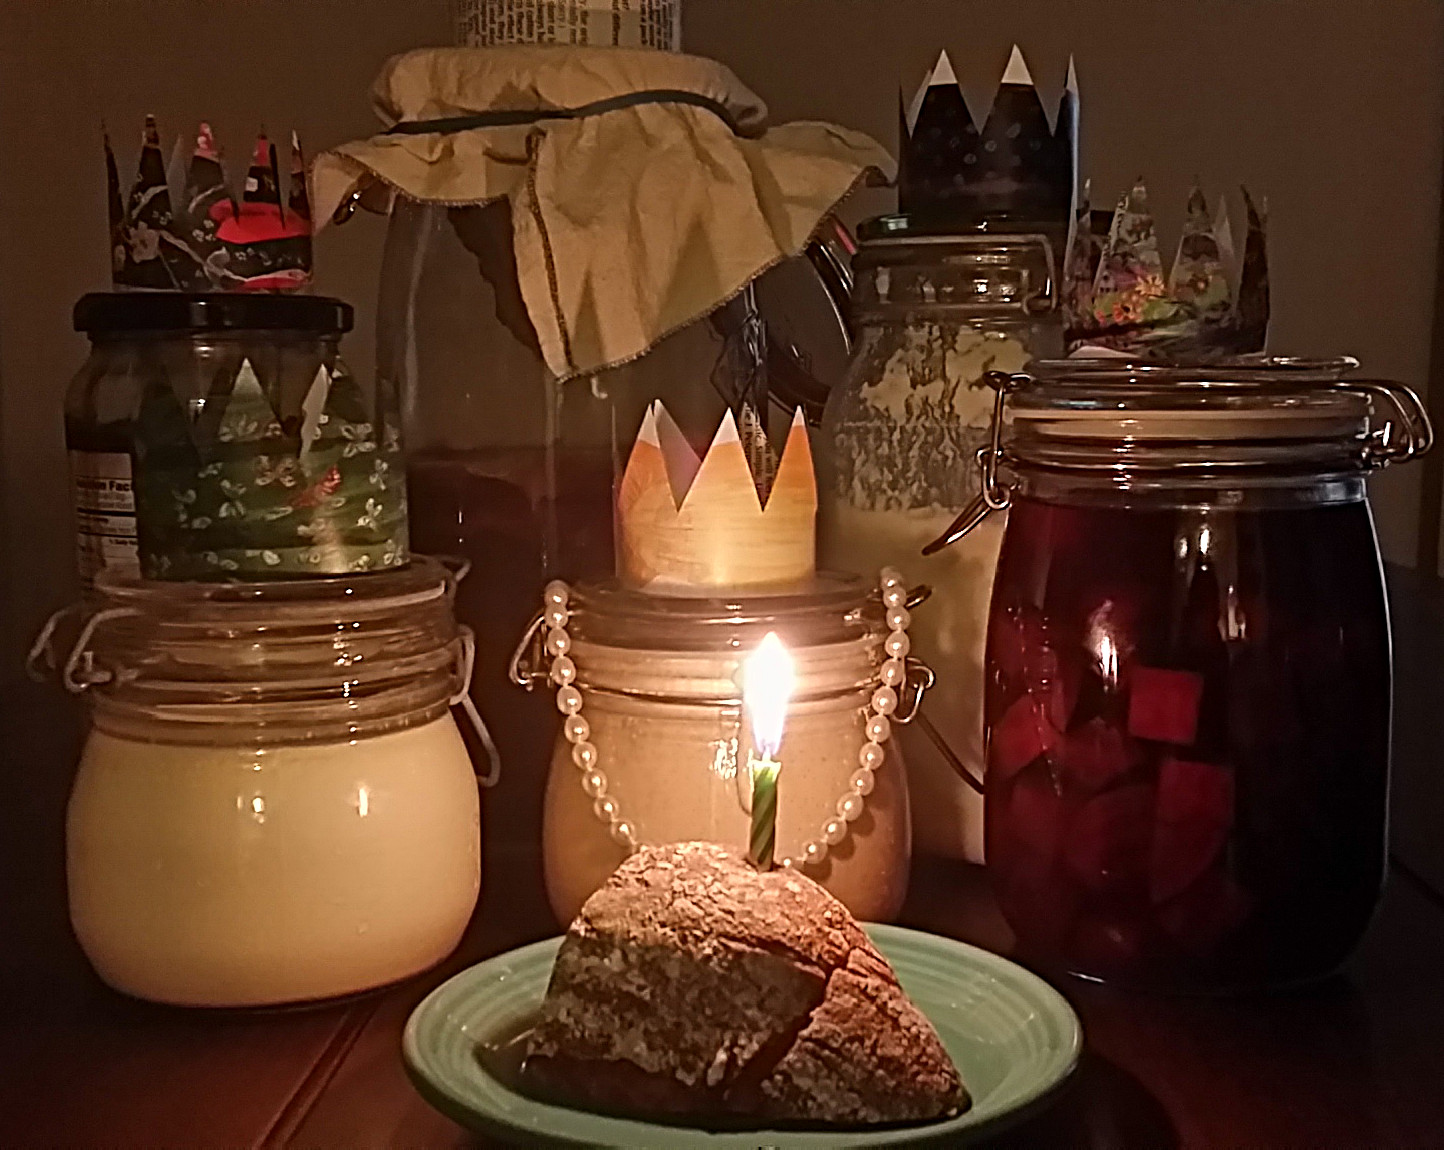
A year ago I wondered if Eleanor would make it to this day.
I had baked with a couple of other sourdough starters before Eleanor came along, and I thought they exhibited fundamental flaws—they lacked vigor, they smelled too acidic, they produced lackluster loaves. As I’ve come to realize over this past year, the flaws in fact lay with me and my feedings, not with those previous starters. Just as with a child—a parent’s teacher—I have learned so much over this past year of baking with Eleanor.
A short history of sourdough
The emergence of grain agriculture gave rise to the earliest empires. The stability and storability of dry grains made possible unprecedented potential for accumulating wealth and building political power…Failures of grain crops have toppled governments and sparked revolutions. — Sandor Katz, The Art of Fermentation
A true sourdough bread begins with the wild yeast in a starter. This starter culture contains the bacteria and yeasts that ferment the dough and transform flour and water into a delicious loaf of bread. The microbes live together in a symbiotic relationship, each taking and contributing something different to the starter culture and working together to ward off invading, bad microbes. These beneficial microbes are in the flour, in the air and in and on our bodies. Add water to the flour, and you revive the dormant microbes present there.
People had made bread this way for about 6000 years until the introduction of commercial yeast around 200 years ago. Commercial yeast speeds up production and results in consistent, yet less nutritious—and in my opinion, less delicious—loaves.
Benefits of sourdough
- Fermentation predigests grains, which reduces the amount of gluten in the dough.*
- Fermentation eliminates some of the peptides indicated in gluten intolerance.**
- Sourdough has a lower glycemic index than refined carbs, resulting in a slower releases of glucose into the bloodstream and less of an insulin spike.
- Phytates, anti-nutrients present in grains, can bind to nutrients, making them unavailable for the body’s absorption. Fermentation breaks these bonds and makes the nutrients bioavailable.*** So, I’ve known about this benefit for a while, but recently read in The Art of Fermentation that “Phytic acid reduces the availability of minerals not only in the food that contains phytic acid, but in other foods being digested at the same time” (Katz, p. 211). Holy smokes!
- Sourdough bread keeps longer than industrial bread and mold doesn’t develop on the crust. My bread stays fresh for a week (unless we’ve gobbled it all up).
- It tastes delicious! Sourdough literally makes your mouth water, preparing your body for digestion.
How to make and nurture a sourdough starter
(Go here for a more recent post on starting a smaller sourdough starter.)
If you get your hands on an established starter, you can begin with that. I enjoyed the process of starting from scratch, however, even with all the bumps along the road. I follow Michael Pollan’s recipe in his wonderful book, Cooked: A Natural History of Transformation.
Start a sourdough starter following these three simple steps:
- Combine 100 grams flour and 100 grams water
- Stir daily whenever you think of it
- Once you see activity (i.e., bubbling), begin to feed the starter regularly
1. Combine flour and water
Use a glass or ceramic vessel for your mixing and storing your starter. Ferments, which are acidic, will react with plastic or metal. I prefer to use a vessel with a wide mouth, which makes measuring out the perfect amount of starter easy. You don’t have to sterilized the container or your equipment. Just make sure you clean everything well.
Measure flour. Ideally, I mix inside a giant container, equal parts whole wheat and white flours to speed up the process of regular feedings. I then measure out my 100 grams of flour. When I run out of my half-and-half flour mix, which happens more often than not, I measure out 50 grams of each on my scale. I highly recommend a kitchen scale if plan on baking regularly. Flour measured by volume varies by weight.
If you don’t have a kitchen scale, measure out a generous 2/3 cup of flour.
You can use 100 grams of white flour. I imagine that will result in a airier starter and loaf but whole wheat contains more nutrients. I buy my flour in bulk in glass jars or cloth bags to reduce waste.
Warm up water. You want it warm, not hot—about 80 degrees Fahrenheit. I drink a lot of tea, so I usually feed my starter while I’m heating water for tea. Measure out 100 grams (100 ml).
Typically, I use filtered water for my ferments but it’s often unnecessary. Chlorine kills microbes—bad and good. If you can smell chlorine in your water, fill a vessel the day before you make sourdough or any other ferment, let the container sit exposed to the air and the chlorine with dissipate.
Stir flour and water together with a fork or your fingers. Scrape down the sides of the container and place a plate or cloth over top. You want some air circulation so don’t use plastic wrap (I banned if from my kitchen years ago and life has continued). Your starter with have the consistency of thick pancake batter. I have read about some bakers leaving this open to the air but I worry about bugs landing in it so I cover it.

2. Stir daily whenever you think about it
Keep your starter in a warm but not hot spot. Over the next few days, stir it a few times a day or any time you think of it. The stirring will help prevent mold from forming on top. It also injects air into the mixture, which encourages the microbes to proliferate.
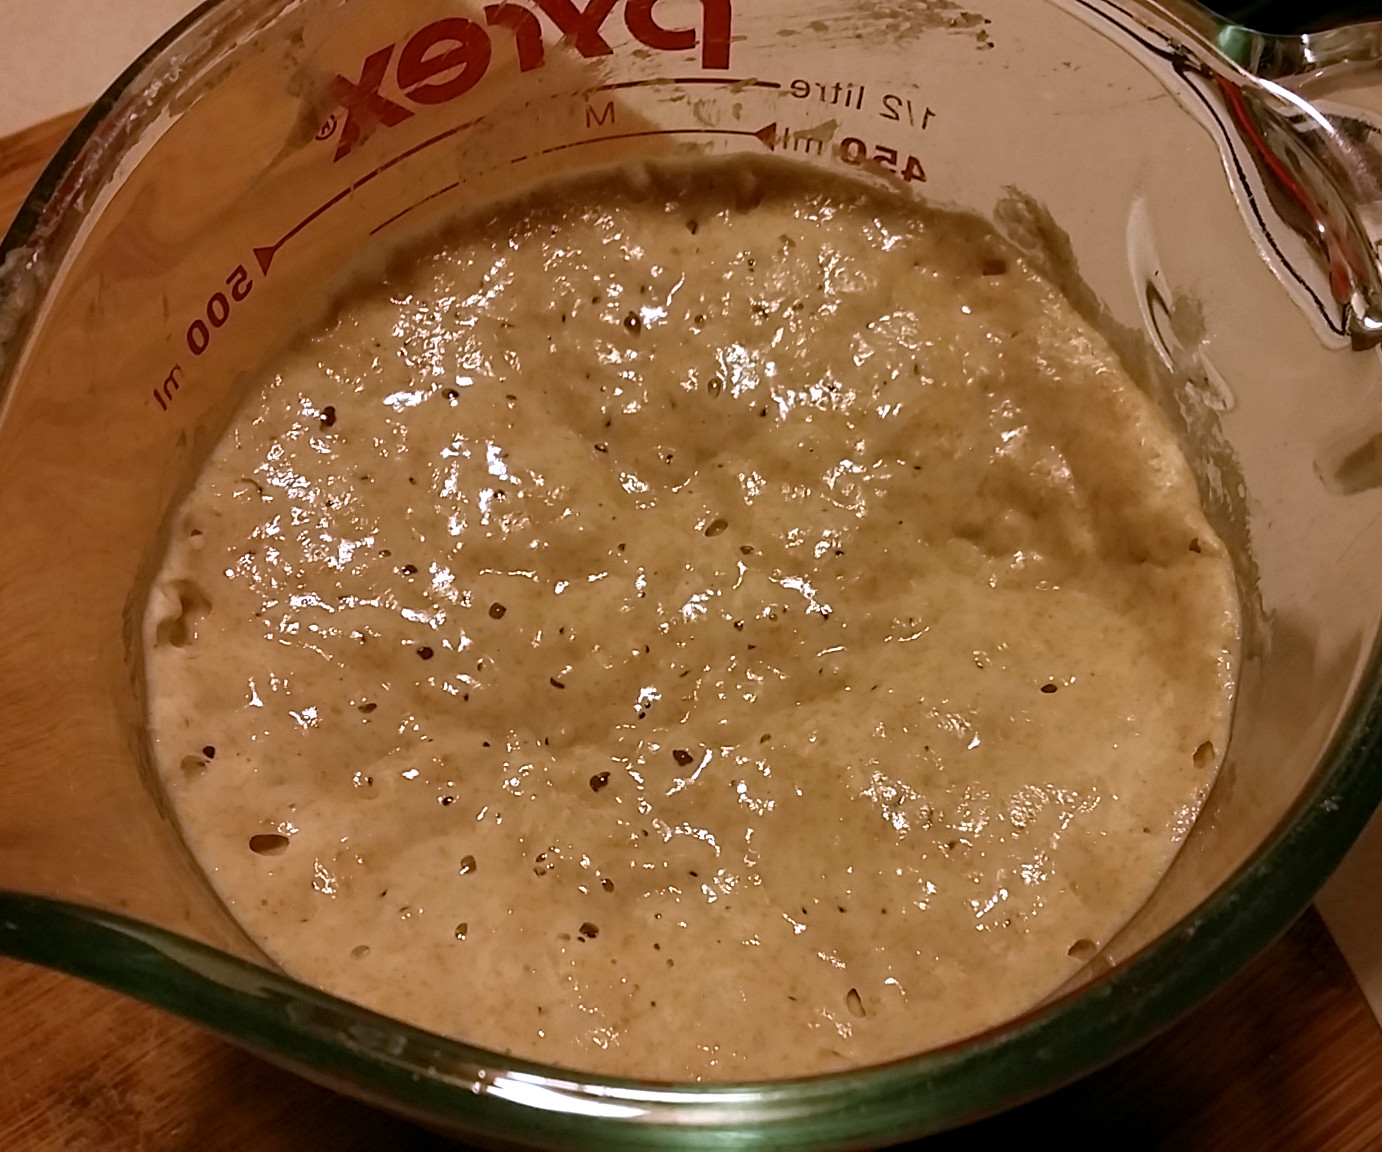
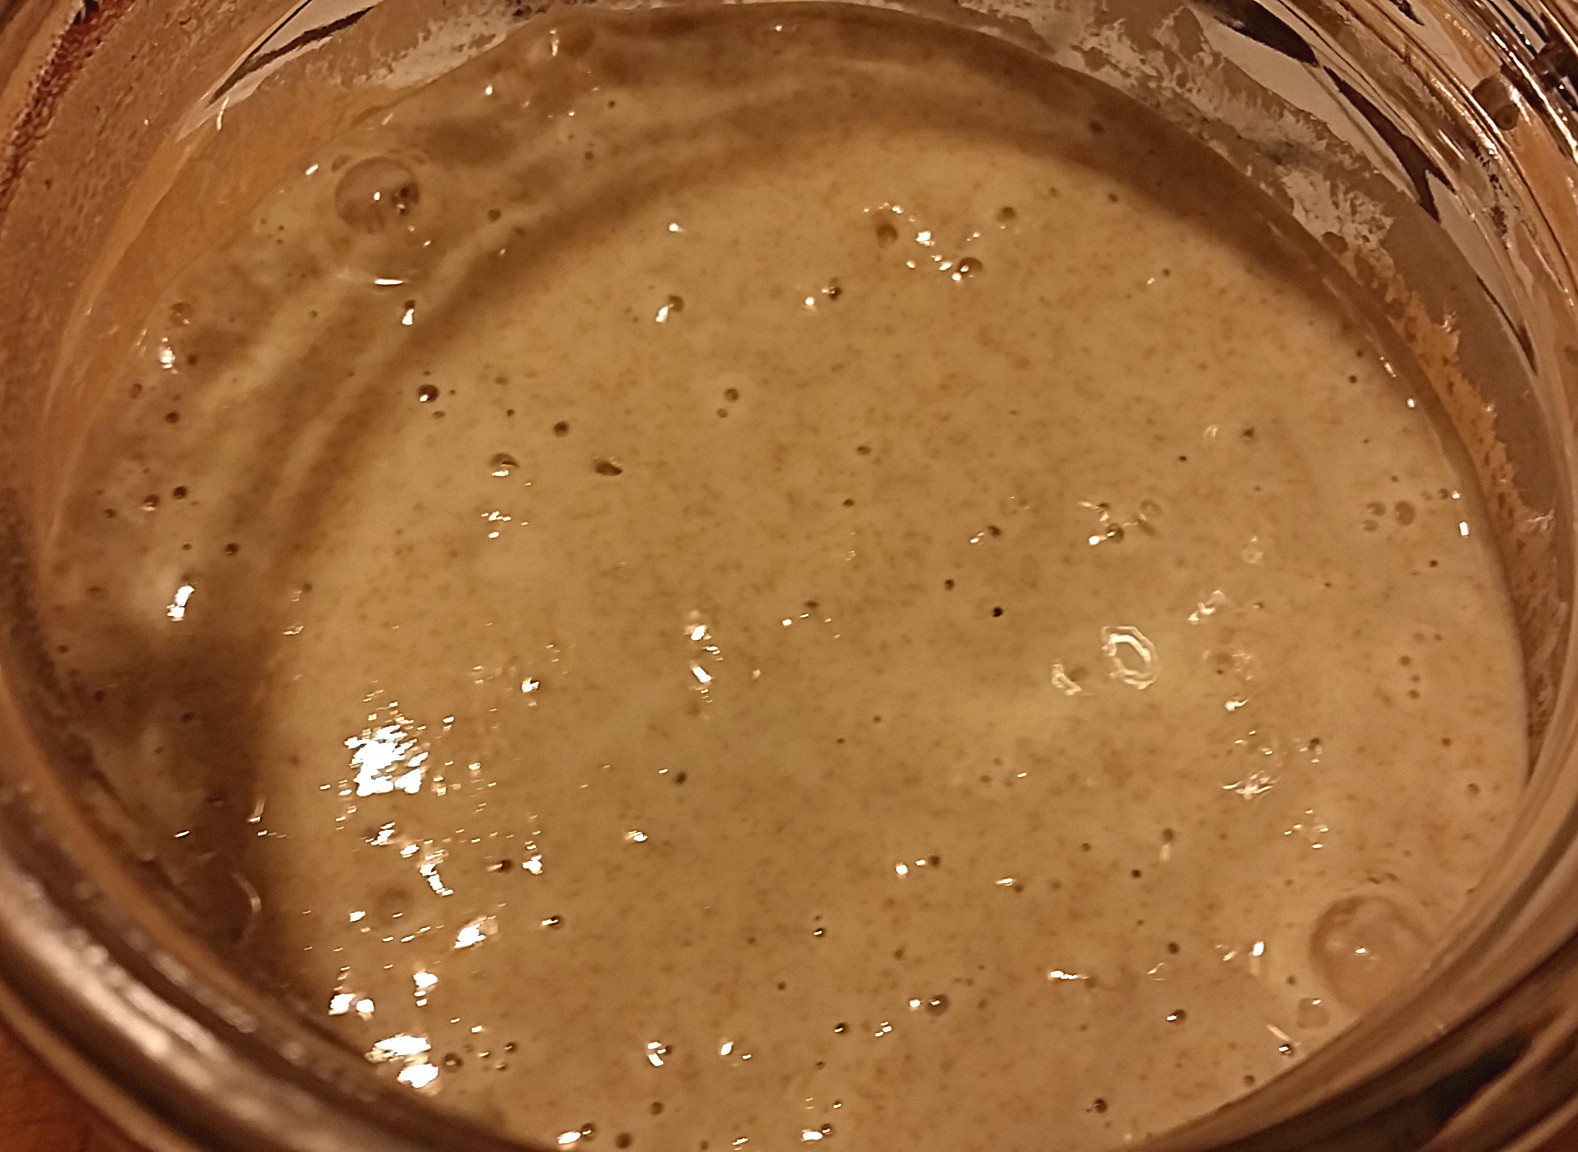
In a few days, if all goes well, you will see bubbling. Those bubbles mean that the dormant microbes in your flour have revived and will set to work transforming your mixture into a living culture, filled with good bacteria and yeasts. Your starter may smell sweet, fruity or sour, or a combination of these.
3. Once you see activity (i.e., bubbling), begin to feed the starter regularly
My starters begin bubbling after a couple of days, but it can take a week. To feed the starter, you need to discard about 80 percent of it (but don’t throw it out!). Mix another 100 grams of flour and 100 grams of warm water with the remaining two or three tablespoons of starter. After about five days to a week of feeding your starter regularly (daily or even twice a day), you can use it in recipes.
As with other ferments, like kombucha, yogurt, kefir and so on, to keep the culture alive, you add a bit from the previous batch to fresh ingredients. This adds some live cultures to the new batch of starter.
Some bakers swear that you must feed your starter twice daily, at 12-hour intervals. Sandor Katz says every two or three days will suffice, but prefers once-a-day feedings. I usually keep my starter in the refrigerator. Before I bake my bread, I pull out my starter and feed it three times, at 12-hour intervals. If I won’t bake that week, I feed it once and return it to the fridge.
The Sourdough Baker’s Dilemma
Right about now, you may be thinking, “I will discard huge volumes of starter if I bake regularly.” Welcome to the I-refuse-to-throw-out-discard-and-must-use-every-last-spoonful club. I have a few solutions:
- Bake with the discarded starter. Stockpile it in the fridge for later. We eat lots of homemade sourdough crackers which taste cheesy (but contain no cheese) and tangy. Here’s the recipe for those. These pancakes practically make themselves. Here is a vegan version. Sourdough buttermilk waffles work for breakfast or dinner. I use buttermilk I culture—the world’s easiest ferment (truly, two minutes to prepare). I have also made bread kvass and will write a post on that one day. This recipe looks fantastic but uses only a little starter.
- Unless you bake every day or two, store your starter in the refrigerator and reduce feedings to once a week. To feed, take it out of the refrigerator, let it warm up, feed it and allow it to ferment for a couple of hours before returning it to the fridge.
- Find someone on whom you can unload your starter. In the US and Canada, search for willing adopters on Craigslist. In the UK and Australia, check out Gumtree.
If you can recommend a good recipe that calls for discarded starter, please let me know! I feel like the sorcerer’s apprentice, deluged with starter. If you have something great for fresh starter, I’d love to hear about that too.
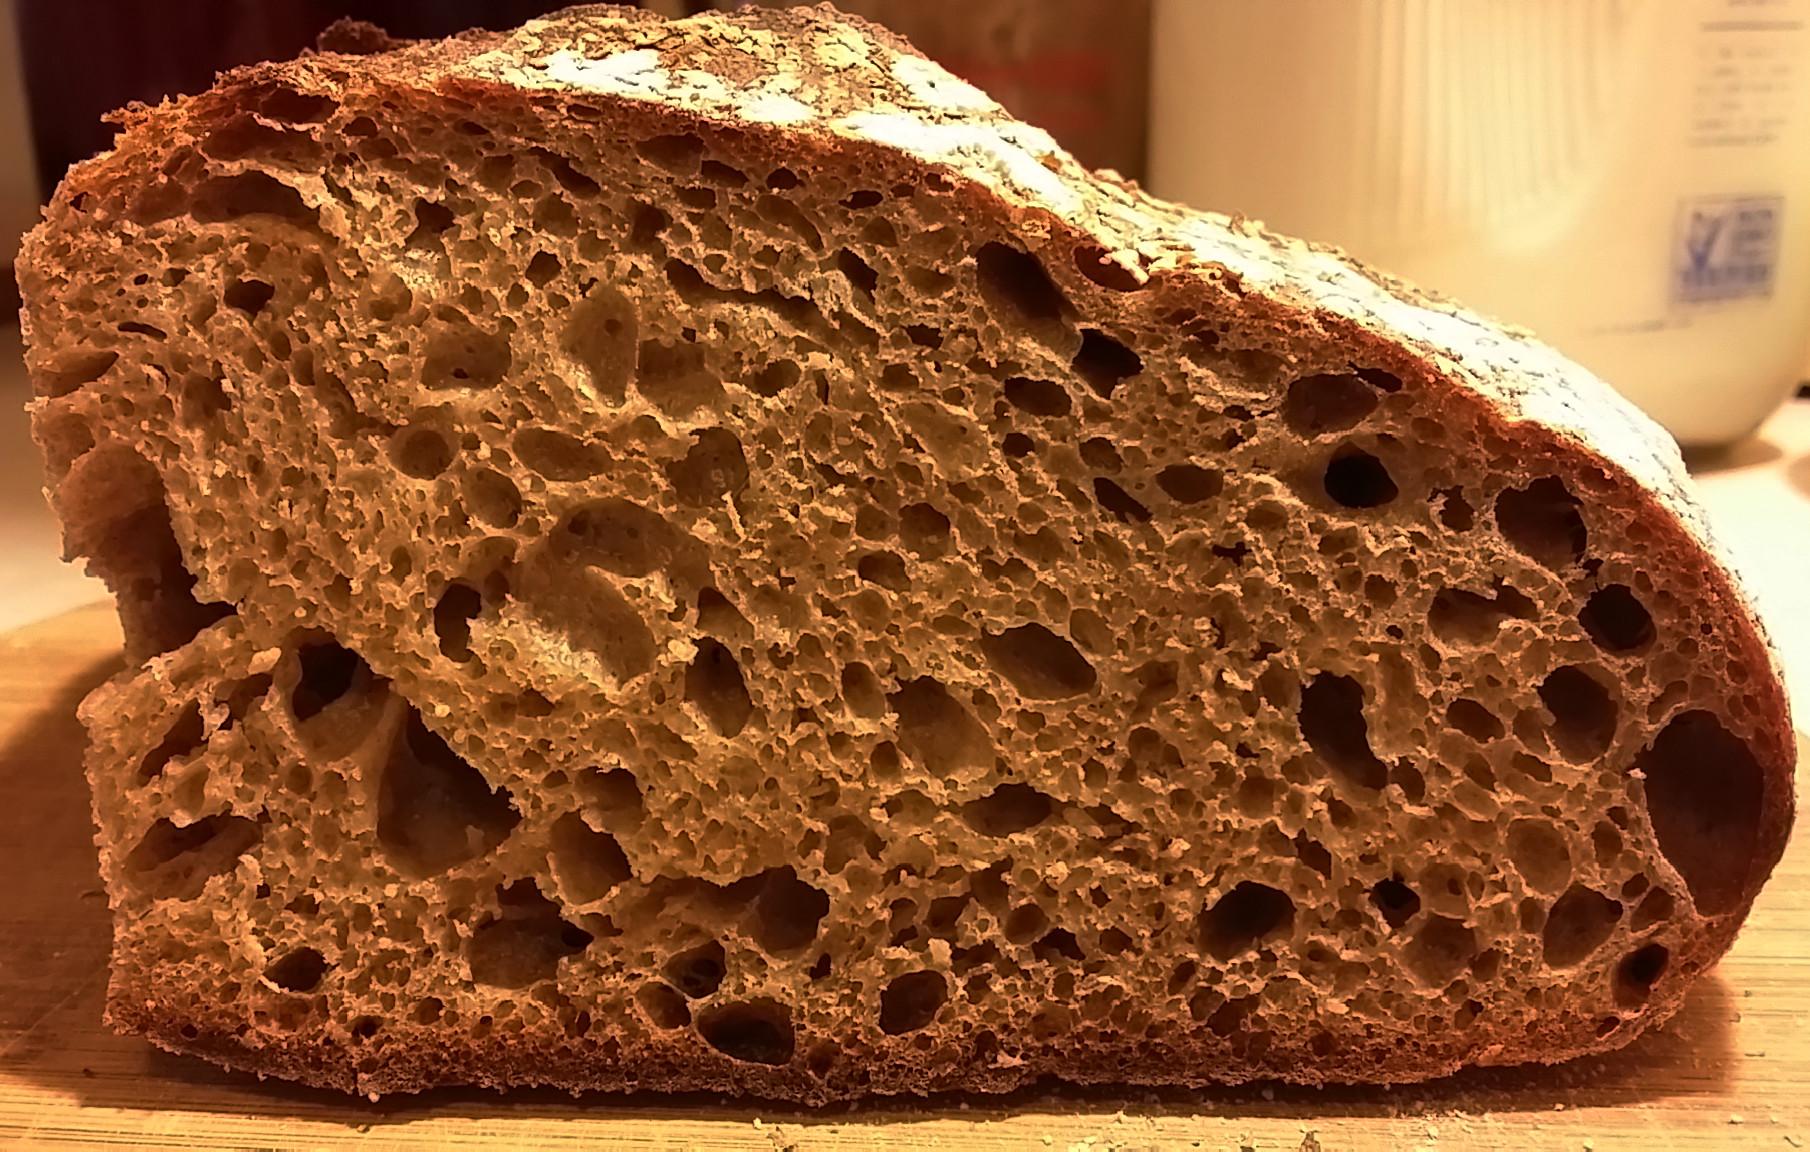
I’ll leave you with a crumb shot.
* Carlo G. Rizzello et al. and Maria De Angelis et al.
** Michael Pollan, Cooked, p. 229.
*** Joseph A. Maga.
Sourdough Starter
(Go here for a more recent post on starting a smaller sourdough starter.)
If you get your hands on an established starter, you can begin with that and feed as directed below.
Ingredients
- 50 grams whole wheat flour
- 50 grams white flour
- 100 grams warm water
Directions
1. Combine flour and water in a glass or ceramic vessel. Use a utensil or your fingers. The starter will have the consistency of thick pancake batter. Cover with a cloth, or slightly ajar plate or lid. Set in a warm but not hot spot.
2. Stir daily whenever you think of it.
3. After a few days to a week, when you see bubbling, feed your starter. Discard about 80 percent of it (store the discard in the refrigerator for later). Mix another 100 grams of flour and 100 grams of warm water with the remaining two or three tablespoons of starter. After about five days to a week of feeding your starter regularly (daily or even twice a day), you can use it in recipes.
4. Once you have a ready-to-use starter, either store it on the kitchen counter and feed at regular intervals (once a day) or store it in the refrigerator and feed it once a week, at which time you will bring it to room temperature, feed and let ferment for a couple of hours before returning to the refrigerator.