
Click here to go straight to the recipe.
Making yogurt takes a bit more work than making buttermilk, but it’s still very simple. You need yogurt with live cultures to get started, but once you have yogurt, set some aside to make the next batch and continue the cycle perpetually (or at least for many months, even years).
Most of the yogurt in the grocery stores comes in plastic containers. I avoid all food packaged in plastic. Even if plastic does wind up in the recycling bin, it gets downcycled, not recycled, meaning it degrades after each reincarnation, until it ends up in the trash (not exactly nirvana). Plastic also leaches chemicals into food. By making yogurt yourself, you’ll cut down on waste and exposure to BPA and just-as-harmful BPA alternatives.

Ingredients
- 4 cups organic whole milk in a returnable glass jar
- 1/2 cup organic whole yogurt with live cultures
The glass jar and lid from the yogurt does produce some waste. You can’t recycle the lid. St Benoit used to sell its yogurt in returnable jars but recently changed to the type in the picture above. But if I don’t let this culture die, I won’t have to buy yogurt again. The milk does have a plastic lid, so that results in some waste. I wish I had a cow…
Measure the yogurt out before you start so it can warm up to room temperature. You will add this to warm milk and so don’t want to plop very cold yogurt into warm milk and lower the overall temperature. Nothing horrible will happen. It just might take your yogurt a little longer to culture.
Directions

1. Pour milk into a heavy pot. Cream from my whole milk has melted here, causing those yellow blobs of fat to form. I eat fat. Fat is good for you.
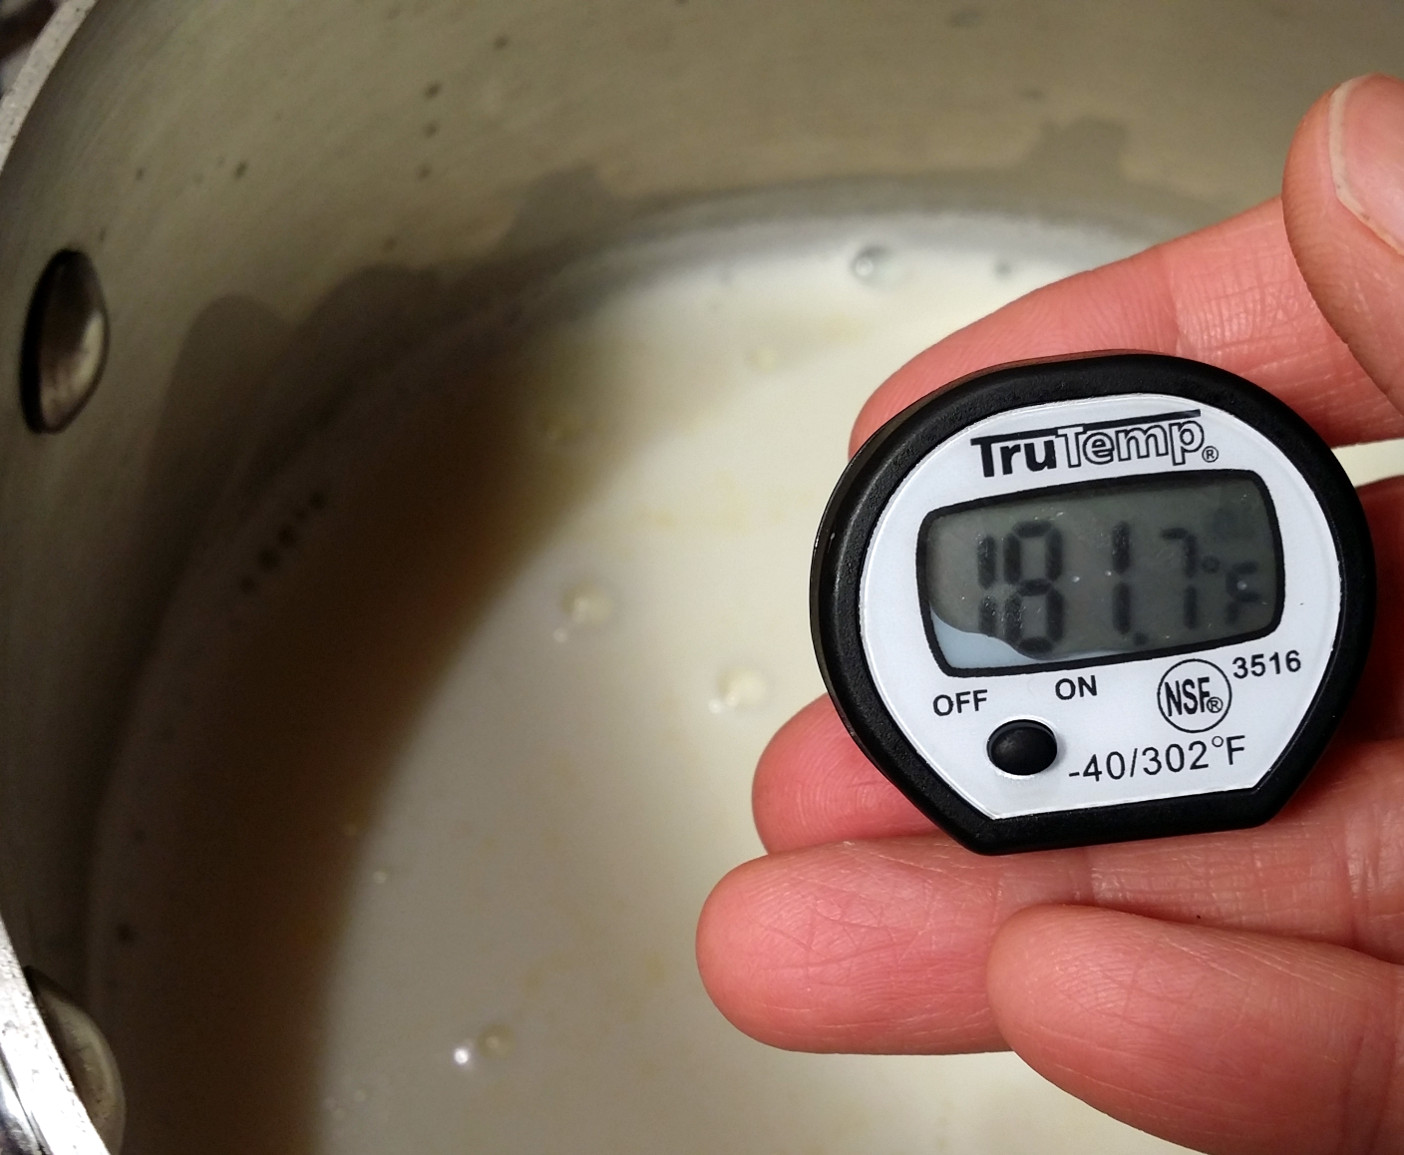
2. Slowly heat milk to 180 degrees over medium-low heat, stirring frequently to avoid scalding it. Heating the milk results in thicker yogurt by altering the milk protein casein, and by concentrating the milk.
Mine went over a bit. It’s hard to take photos and stir and hold a thermometer and hit 180 degrees on the nose.

3. Wait for milk to cool to 110 degrees. This seemed to take a while (twenty minutes?), probably because I was waiting to get this shot of the thermometer.

4. Stir yogurt into milk.

5. Cover the pot with a lid or transfer liquid to a shallow, covered dish. Put in a warm place overnight. My oven has a pilot light, which keeps things toasty but not hot.
That beige bubbling goop in back left is my sourdough starter. If you’ve read my blog or have spoken to me for more than five minutes, you may know that I make bread from wild yeast. I’m basically obsessed.

In the morning, you should have yogurt.

6. Transfer your yogurt to a glass jar and refrigerate. I yielded about 3 1/2 cups. It was runny but it will thicken when chilled. If you want it even thicker—like Greek yogurt—just strain it (see below).
Variation: Greek Yogurt
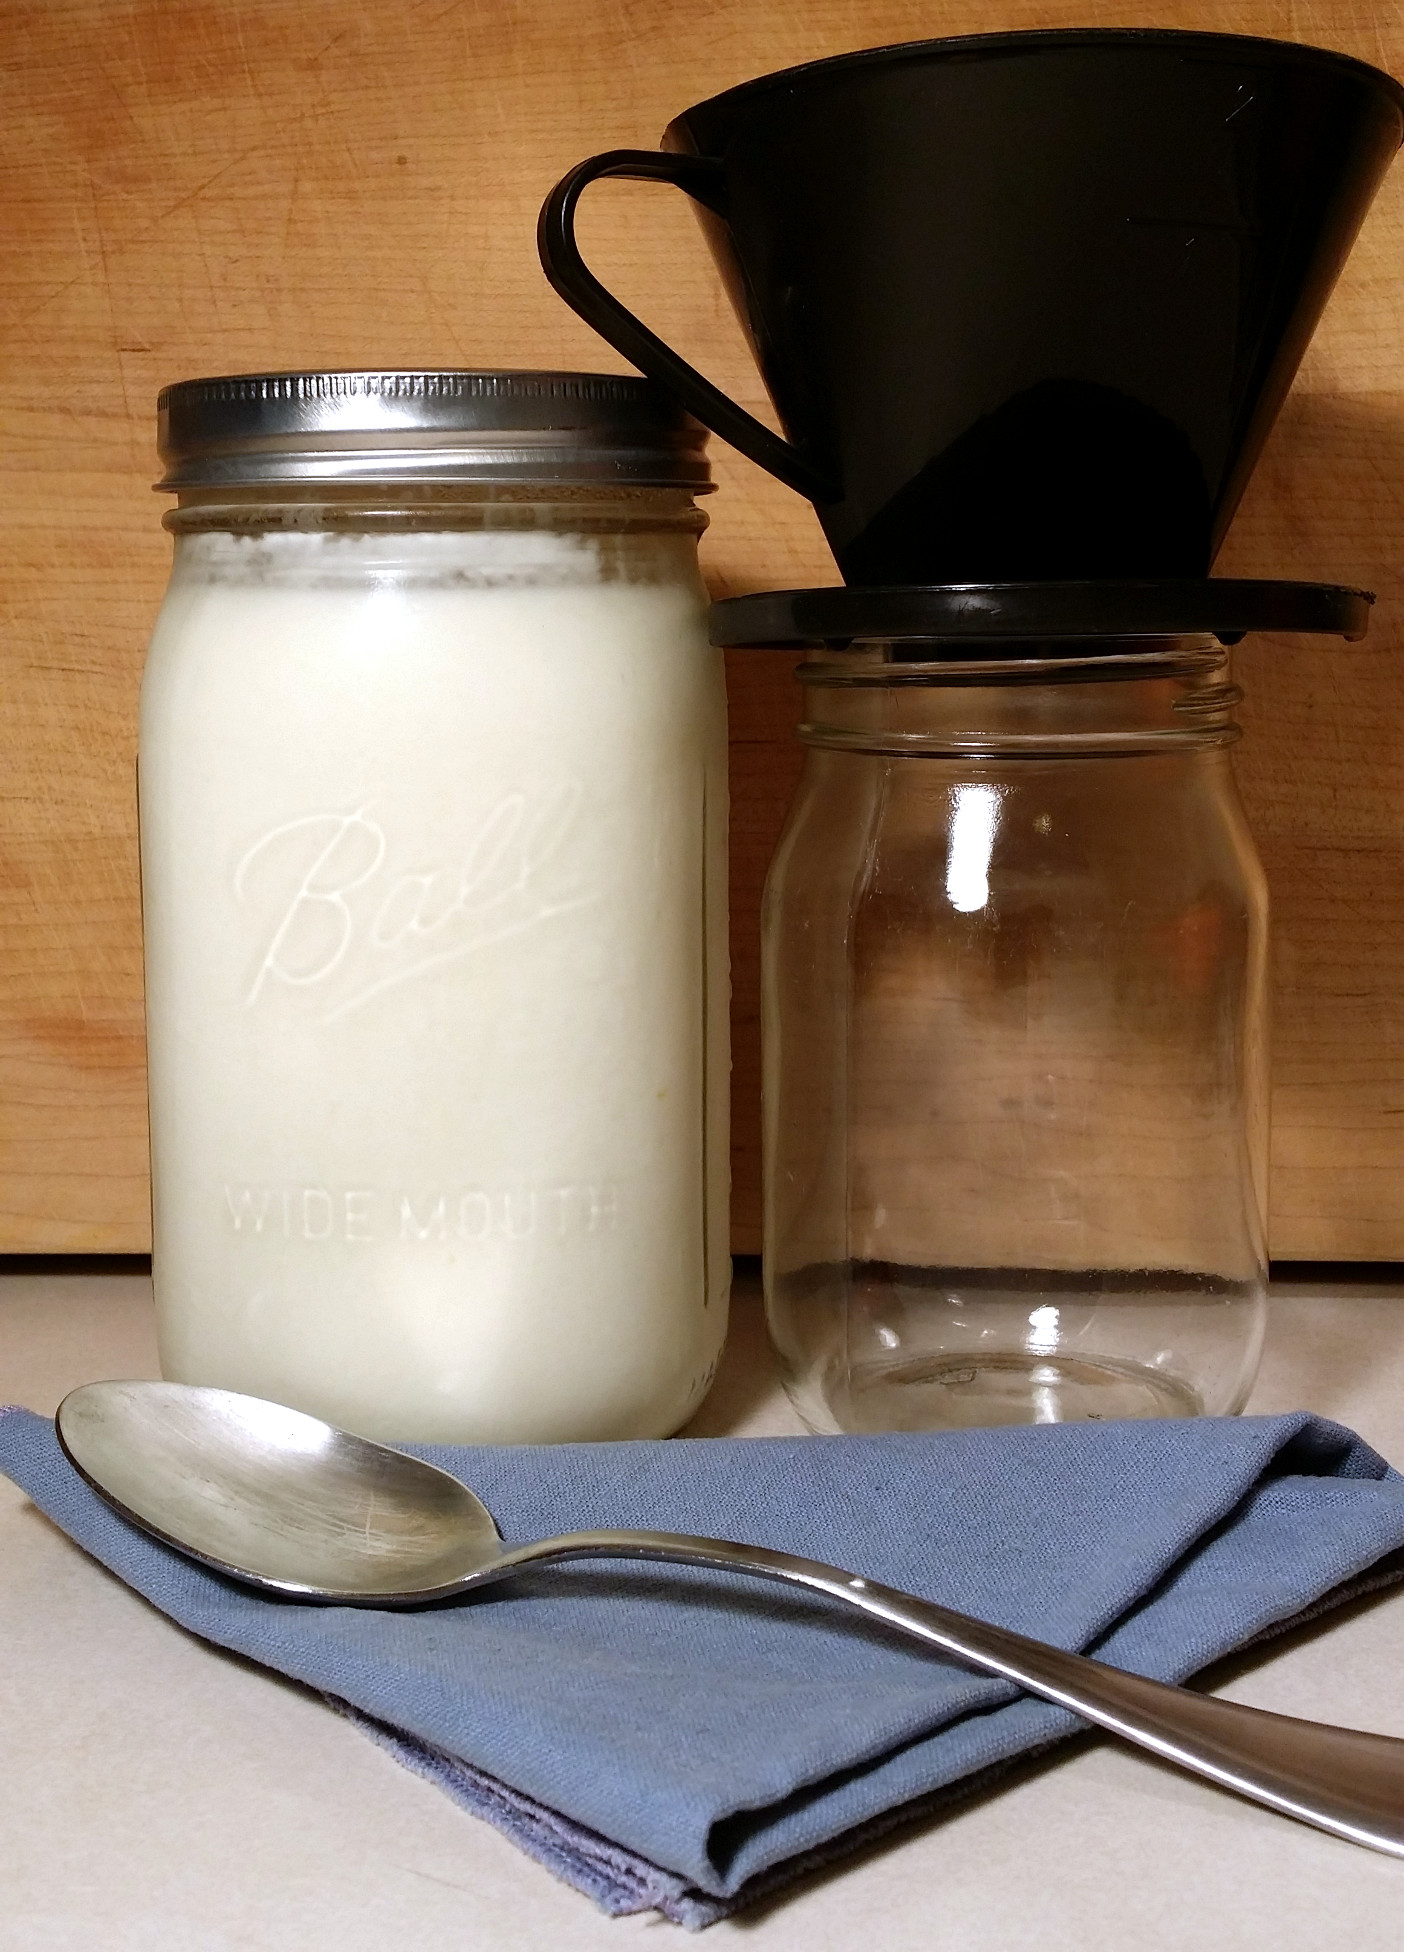
You’ll need something to strain the yogurt in—a sieve lined with cheesecloth or a coffee filter cone lined with a thin cotton cloth. I use the latter. (Alas, my coffee filter cone is made of plastic. I acquired it before I stopped buying plastic. I don’t use it for coffee though—plastic and hot water don’t mix. I actually don’t drink coffee, just vats of tea.) And you’ll need a container to catch the whey that drips out of your yogurt. Once you have your equipment assembled, just follow the instructions below.

1. Place the coffee filter or other strainer over a jar or container. Line it with your cheesecloth or other thin, loosely woven fabric. Pour in the yogurt. I used about 1/2 cup.

2. Wait for yogurt to strain. I covered my yogurt with a small plate after I took my photo. I had a bunch of whey after only a few minutes. You can use this whey, filled with probiotic goodness, to kickstart a ferment such as beet kvass or fermented salsa.

After about an hour, my yogurt had thickened substantially and I had collected quite a bit of whey. If you keep straining, you’ll eventually get yogurt cheese.

Save your whey! It’s full of microbes you can use it to kickstart a fermentation, such as sauerkraut, kimchi, pickled cucumbers, beet kvass, pickled garlic, pickled beets, relishes, chutneys (I’m getting hungry)—all sort of foods! You can add it to sourdough starter too, although I have yet to try this myself. It’s on my to-do list.
When I have neglected my yogurt and need yogurt to make yogurt (and to eat yogurt), I buy local St Benoit. Made from Jersey cow milk, it comes in a glass jar rather than plastic, and tastes sooooo good. It lasts about four weeks in the refrigerator, so I assume that’s how long mine lasts too. We usually use it up before then.
Enjoy your yogurt!
Zero-Waste Yogurt
Yields approximately 3 1/2 cups
Ingredients
- 4 cups whole milk
- 1/2 cup whole yogurt with live cultures
Directions
1. Pour milk into a heavy pot.
2. Slowly heat milk to 180 degrees over medium-low heat, stirring frequently to avoid scalding it.
3. Wait for milk to cool to 110 degrees.
4. Stir yogurt into milk.
5. Cover the pot with a lid or transfer liquid to a shallow, covered dish. Put in a warm place overnight.
6. In the morning, transfer yogurt to a glass jar and refrigerate.
7. To make Greek yogurt, strain yogurt in a coffee filter cone or sieve lined with cheesecloth or other thin fabric, and place over a container to collect the whey. Set aside for an hour or more, until yogurt has reached your desired consistency.