


Updated 01/18/18
Click here to go straight to the recipe
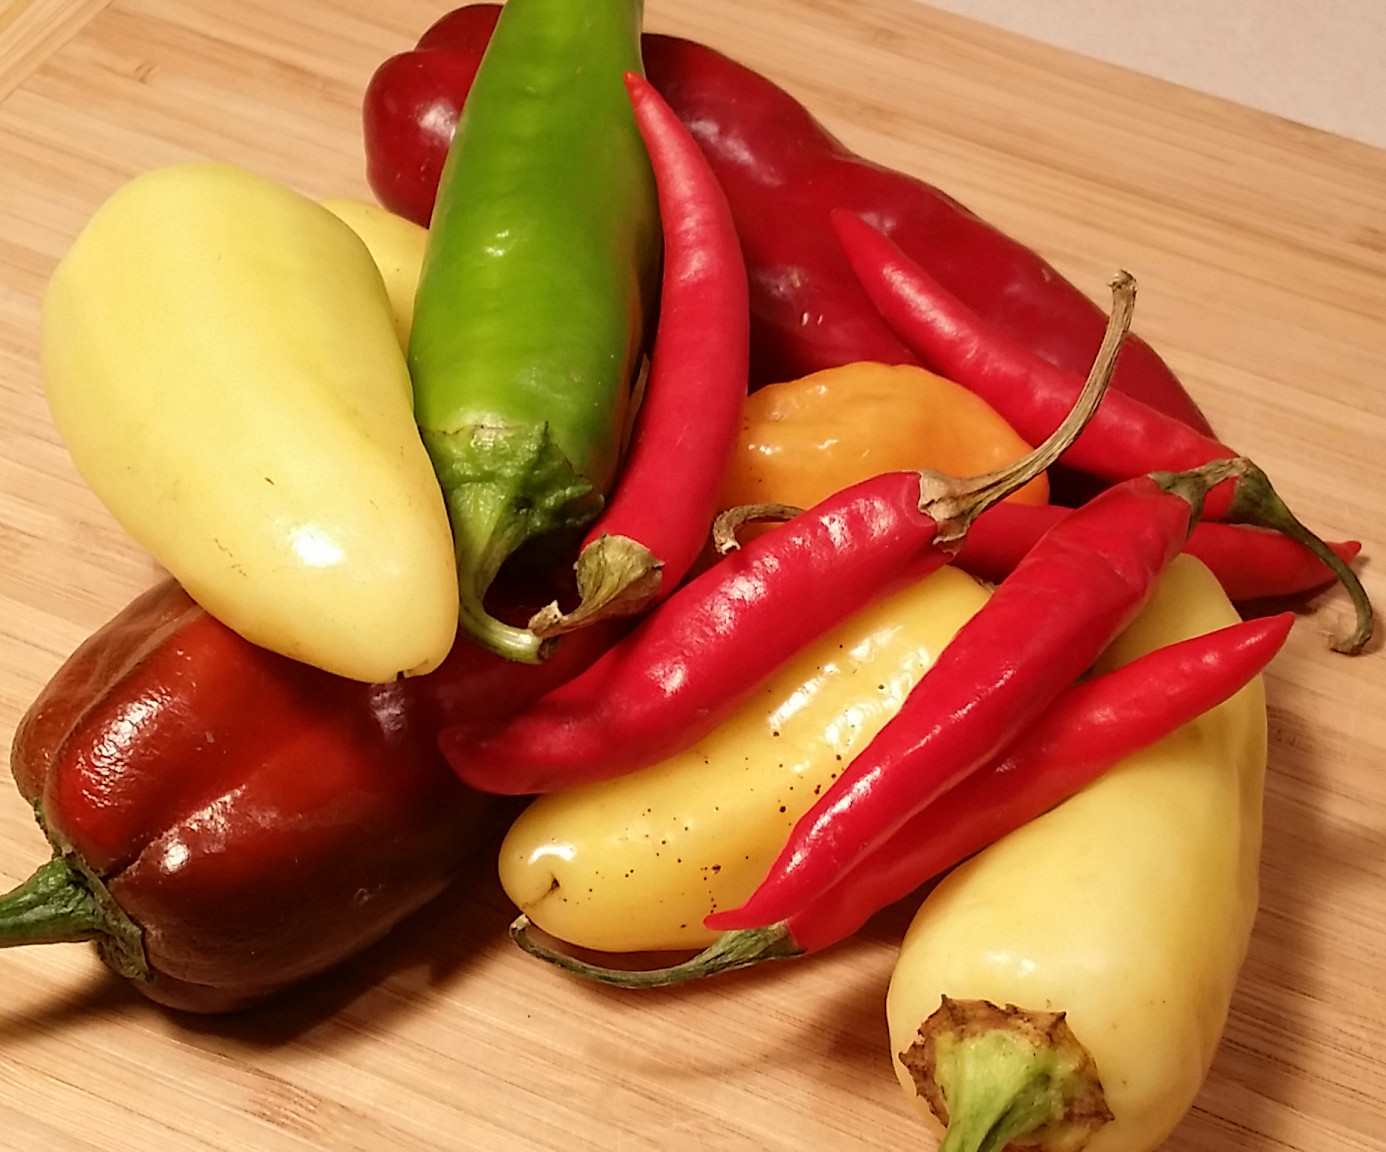
I grabbed a handful of hot peppers at the farmer’s market a couple of months ago to ferment. It was so easy! Every time I try a new ferment, I find myself saying that. I’m convinced that anyone attempting to simplify their life will eventually discover fermentation. At least, that’s how it happened for me. I wanted to cut out plastic and now obsess over my kombucha mother.
I spied a few hot peppers at the farmer’s market on Sunday (but not many) here in California, but for most of us in the Northern Hemisphere who want to eat seasonally, hot peppers have fallen from the menu. I do have some readers in the Southern Hemisphere though, so maybe some of you can soon harvest hot peppers and make this 🙂
Ingredients
- A handful of hot peppers
- 2 cloves garlic
- 1/2 teaspoon salt or to taste
Directions
1. Chop peppers and mince garlic.
2. Combine peppers, garlic and salt. Ordinarily I use my clean hands to combine the everything for a vegetable ferment. Don’t do this with hot peppers! Your skin will thank you. Taste a little to make sure you’ve added enough salt.

3. To ferment vegetables, you must submerge them in liquid in order for the lactic acid bacteria (present on all vegetables) to get to work and perform the fermentation. Salt helps draw out the liquid. Crushing the vegetables breaks down their cells walls, which also releases water.
When making sauerkraut, I grab the vegetables by the handful and crush them. But not hot peppers! Ouch! I crushed these with the base of a small jar, as in the above picture. I have seen beautiful wooden vegetable pounders online, but wouldn’t run out to buy one. One of the beauties of fermentation is its simplicity. You don’t need a lot of fancy equipment to ferment food. Of course if someone offers me a beautiful wooden vegetable pounder, I’ll take it ;p

4. Pack everything in an appropriate size jar. Leave about an inch and a half head space at the top.

5. If you did not render enough water from the peppers by salting and crushing them, pour a bit of tap water over them until covered. If you have heavily chlorinated tap water, let it sit out for several hours to dissipate the chlorine. Chlorine can kill the microbes that power the fermentation.
After I added a bit of water, I shoved a folded cabbage leaf into the top of the jar to submerge the peppers under the liquid. Eventually that will transform into a tasty jalapeńo-infused cabbage leaf. Mince it up and toss it into something. I have some 1-inch glass bowls that, when placed in the top of a small jar, also do the trick. nb: For a vegetable ferment to work, you must submerge the vegetables in liquid!
6. Replace the lid on the jar and set it aside to ferment for at least a month. For the first several days to a week, the bacteria will create a lot of carbon dioxide as a byproduct of fermentation (if all goes well). Burp your jar (i.e., open it) daily to release the CO2 and built-up pressure. You don’t want a hot pepper explosion all over your kitchen.


7. Blend if desired.
8. Store your peppers in the fridge. This will keep for at least a year.
That’s it!
What to do with your hot peppers
- I serve chopped fermented jalapeńos and chopped preserved lemons on the side of Indian dishes. So good!
- If you opt to keep these chopped rather than purée them, after you’ve eaten all the peppers, save the liquid. That is gold. If you want to add some heat and flavor to a dish, just pour in a bit of the liquid. It’s potent and delicious.
- You can also cook with these and some heat to recipes. Yes, cooking kills the good microbes, but these taste so good.

I cook channa masala quite often (above) and last week substituted a tablespoon of hot pepper sauce for the serano chiles the recipe called for. It was so good, I had leftovers for breakfast the next day.

Last week, I also made this Alton Brown recipe for baked beans (see above) and substituted two tablespoons of my puréed fermented peppers for the jalapeños. Delicious!
Yes you do have to wait at least a month before you can enjoy your peppers, which means you have to plan ahead. But they requires zero energy to make; they contain healthy, living bacterial cultures; and they taste delicious.
Fermented Hot Peppers
Ingredients
- A handful of hot peppers
- 2 cloves garlic
- 1/2 teaspoon salt or to taste
Directions
1. Chop peppers and mince garlic.
2. Combine peppers, garlic and salt. Do not mix hot peppers with your hands; you’ll burn your skin. Taste a little to make sure you’ve added enough salt.
3. Crush the peppers with a pestle or vegetable pounder.
4. Pack everything in an appropriate size jar. Leave about an inch and a half head space at the top.
5. If you did not render enough water from the peppers by salting and crushing them, pour a bit of tap water over them until covered. Shove a folded cabbage leaf into the top of the jar to submerge the peppers under the liquid.
6. Replace the lid on the jar and set it aside to ferment for at least a month. For the first several days to a week, burp your jar (i.e., open it) daily to release the CO2 and built-up pressure.
7. Blend if desired.
8. Store your in the fridge. This will keep for at least a year.