
Updated 09/19/17
During my fermentation workshops, I give students samples of my various kombucha flavors before I put them to work. They always ask for the recipes so I thought I better get to it and post a bunch.
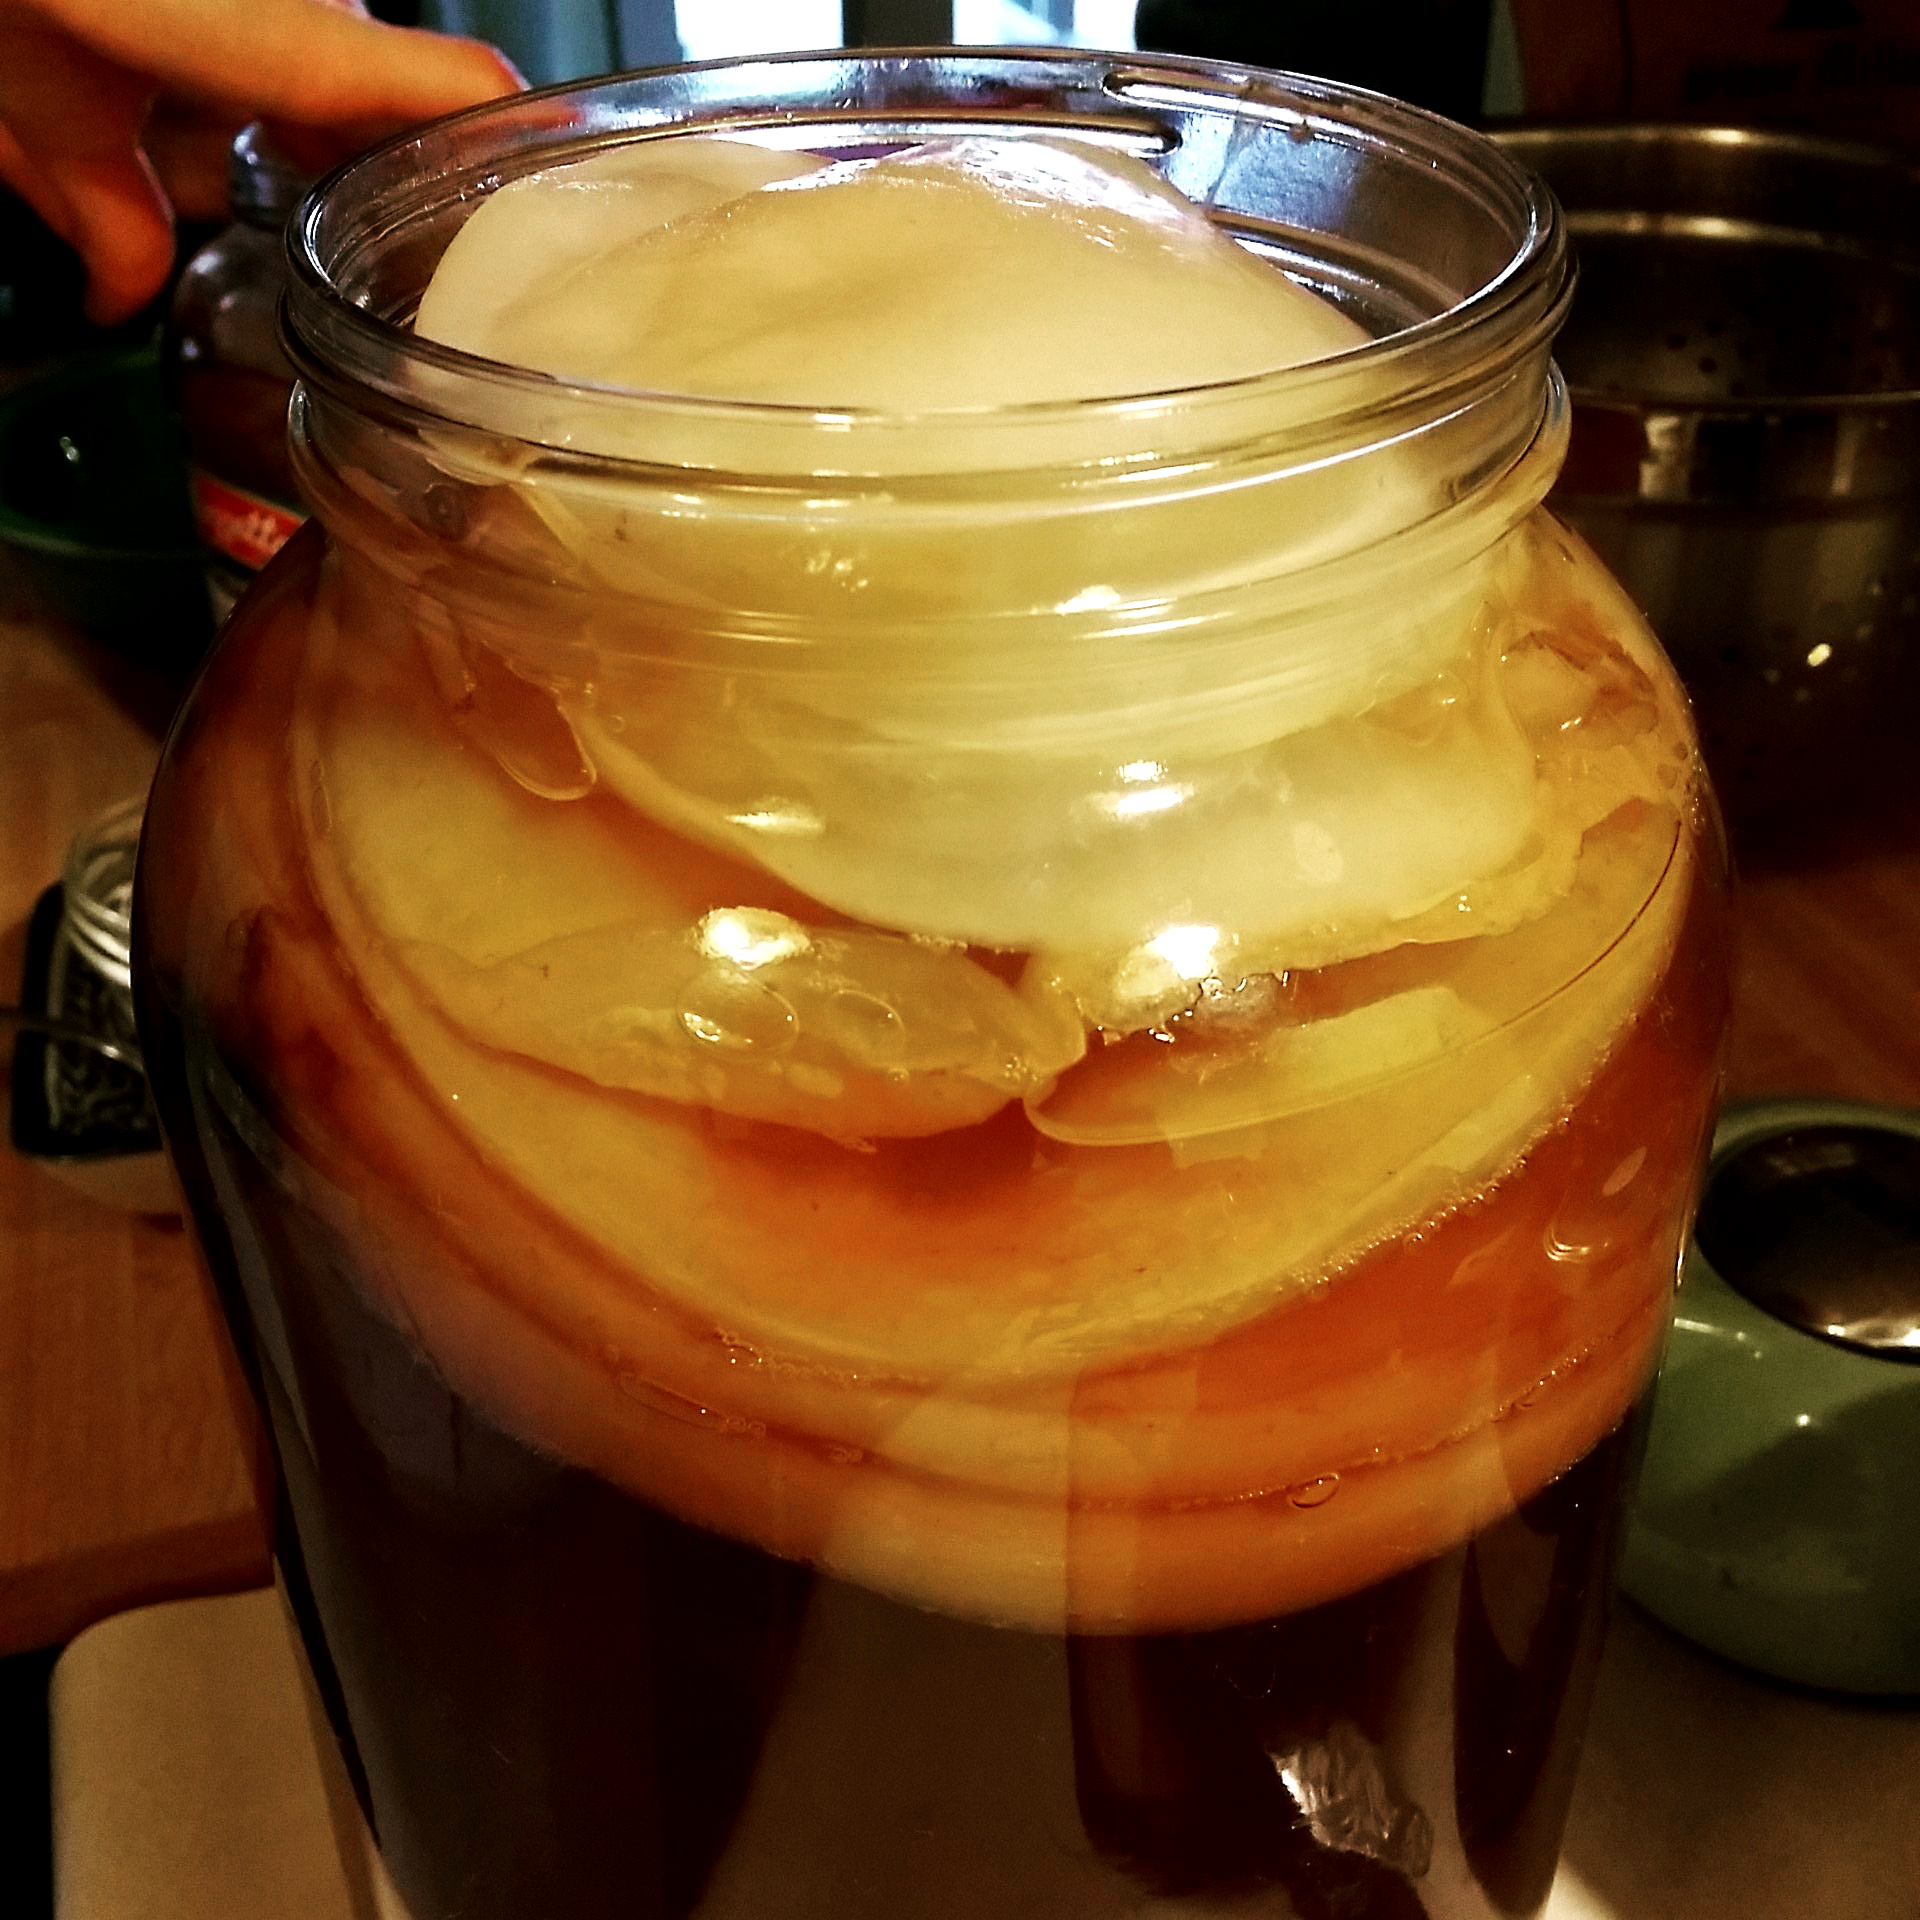
Before you can flavor kombucha, you must first brew a batch and wait for it to ferment. You can find kombucha instructions here for the initial fermentation. The only secret to brewing kombucha is hunting down a mother or SCOBY (symbiotic culture of bacteria and yeast), which transforms your tea into a delicious, effervescent and probiotic drink. If you have trouble finding a mother, join the very active Wild Fermentation group on Facebook and ask around. The way kombucha mothers reproduce (they have no shame), you may find someone desperate to unload a few layers of SCOBY on you.
After your tea has undergone its initial fermentation, you have several choices for your next step:
- Drink it. First reserve some to inoculate your next batch!
- Do nothing. Let your kombucha and mother sit for up to six weeks in their kombucha hotel and go on an extended vacation yourself (week one begins on brewing day). Bon voyage! When you return, start a new batch of kombucha as usual and transfer the mother to it. You now have very strong vinegar which you can use for cleaning, cooking and personal care.
- Flavor and bottle it.
- Bottle it plain.
The equipment
I find flip-top bottles result in the most carbonation. Last week, a friend bought me two at a yard sale. What a find! If you don’t own any flip-top bottles, reuse old screw-top kombucha bottles you may still have back from the days when you shelled out $5 a bottle for this stuff. I also sometimes fill a half-gallon carboy (fancy lingo for “jug”). If you flavor your kombucha with fresh strawberry, which tends to fizz more than anything, even a non-flip-top bottle should render respectable carbonation.
I love my stainless-steel funnel. You shouldn’t brew or bottle acidic kombucha in metal vessels, which can cause an undesirable reaction. But the few seconds the kombucha comes into contact with the funnel doesn’t harm mine. I live a plastic-free life and so don’t use a plastic funnel.


Bottling, storing and opening directions
Sometimes I brew kombucha with oolong tea, sometimes green tea. I adore pu-erh. You must use tea from the camellia sinensis plant for your initial brew: black, white, green, oolong or pu-erh. All of the flavors I have made taste good with the tea varieties I have tried.
Choose your desired flavorings, add them to a clean bottle and fill it with kombucha. I find my kombucha produces more fizz with two to three inches of head space remaining in the bottle (see the pic below). Other bloggers have written they get more fizz with less head space. Experiment and take notes on equipment, flavors and results, good and bad.
Seal your bottles and set aside for about two days maximum. The addition of fruit (or sugar) will kickstart the secondary fermentation, which produces carbon dioxide in your bottles—and that highly sought-after fizz. A warmer environment will speed up the fermentation. I like to store my bottles in a cupboard during the secondary fermentation as the buildup of carbon dioxide can cause bottles to explode. I have never experienced it and hope I never do. A cupboard will (somewhat) contain such disasters.
At the end of the secondary fermentation, refrigerate your bottles a couple of hours before drinking (unless you prefer kombucha warm). Chilling your kombucha will calm down an overly carbonated bottle quite a bit. Refrigeration will also slow down the fermentation but not stop it completely, so your drink will continue to slowly ferment and become more vinegary. Drink it within a couple of weeks for optimal flavor. Unlike soda, this living food does have a limited shelf-life. If yours turns very vinegary, mix it with fresh, sweeter kombucha. I do this to avoid wasting an overabundance of kombucha and it tastes delicious.
When opening, take one (preferably all) of the precautions below, especially when you flavor kombucha for the first few times.
- Put a towel over your bottle when opening
- Place your bottle in a bowl so that if it does spew, kombucha lands in the bowl and you can drink it
- Open it outside
I wish I had a pic of one of the first bottles of strawberry I made, which sprayed all over my kitchen when I opened it. I was so horrified, I didn’t think to take a picture of the kombucha and strawberry chunks all over me, my walls, ceiling, floor and even my laptop sitting six feet away. I don’t want to scare you, just warn you. My bottles usually open with nice pop only, not a messy geyser.

The flavors
All instructions below fill one 16-ounce bottle. The added sugar in some of these flavors is optional and I’d recommend bottling your first batch without added sugar. If you find you don’t get much carbonation, consider adding a small amount of sugar to the next bottles.
1. Elderberry-lavender
- 1/4 tsp sugar
- 1/2 to 1 tsp dried elderberries
- 1/2 tsp dried lavender
- 2 cups kombucha
2. Rose-cardamom
- 1/4 tsp sugar
- 1 1/2 tbsp dried rose petals
- 3 whole cardamom pods
- 2 cups kombucha
3. Strawberry
- 1 large strawberry, chopped into small pieces
- 2 cups kombucha
Strawberries result in seriously fizzy kombucha. Open your first bottle outside.
4. Watermelon
- 2 ounces puréed watermelon
- 2 cups kombucha
5. Candied ginger
I use Alton Brown’s recipe for candied ginger.
- 5 or 6 pieces candied ginger
- 2 cups kombucha
6. Lemon-lavender
- 1/2 tsp sugar
- 1 tbsp lemon juice
- 1/2 tsp dried lavender
- 2 cups kombucha
7. Hibiscus
- 1 tablespoon dried hibiscus flowers
- 2 cups kombucha
8. Other flavors
We have also made delicious mango, nectarine, peach-jalapeño, chai, blueberry, cherry, raisin flavors and more. As a rule of thumb, combine 10 or 20 percent fruit with 90 or 80 percent kombucha. I find I need less dried fruit that fresh.
Of course, you can bottle plain kombucha. Just add a bit of sugar to the bottle, fill it and proceed as usual.
Cheers!