
For pickles, fermentation was the primary means of preservation until the 1940s, when direct acidification and pasteurization of cucumber pickles was introduced. — The Art of Fermentation
Store bought pickles may taste good but to render them shelf-stable, food manufacturers pasteurize the cucumbers in vinegar. On the plus side, they last forever. On the down side, these dead vegetables lack the probiotic goodness of fermented dill pickles. (Click here for info on why you would want to eat probiotic foods.)
A few grocery stores near me carry fermented, probiotic-filled Bubbies dill pickles in the refrigerator section. But I enjoy making dill pickles myself when cucumbers are in season. They’re pretty simple to prepare—you stuff a bunch of ingredients into a jar and wait. They don’t cost much either.
Keeping the cucumbers crispy, however, poses a challenge. Adding grape leaves or other ingredients that contain tannins (oak leaves, horseradish leaves, loose-leaf black tea or, according to a tip from a follower on Instagram, black currant leaves) renders a crispier pickle. However, even with the addition of tannins, you must keep an eye on your cucumbers while they ferment—they can turn from crispy to mushy very quickly, especially in hot weather (when cucumbers happen to be in season).
I have made these with spices and without. Both taste good. I’ve also made them with various amounts of garlic. Err on the side of too much garlic. I find they taste best with tons of garlic. You don’t have to peel the garlic cloves but I like eating them pickled, so I do peel my cloves.
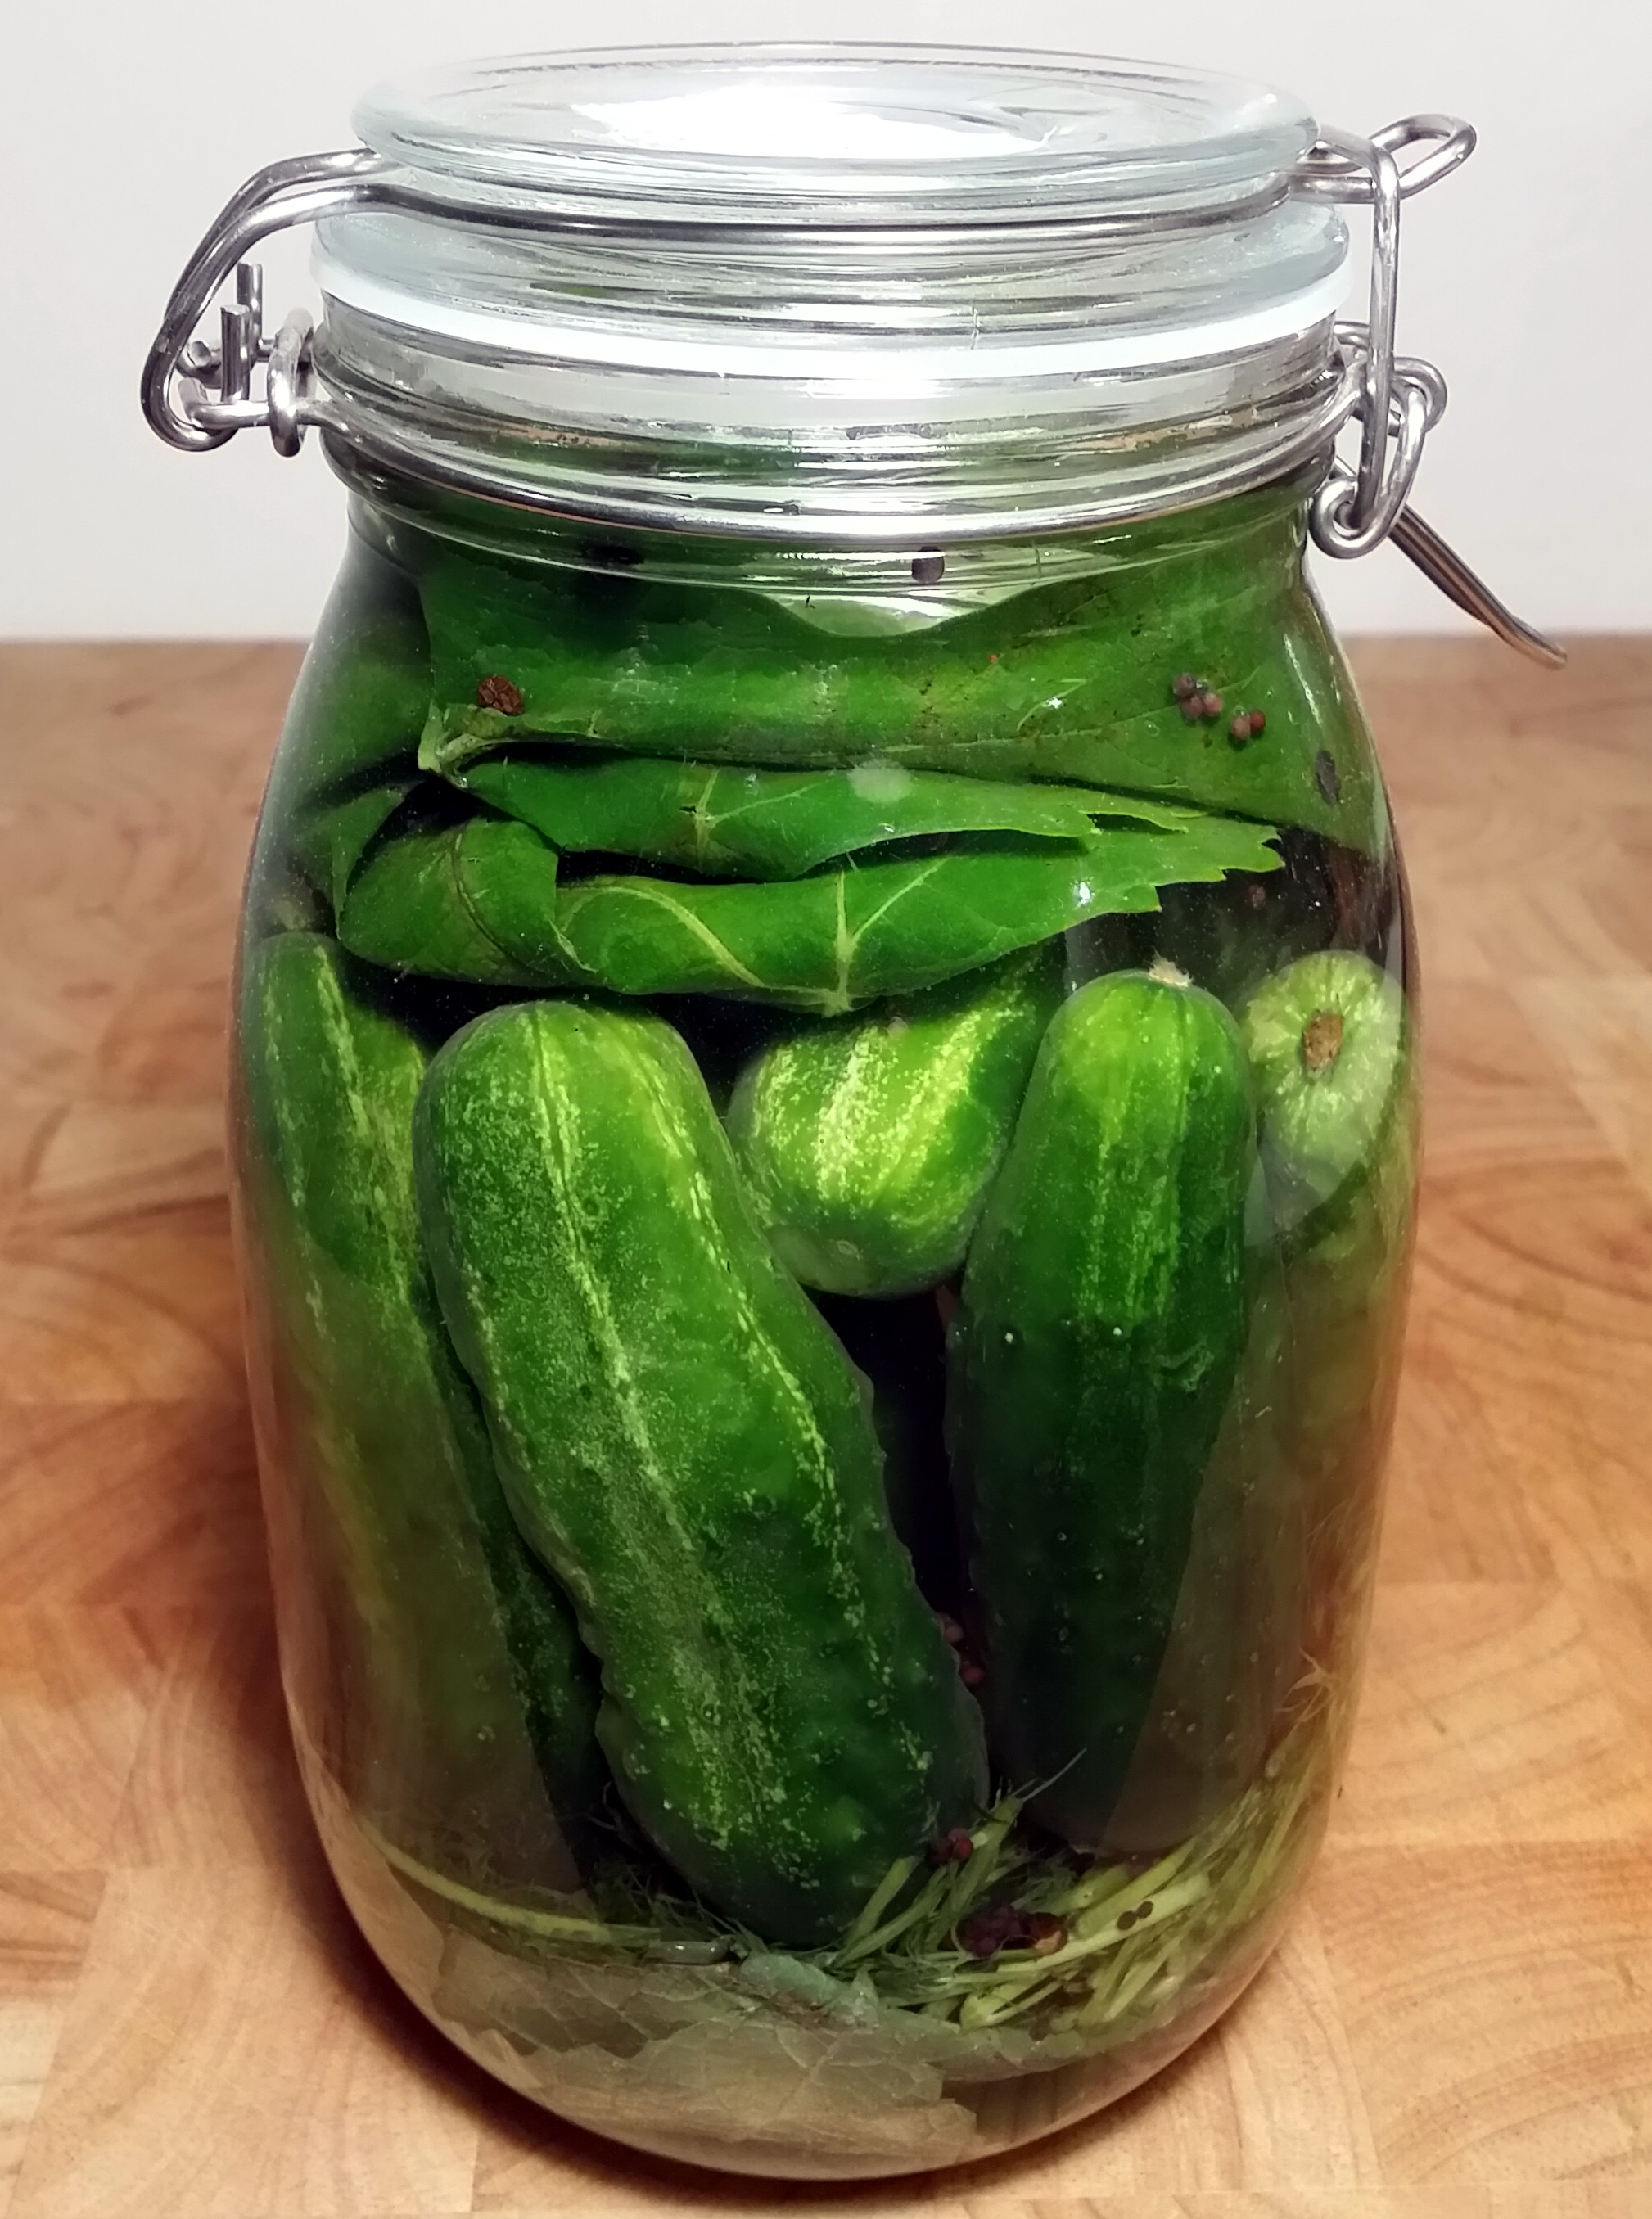
As with all vegetable ferments, you must ensure that the cucumbers remain submerged in liquid at all times. The anaerobic lactic-acid bacteria that ferment vegetables thrive when cut off of oxygen. I weigh my vegetables down by placing a leaf on top of them, and a small jar or tiny glass bowl on top of the leaf. When I close my jar of cucumbers, the smaller jar forces the grape leaves—and all the vegetables—down below the liquid.
After you gobble up your cucumbers, save the brine. You can do several things with it:
- Drink it. My boss drinks a gut shot every day to help maintain a healthy gut. She buys this drink—fermented pickle or sauerkraut juice—at the farmer’s market but you’ll get it free as a byproduct of your dill pickles.
- Use the brine to add some flavor to soup (the microbes die when heated but the brine tastes good).
- Liven up bland food. I recently made some tasteless hummus. I had cooked too many beans for the small amount of olive oil I had on hand, so I used leftover brine to thin out the very bland hummus and to add some much-needed flavor. So good! A bit of brine would also taste delicious in potato salad.
- Brine meat or poultry. This blog post from Kraut Source explains how marinating meat in fermented brine before barbecuing it helps reduce the number of carcinogenic compounds heterocyclic amines (HCAs) that form when grilling meat over high heat.
- Reserve a few tablespoons of the brine to kickstart the next batch of pickles or a batch of sauerkraut.

Ingredients
- 8 pickling cucumbers or enough to fill a 1/2-gallon jar, stems and flowers removed
- 6 whole cloves garlic peeled
- 1 bunch of fresh dill
- 3 tablespoons salt
- 4 cups water
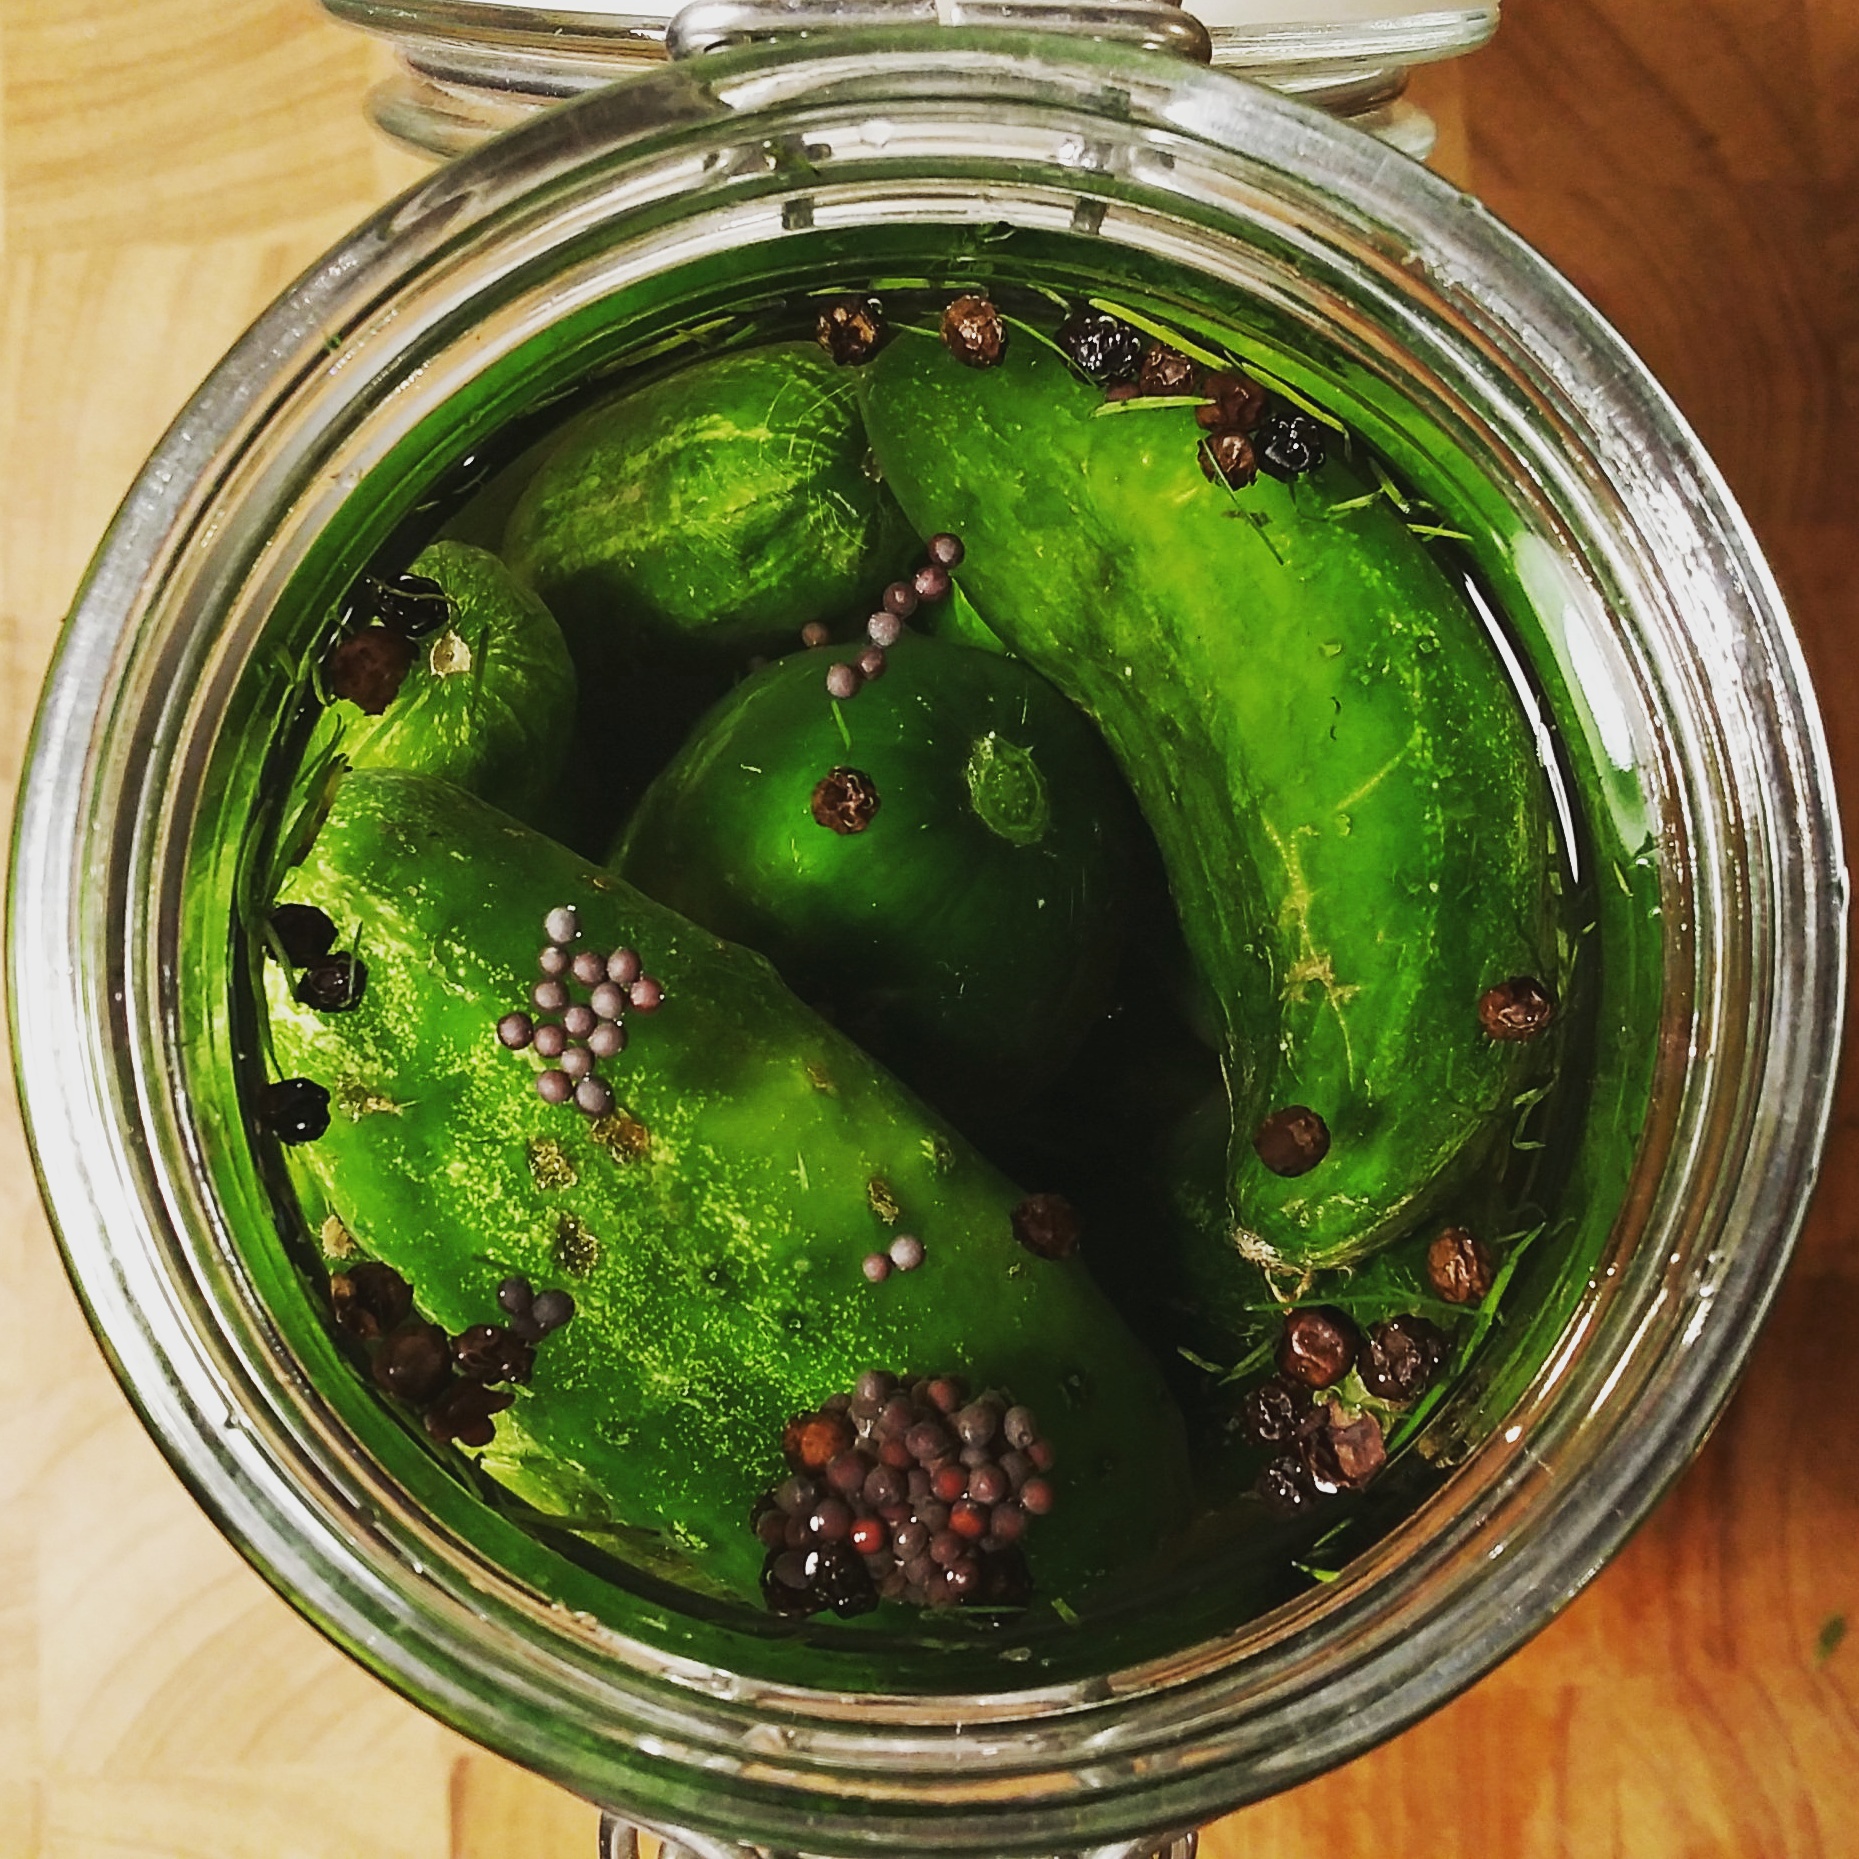
- Spices of your choosing. For this post, I added:
- 1 teaspoon mustard seed
- 1 teaspoon peppercorns
- 1/4 teaspoon red pepper flakes
- 4 large grape, oak or horseradish leaves OR 1 teaspoon of loose-leaf black tea (not Early Grey)
Directions
1. To make the brine, stir together the salt and water in a large measuring cup. The salt will dissolve fairly quickly.
2. I like jars with flip-top lids but any jar with a lid will do. Place garlic and spices in the bottom of a 1/2-gallon jar. Place two of the leaves on the spices to keep them from floating to the surface (some will escape, which is fine). Stuff in the dill, stems and all.
3. Fill the jar with cucumbers, leaving about 2 inches of head space.
4. Pour the brine over the cucumbers.
5. Place remaining leaves on top of the cucumbers and a small jar or weight on top of the leaves.
6. Close the jar and wait. Place a plate or bowl under the jar to catch any pickle juice that will bubble up during the fermentation. Burp the jar (i.e., open it) daily to release built-up carbon dioxide. After a couple of days or so, the pickles will turn color from bright green to olive green and the brine will become cloudy. These changes indicate successful fermentation.
7. Taste the pickles around day 3 (day 0 being the day you pack them). If you like the taste, transfer the jar to the refrigerator to slow down the fermentation. The pickles will keep in there for months, even a year or more (if you don’t eat them all up that is).
If you prefer the pickles more sour, allow them to continue to ferment at room temperature and taste them daily. But be careful as they can turn mushy quickly. The cucumbers in this post were ready on day 7, although I ate several along the way to test them 😉

That’s it. Very easy. I did a webinar on these tonight and you can watch the recording below.
