


I have been keeping my sourdough starter out on the kitchen counter and feeding it daily, rather than storing it in the fridge and feeding it only weekly. Here’s why:

I wish I had taken a crumb shot of this. It’s the best loaf I’ve baked thus far. It tasted fairly sweet, which you’d expect when using a starter stored at room temperature. But when you leave starter at room temperature, you need to feed it every day. That means you accumulate tons of discarded starter. If you don’t find something to do with all of that starter, you’ll drown in the stuff. So I use it to make crackers. Lots of crackers. Good thing they’re addictive…and good for sharing…

You can read about tending a sourdough starter here, here and here.

I bake these crackers every week or so and have learned a few tricks since I wrote my first post on them. I have wanted to update the recipe for months.
What’s new in version 2.0
- I make a double or triple batch of the dough and after it has fermented on the counter for several hours, bake some of it and store the rest in the refrigerator. When I want more crackers later in the week, I can just grab a hunk of dough and whip them up. It’s almost like having convenience refrigerator dough on hand without the over-packaging and nasty chemicals.
- Refrigeration halts the fermentation. I find that when I let the dough ferment at room temperature for too long (let’s say over 8 hours), it starts to break down, making a big mess when I attempt to roll it out. But in the refrigerator, the microbes go dormant. Now I can make a pile of this dough at once—and use up even more starter! No more baking dough bleary-eyed at night and cursing myself for having started it in the morning. If I’m too exhausted to bake, I simply put the dough in the fridge!

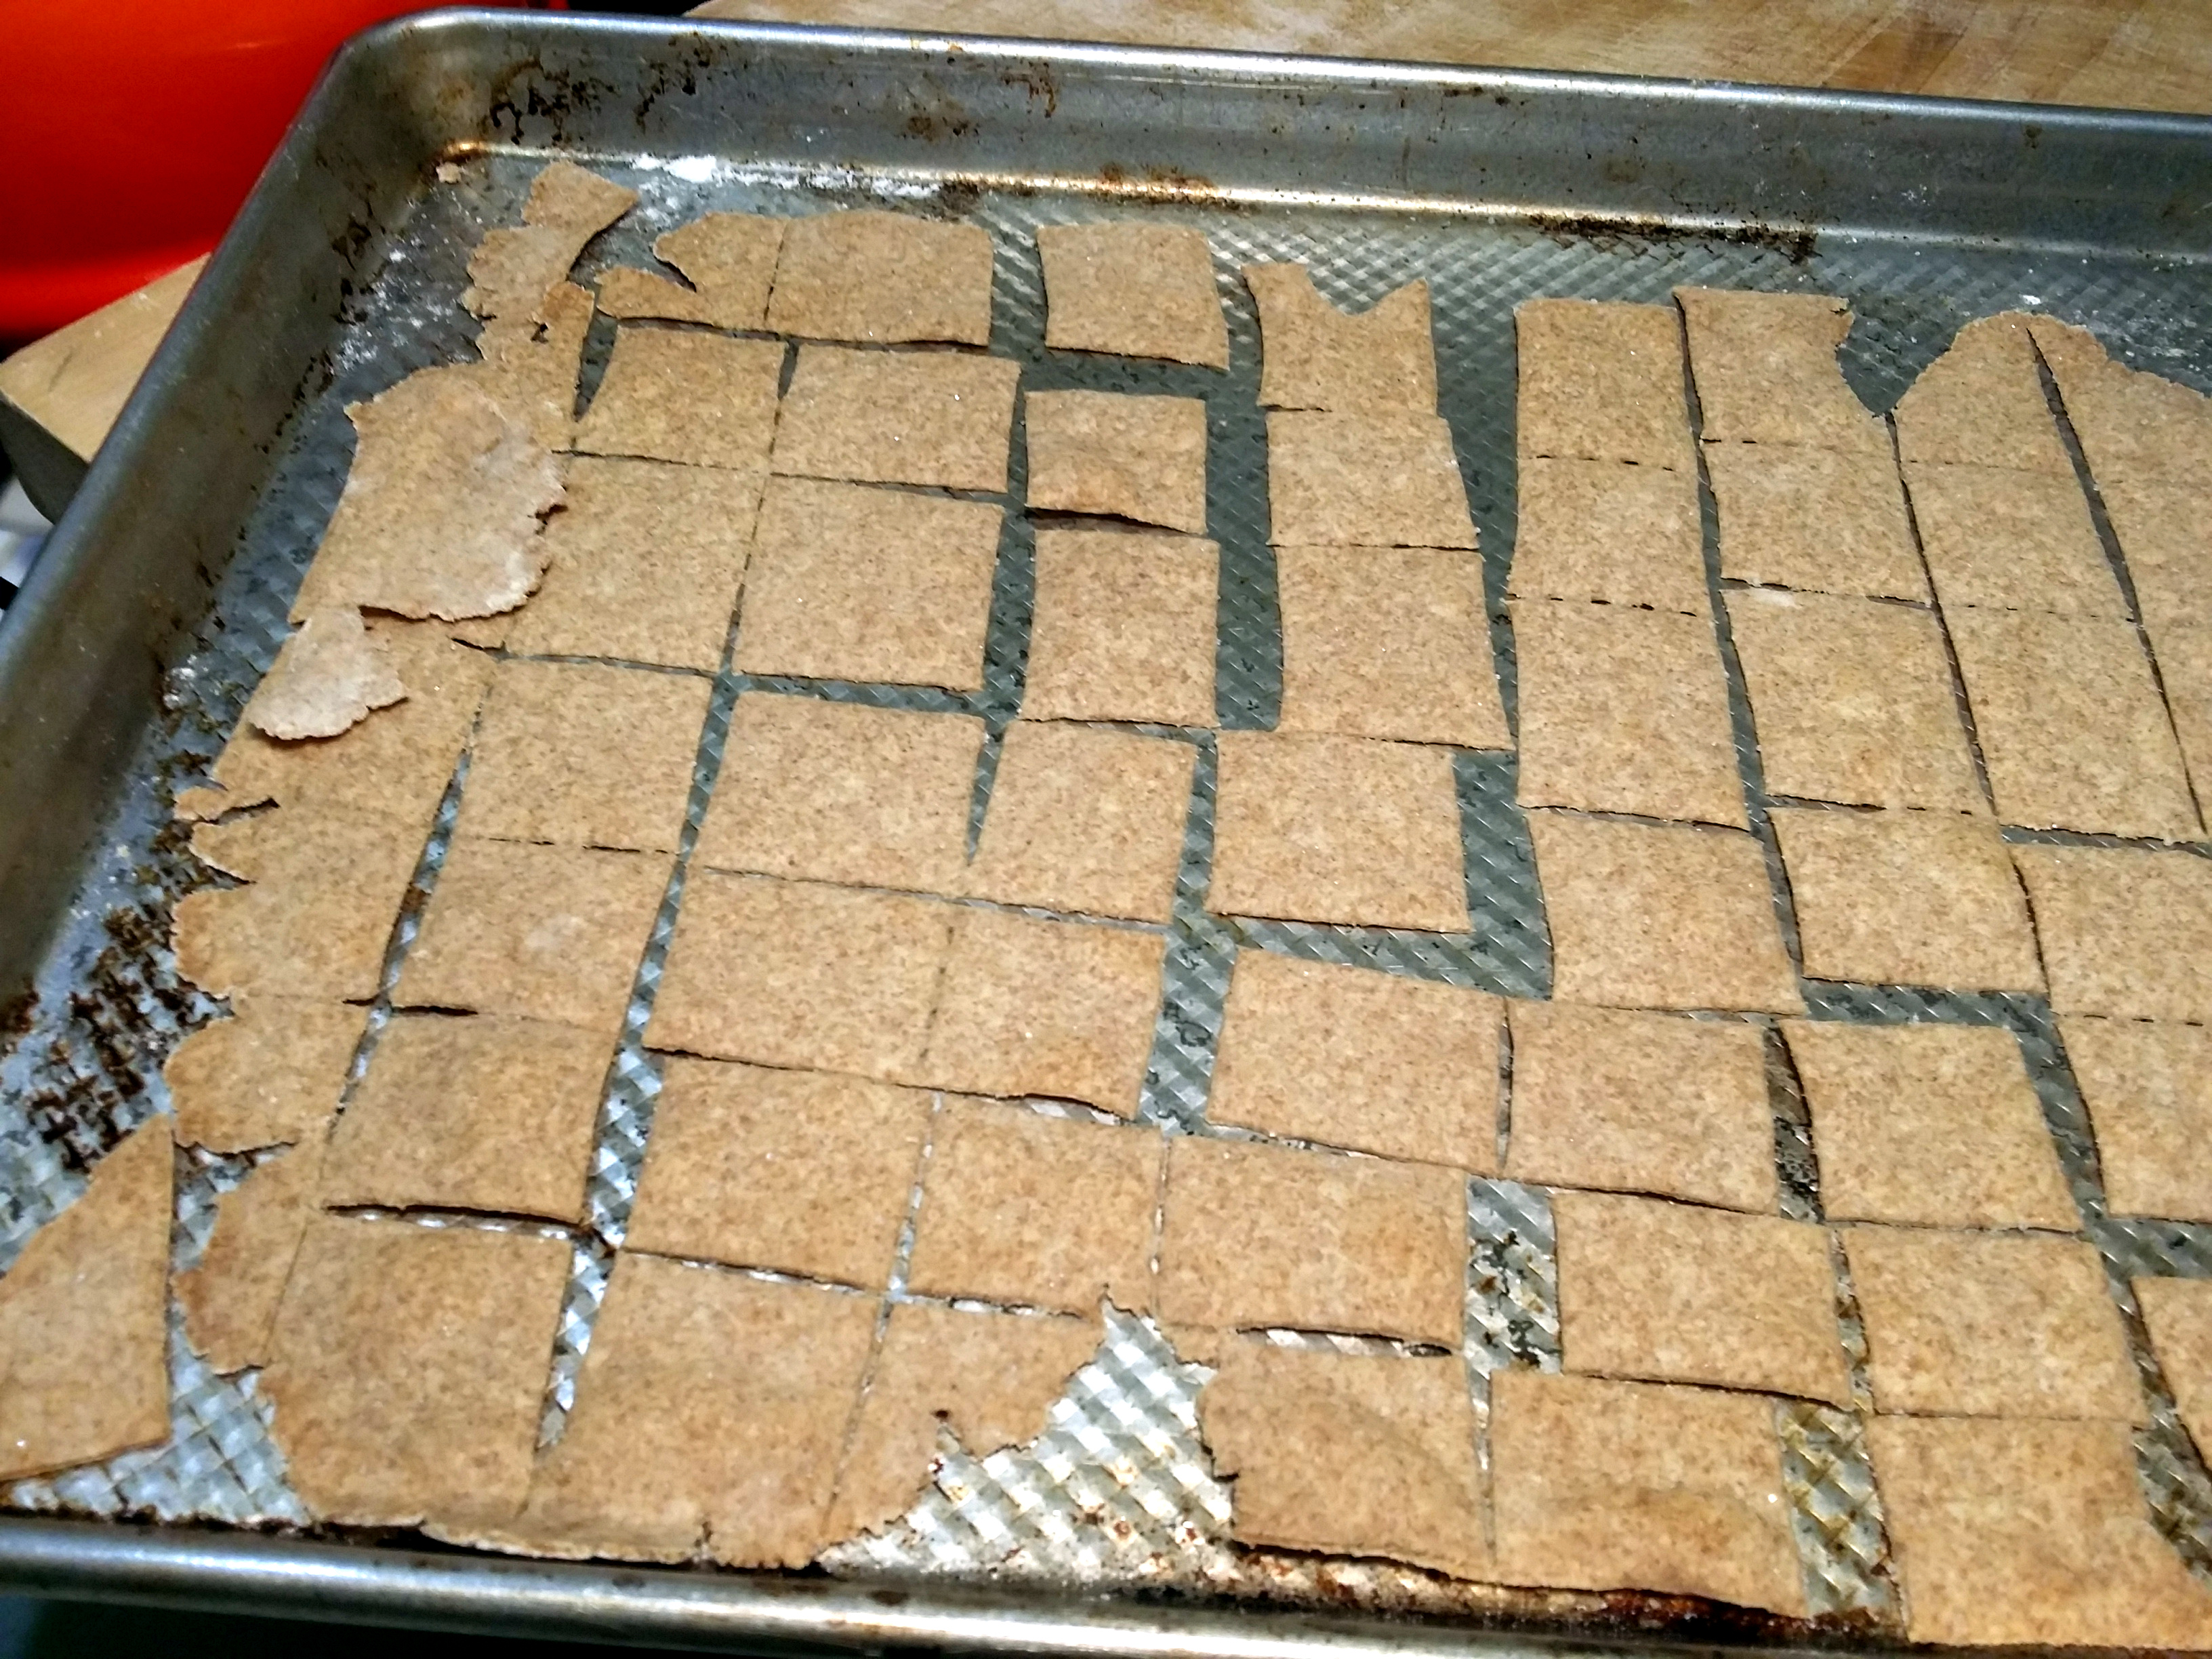
- I no longer use Silpat silicon mats for baking these. The crackers contain enough oil that they don’t stick to cookie sheets. I hate washing those mats and feel a bit wary of using them. (Are they truly safe to bake on? I’m asking. I don’t know.)
- I no longer brush olive oil on top. You can do that if you want to but the salt (or seeds or nutritional yeast or whatever) sticks to them just fine without having to take the extra step of brushing these with oil. I’m not sure which I like washing less—Silpats or pastry brushes. I stopped using both.


Sourdough Crackers
Ingredients
- ⅔ cup unfed starter from the refrigerator
- 3 heaping tablespoons coconut oil or olive oil
- ¾ cup whole wheat flour
- ¼ teaspoon coarse salt, plus extra for topping
- ¼ teaspoon baking soda
Instructions
- Combine starter and oil in a non-metallic bowl. In a separate bowl, mix together flour, salt and baking soda.
- Add dry ingredients to bowl with wet ingredients. Combine. If necessary, knead the dough a few times to incorporate the last bit of flour. Cover bowl with a plate or towel and let rest for six hours at room temperature. Store in the fridge after this if you won’t bake right away. The dough will keep in the refrigerator for about a week. Let it warm at room temperature for 15 minutes to half an hour to making rolling easier.
- When you’re ready to bake, divide the dough into two halves on a generously floured surface.
- Preheat oven to 350°F.
- Roll the dough out about two millimeters thick. If necessary, sprinkle with flour between rollings to prevent dough from sticking to your work surface.
- Transfer the dough to ungreased cookie sheets.
- Cut into rectangles with a pizza cutter or a knife. Sprinkle with salt.
- Bake for 6 to 8 minutes, turn trays and bake 6 to 8 minutes longer. Crackers are done when crispy and slightly browned. (My oven is a bit cool, so your crackers may bake faster.)
- Transfer crackers to a rack to cool. Store in a glass jar. These also freeze well.
Check out my award-winning cookbook here!

