
For this post, I’ve sewn a French seam—which a few French followers on Instagram have told me they call an English seam. This technique neatly finishes the seams of the bag so the raw edges of the fabric do not unravel—making the bag last longer.
If you can sew a straight line, you can sew a French—or English—seam.
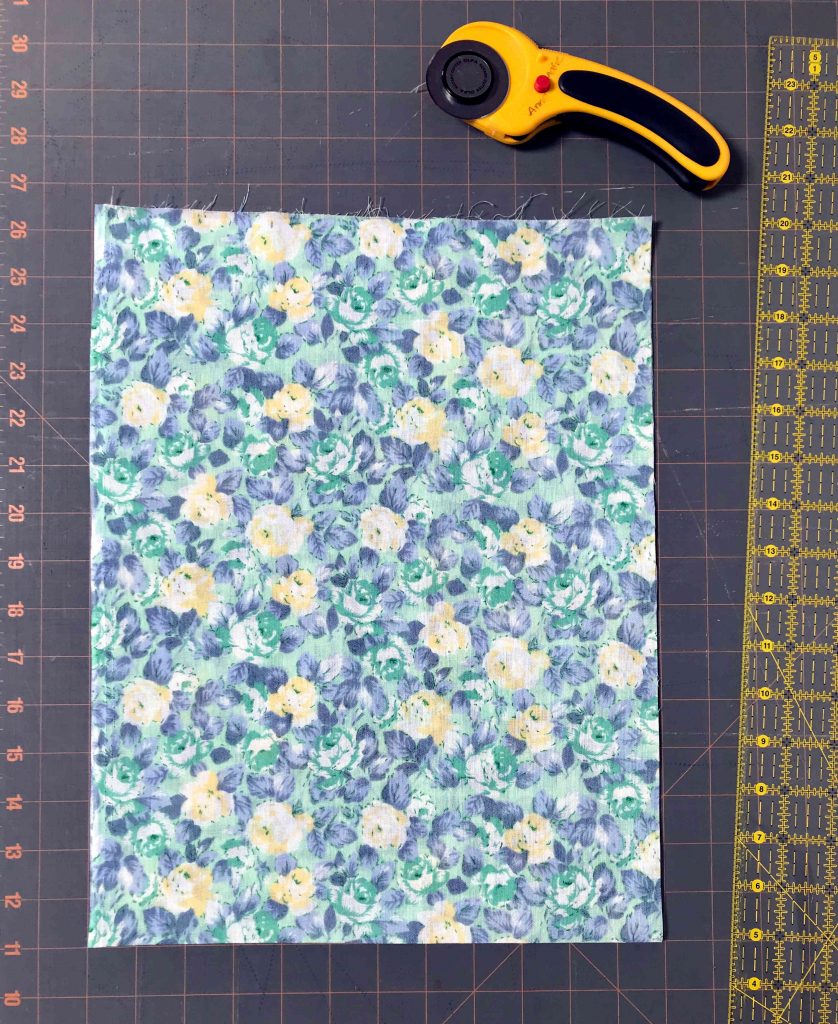
First, choose the fabric
The fabric in this post came from fabric donations to my sewing bee’s Reusa-Bag project. Choose lightweight sturdy fabric, preferably made of natural fibers, as synthetic fabrics shed microplastic fibers in the laundry.
How to sew produce bags with French seams
Because the sizes of donated fabrics always vary, my bag sizes vary. I cut them approximately the same size and shape as the plastic ones from the farmers’ market or grocery store. Those have no closures and so I don’t bother adding a drawstring to my bags. But if you want to make a casing for a drawstring, add an extra inch or so to the length of the bag.
1. Cut the fabric
I iron fabric before I cut it because wrinkles can make the bag (or any garment) wonky. If you will make several bags, cut one out and use that as a template for cutting out the other bags. This speeds up the process. For the bag in this post, I cut out a piece of fabric 12 inches wide by 31 inches long.

2. Fold the fabric in half, wrong sides together
Ordinarily, you sew with right sides together. Here, you will first sew with the wrong sides together. As you can see from the pictures, the right sides reveal the vibrant pattern and the wrong sides, the dull version. If you use a plain sheet or muslin fabric, there are no wrong or right sides, unlike our current politics on climate change, so you don’t need to differentiate between them. Just sew away.

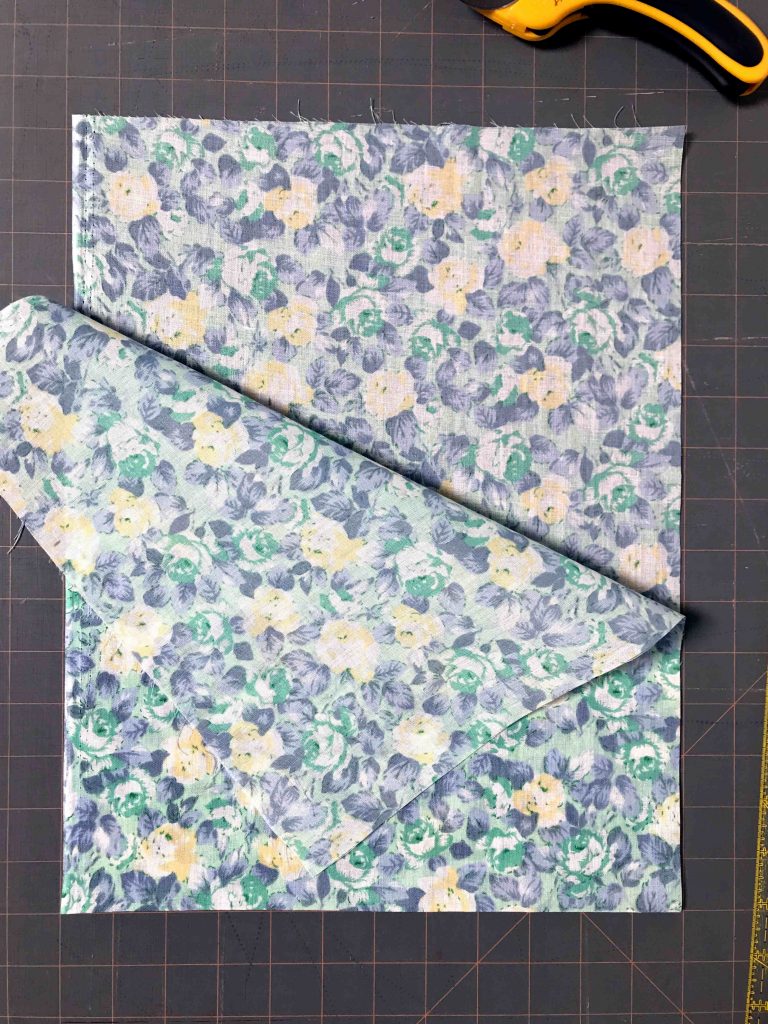
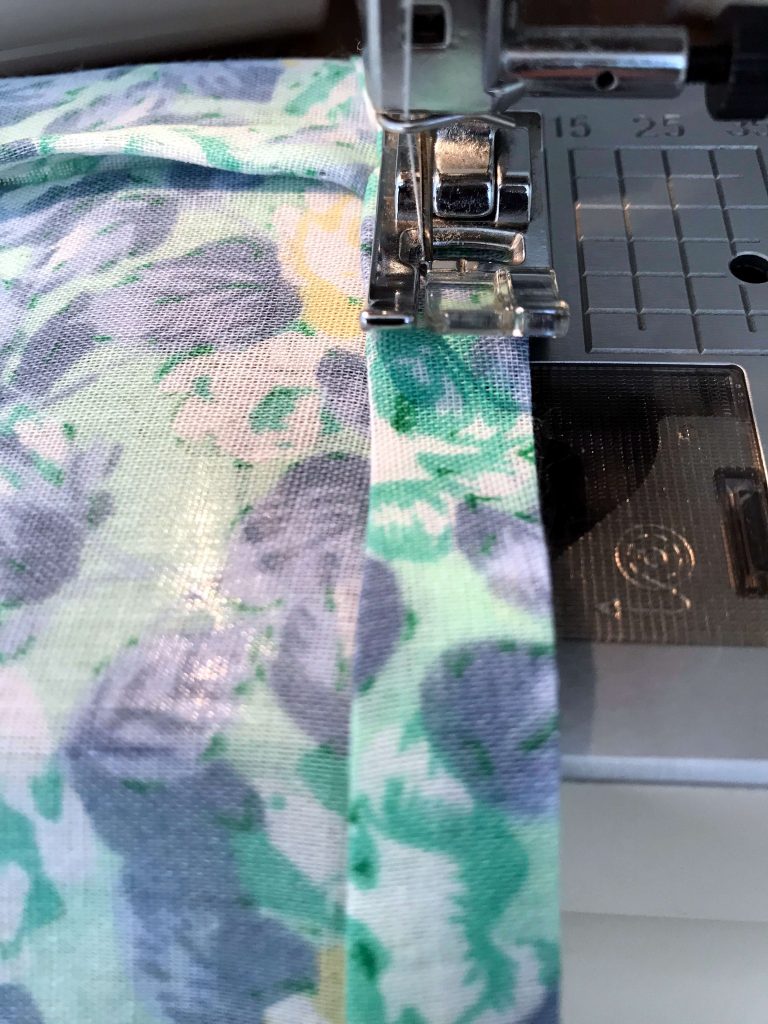
3. Sew the first seam
On each side, sew with a seam allowance of about 1/4 inch for this first seam (i.e. sew the seam 1/4 inch from the edge of the fabric). I always backstitch at the beginning and end of my fabric to reinforce the seam (I learned to do this in home ec in grade eight!).

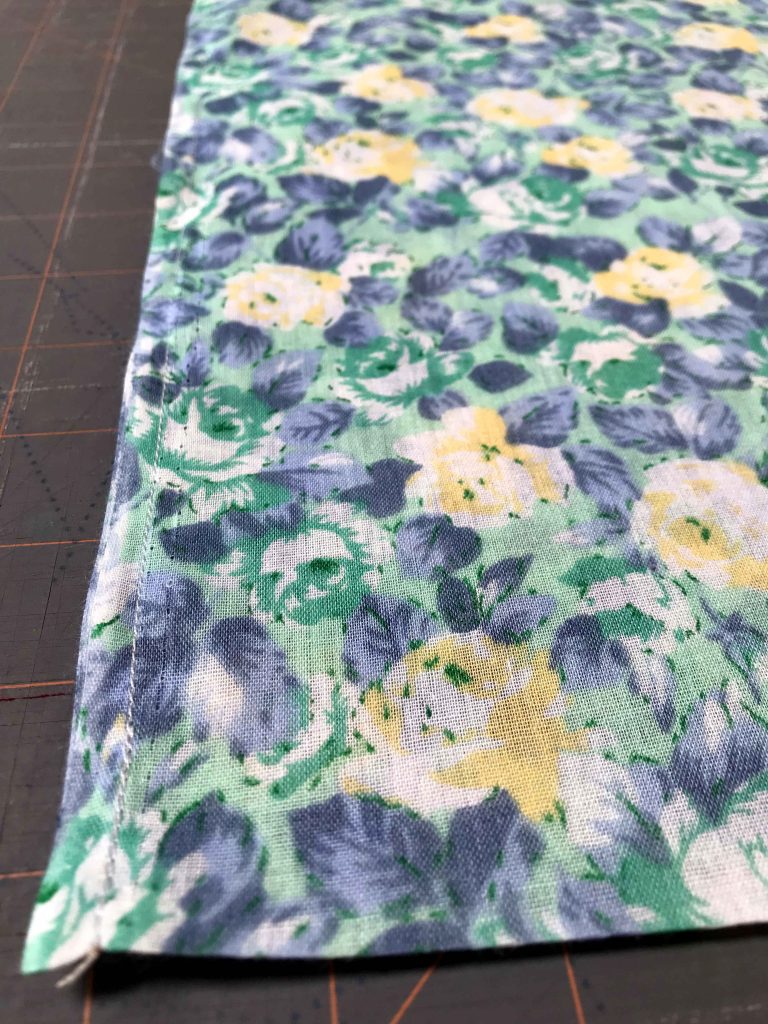
4. Turn the bag right side in and press
Turn the bag so the seams and raw edges are now inside. Press.
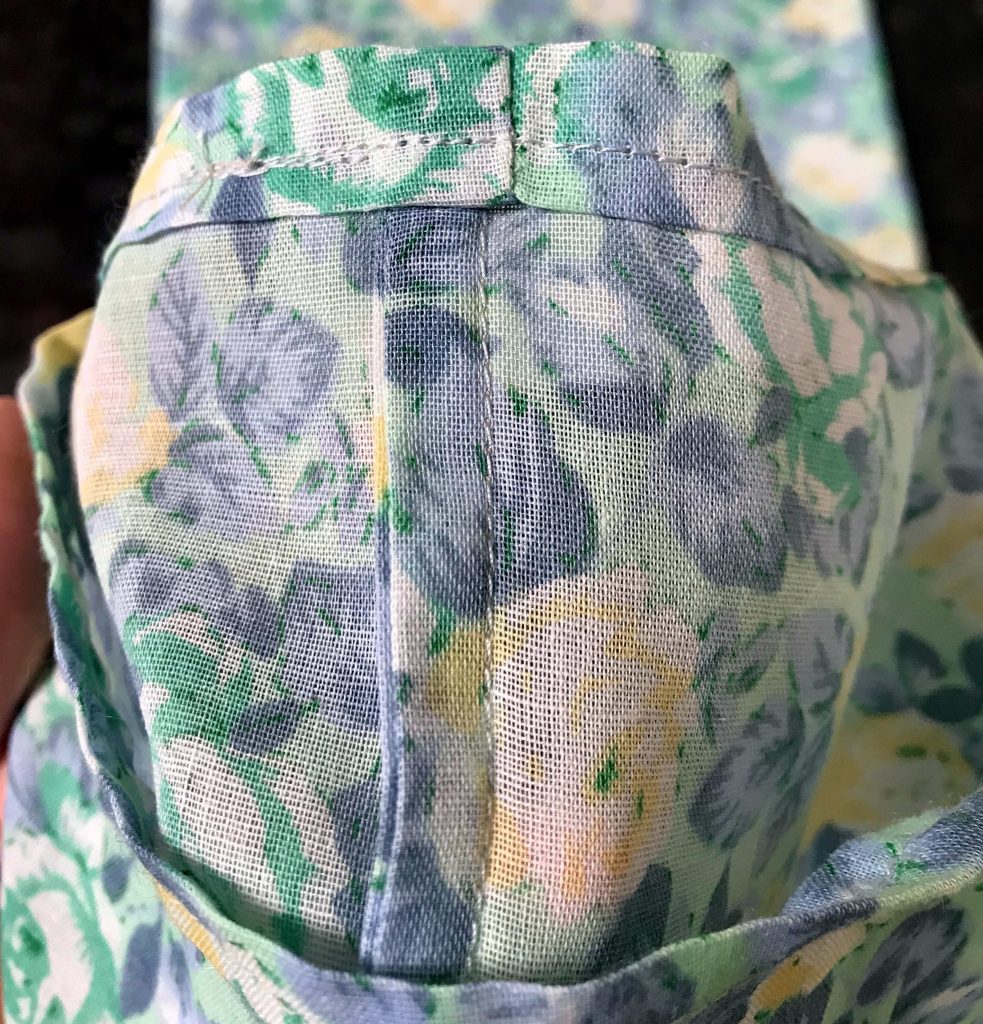
5. Sew the second seam
Now you’ll sew another seam. Sew this one approximately 3/8 of an inch from the edge of the fabric. In other words, make this second seam allowance a little bit wider than the seam allowance of the first seam. This encloses the raw edge of that first seam.

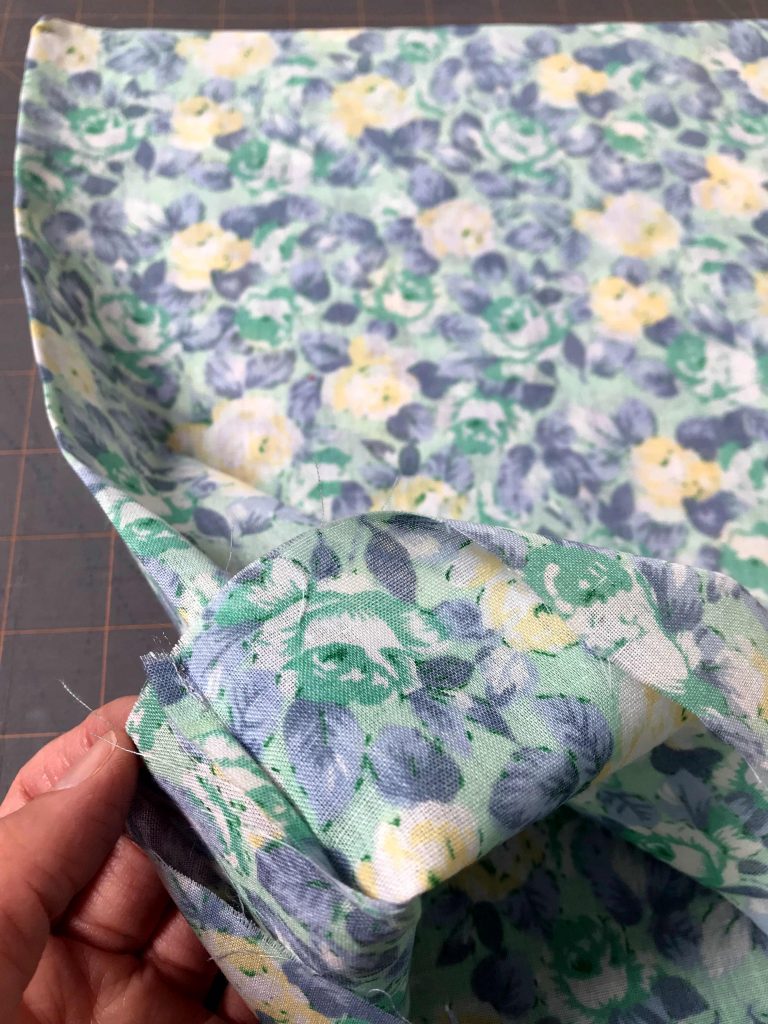
6. Hem the top edge of the produce bag
Turn the bag again so the seams face out, then fold down the top edge approximately 1/4 inch, press again and fold down another 3/8 inch. Sew a hem close to the bottom edge of the folded fabric.
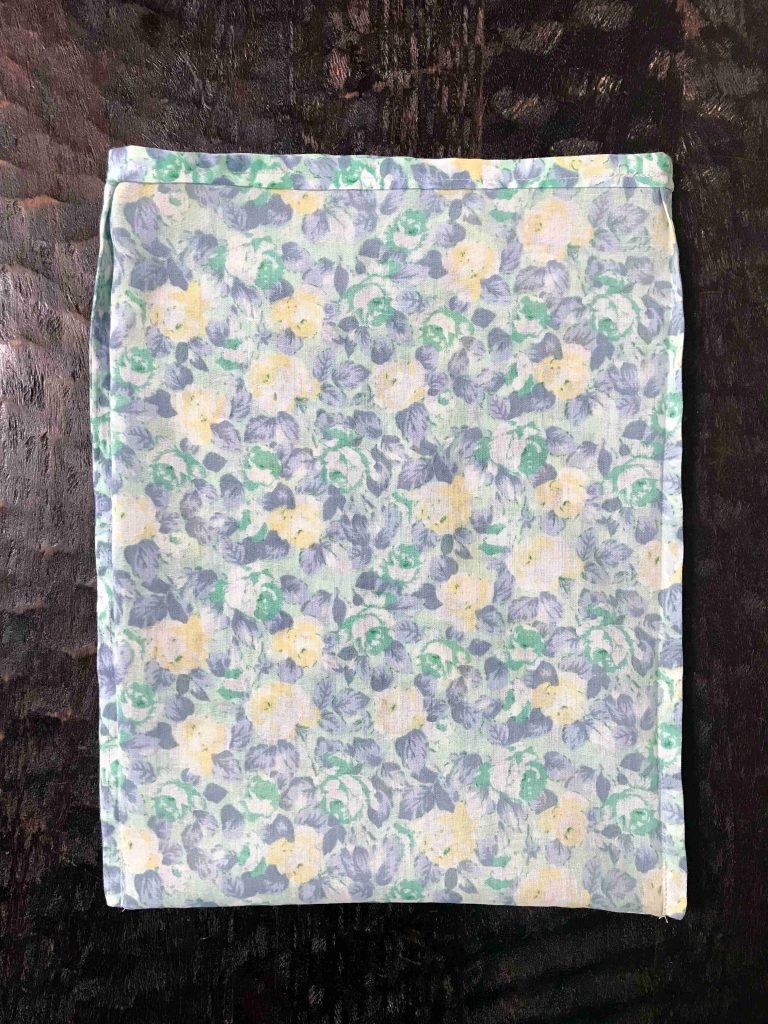
7. Turn the bag right side out
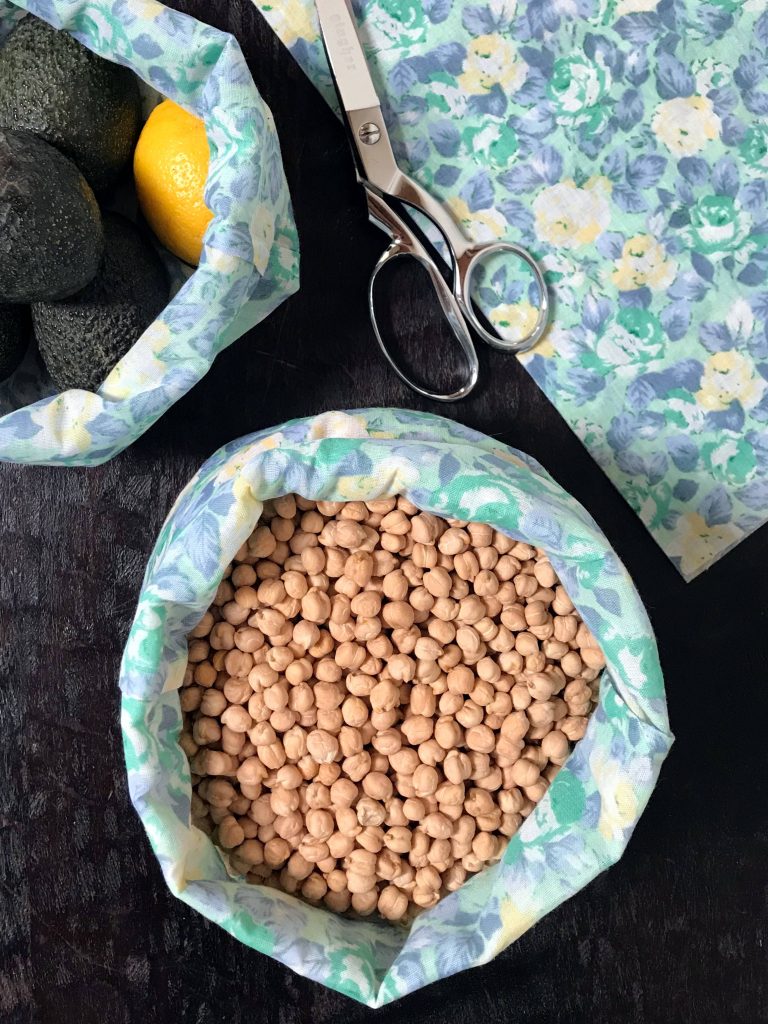
You’re done! Go forth to the farmers’ market, produce section of the grocery store or bulk bin aisles and put your bags to work!


When I use these at the bulk bins, I close them with an elastic band or elastic hair band. I have a lifetime supply of these from before we went zero waste. Or, do make that casing and drawstring. You can also sew two lengths of ribbon into the side seam of the bag and tie the top closed.
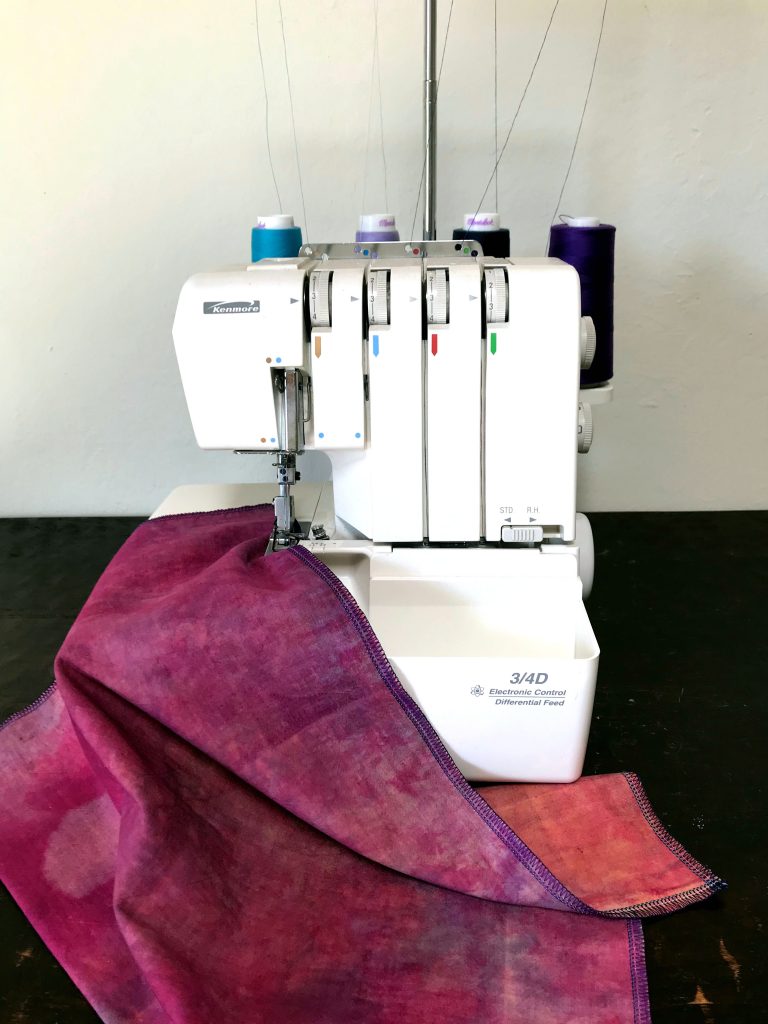
How to sew produce bags on a serger
I love my serger. It sews two rows of straight stitches, trims the fabric edge and finishes that raw edge with two overlock stitches. I recently timed myself sewing reusable produce bags on my machine. I clocked in at less than 3 minutes (2 minutes 52 seconds to be precise)! Go here for the instructions to sew these simple produce bags on a serger.

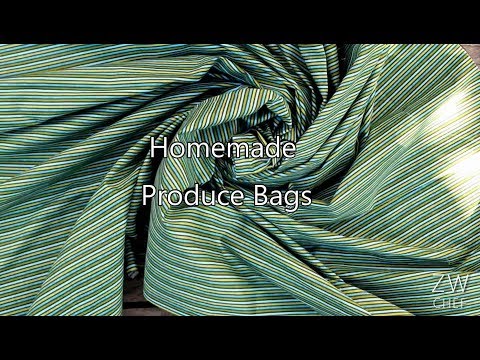
My YouTube channel
Did you know I have a YouTube channel? I almost forgot about it myself. One of my volunteer sewists—and friend—Cecilia, has started making videos for it. She filmed one during a recent sewing get-together to show the two methods we use to make these bags. We each sew in our own style so the directions differ a tiny bit from what I’ve written above.
By the way, those are NOT my detergents in the community laundry room at the end of the video! I buy mine in bulk at Rainbow or make my own.