


I’ve been diligent about using cloth shopping bags for literally decades now (I bought my first cloth bag in 1988). But until recently, I rarely used cloth produce bags. I’m all for plastic bag bans, but we need to address the plastic produce bag issue—those things generate huge amounts of plastic waste. So in 2011, when my older daughter and I decided to try ditching the plastic, we made some simple cloth produce bags the same rectangular shape and size as the plastic ones.
How to close homemade bags and mark bulk bin numbers:
- Most stores provide twist ties that you can close up the bag with and write the code onto. Yes, that does produce a minimal amount of waste. If you shop at the same store and buy the same items, you can reuse these twist ties. I met a woman a couple of weeks ago at a zero-waste meetup who showed me a twist tie she has been reusing for five years (!).
- If you have a bit of ribbon, you could also sew that into the side seam of your bag and tie the bag up with it after you’ve filled the bag. I have heard mixed reviews on using a washable crayon to mark produce bags with the bin number. When I use my bags, I type the bin number into my phone next to the item on my shopping list.
- If you don’t have ribbon, a rubber band will also work to close up the bag. I have a collection of these from the old days.
- I’ve thought about embroidering the bin numbers on the bags (my sewing machine would do it, not me) but the bin numbers change regularly and the store might just change the bin number for pine nuts to the bin number for sunflower seeds.
I used really gorgeous blue embroidered fabric for the bags in the post. I’m pretty sure it’s linen and I doubt it was cheap, but it has been sitting in my closet for at least a couple of years and so I figured I may as well use it. Each finished bag measures about 11″ x 17″.
You don’t really need instructions for these—they are so easy—but here they are:
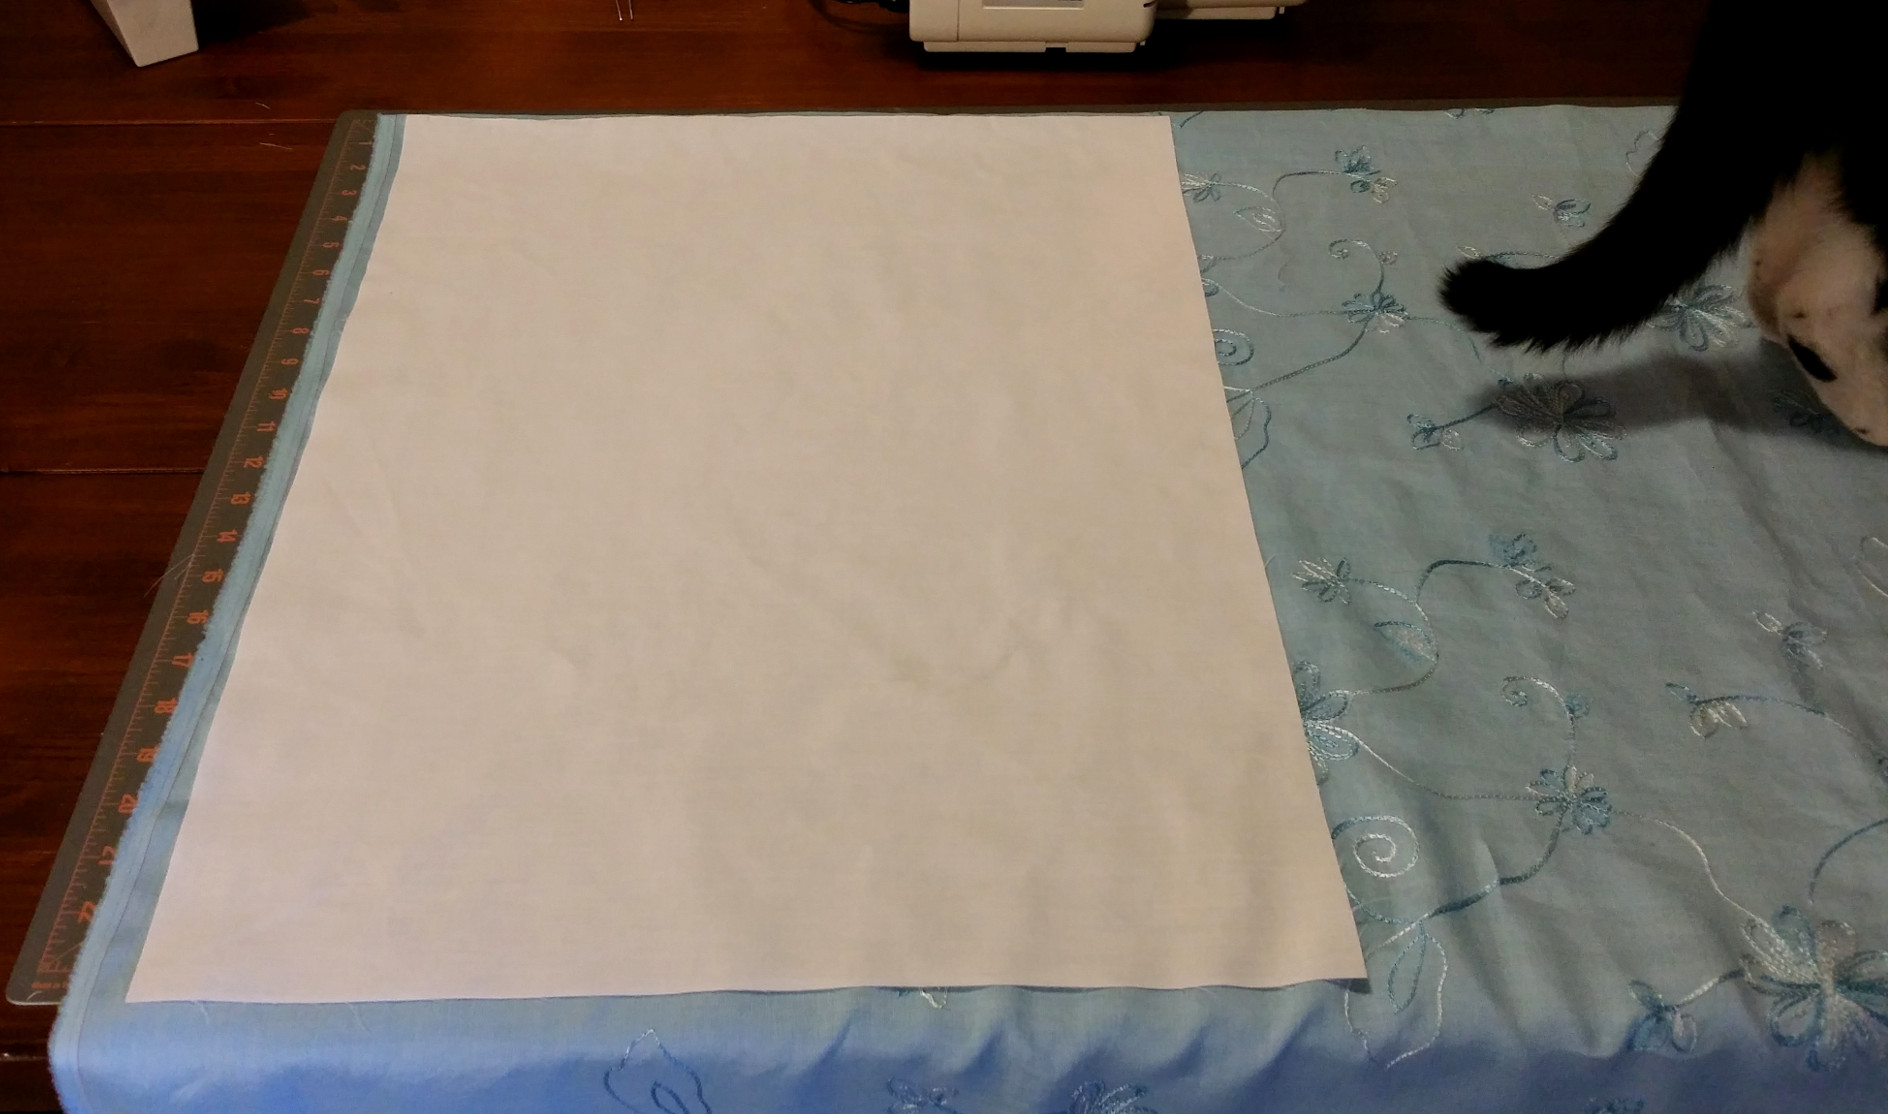
1. Make a template if you plan on making several bags (I made ten). This just makes cutting easier. I cut my 23″ x 17.5″ template out of an old sheet. Or just cut out one bag and use that as your template.

2. After washing, drying (I use a clothesline) and ironing the fabric, lay it out to get the optimal number of bags out of it. Below are my 10 bags cut out.


3. Serge across the top of each bag. This finishes the edge.
If you use a regular sewing machine, skip this step and make a hem to finish the top edge as the last step.
Below are all the bags with their finished top edges.


4. Fold the rectangle lengthwise, right sides together. If your OCD surpasses even mine, iron and pin the bag before sewing it up.


5. Starting at the bottom corner beside the fold, sew the bottom edge, turn and sew up to the top. Lift up the presser foot, flip the fabric over and sew back down halfway. This keeps the serger threads tucked inside the bag where you can’t see them (after you turn the bag inside out).

6. Turn the bag inside out and iron if desired.

This picture and the one below, which I took outside, show off the color better. (I don’t have the best lighting inside.)
