One of the beauties of a natural burlap sack planter—besides its rustic look and inexpensive price tag—is its short lifespan. They last one or possibly two seasons, after which they break down and return to the soil. At that point, you can start over with a new burlap sack planter—or not. And as long as you don’t fill a burlap sack planter with soil more than, let’s say halfway, you can (carefully) relocate it.
A raised bed requires a longer-term plan. I love my hugelkultur raised beds—I am obsessed with them—but I can’t easily move them. And now that we’ve put them together and filled them with branches and soil and compost and mulch and seeds and plants, even as I now realize shade-loving plants must go in one where I had planned to grow tomatoes, I doubt we’ll disassemble and relocate any beds any time soon.
As for plastic planters, plastic’s indestructible properties demand the kind of long-term commitment I’m not willing to make. Even if I did buy a bunch of plastic planters, later decided I didn’t like the look of them and unloaded them onto someone else, they will never really go away. Plastic is forever.
Where to find free burlap sacks for planters
Look for a café in your city that roasts its own beans and ask for the burlap sacks the beans arrive in. The owner of a café near me happily gives me as many sacks as I want when I ask for them. Businesses would rather see these materials go to use than to landfill. And reducing the volume of garbage hauled away saves businesses money.
Organic matter—food, paper, burlap sacks—releases planet-heating methane gas as it decomposes in a landfill. So while your free and rescued burlap sack planter not only has the potential to feed you or pollinators or both, it also prevents a small amount of a potent greenhouse gas from entering the atmosphere.
I’ve never received any synthetic burlap sacs from the café. The look and feel of the fabric—rough and fiber-shedding—provide clues. If you think yours is synthetic, you can still plant in it if you want to. Just don’t put it in your compost bin after it wears out. Burn a small piece with a small flame to determine if the fabric is burlap or synthetic. Synthetic—plastic—melts rather than burns. (Go here for more information on the burn test.)


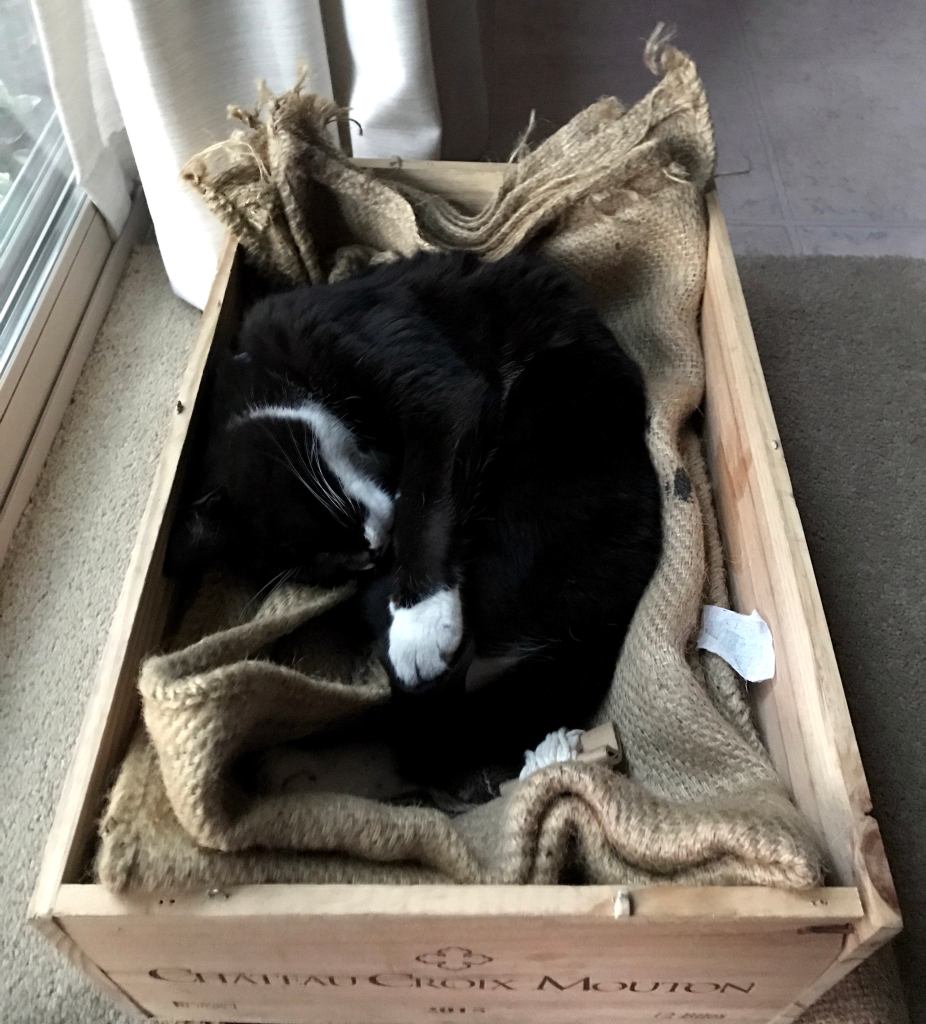


You may have to pry your burlap sacks away from a pet before you start your project.
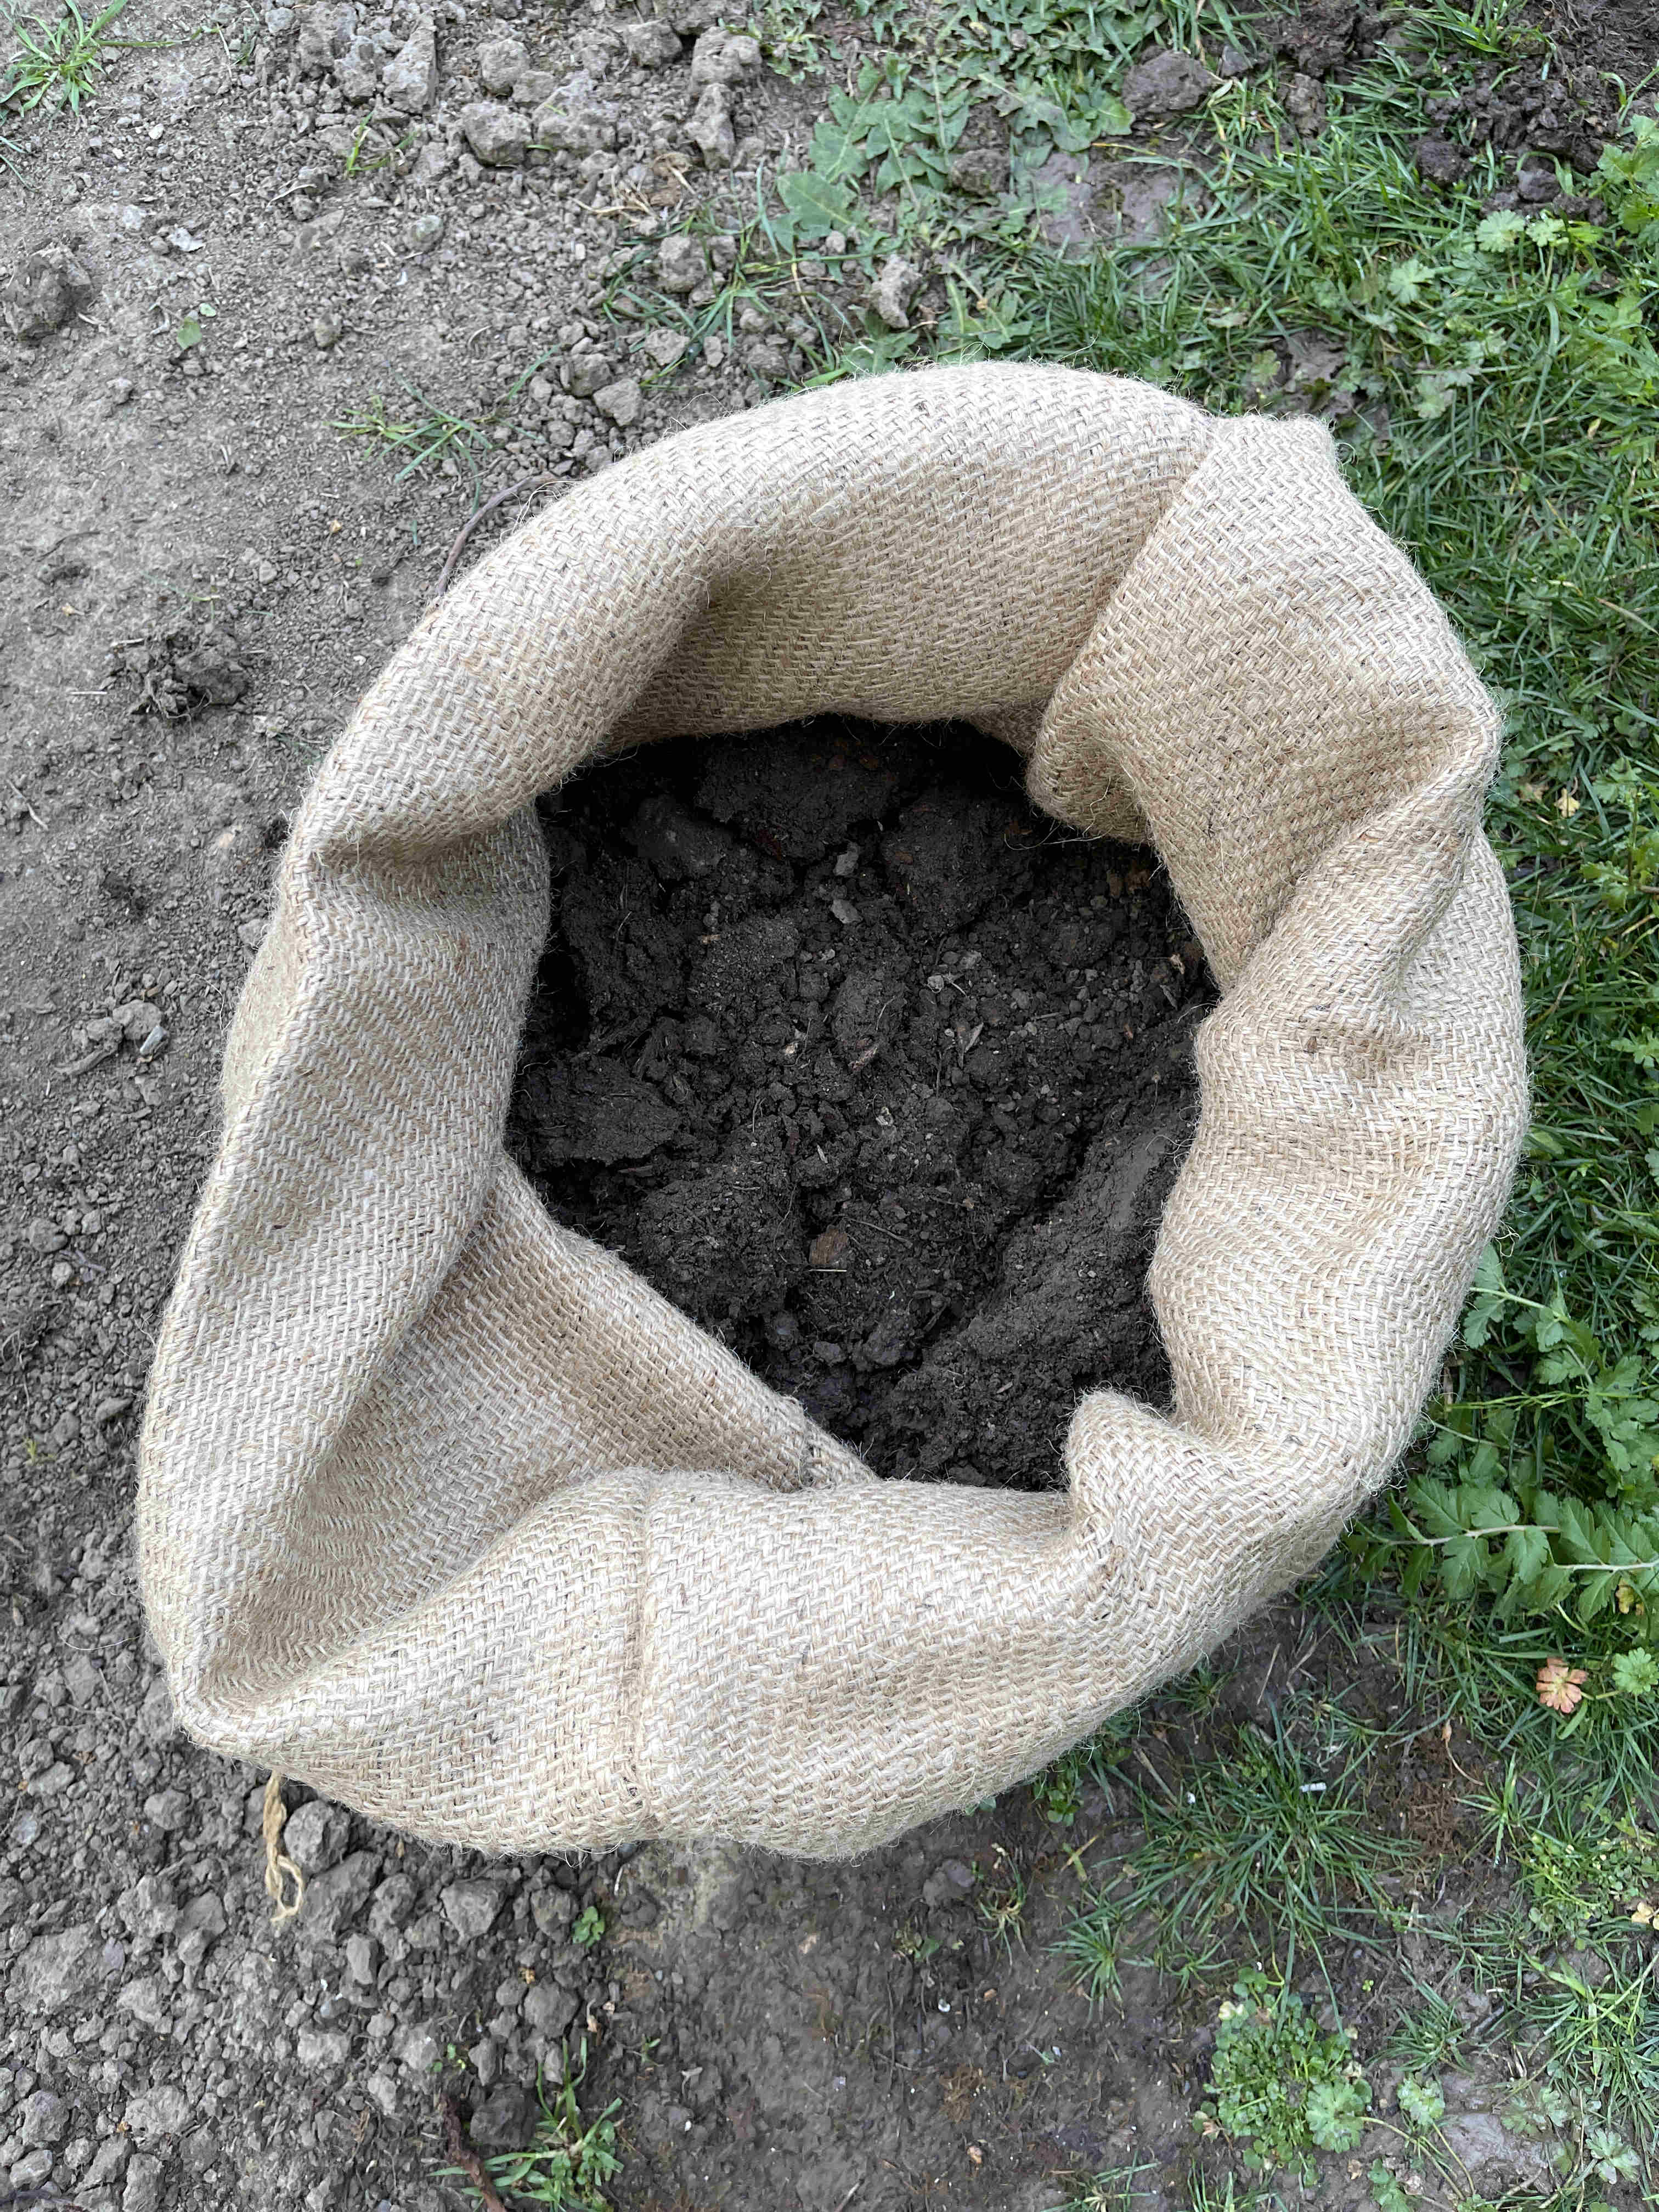
Roll down and fill up the burlap sack planter
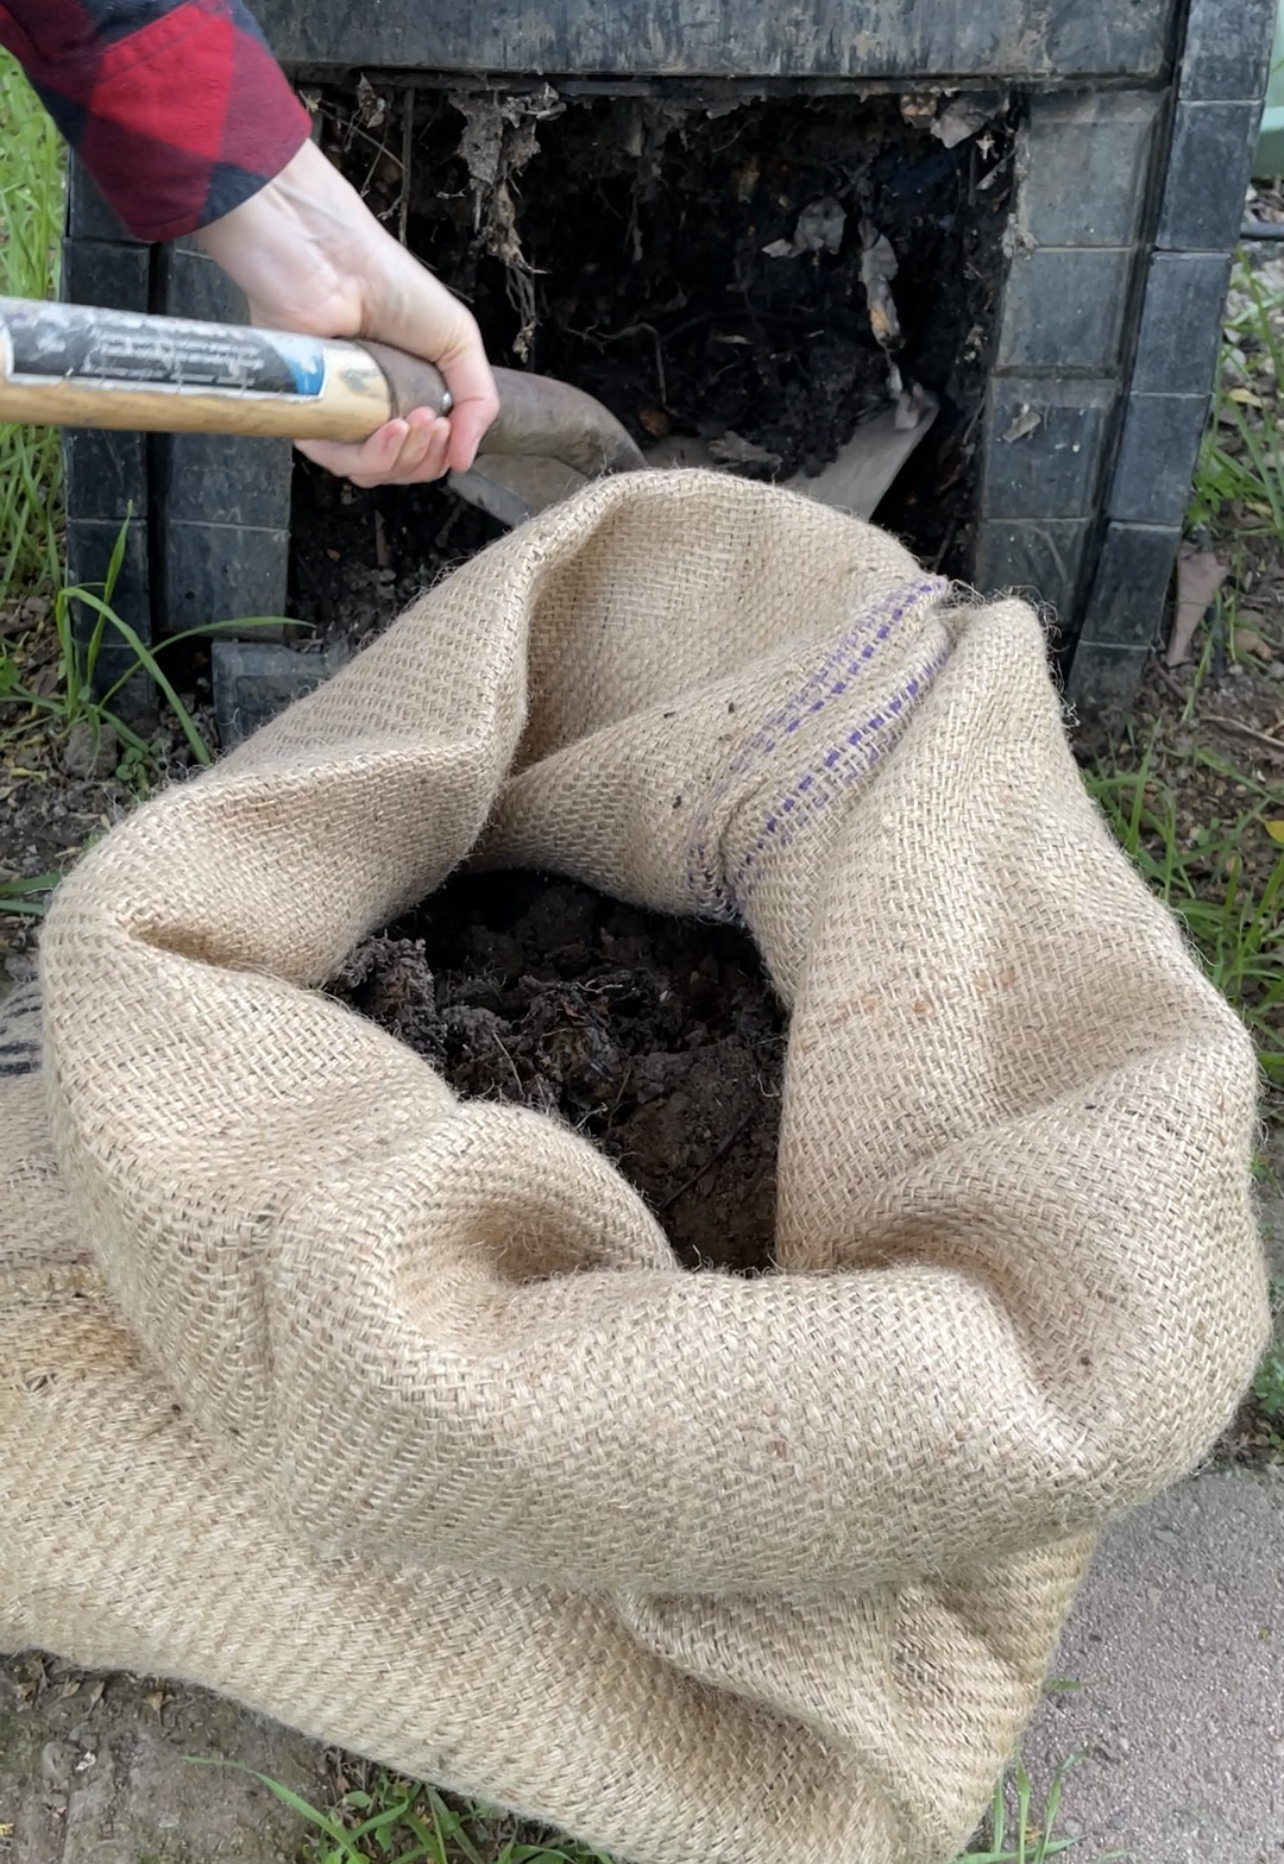
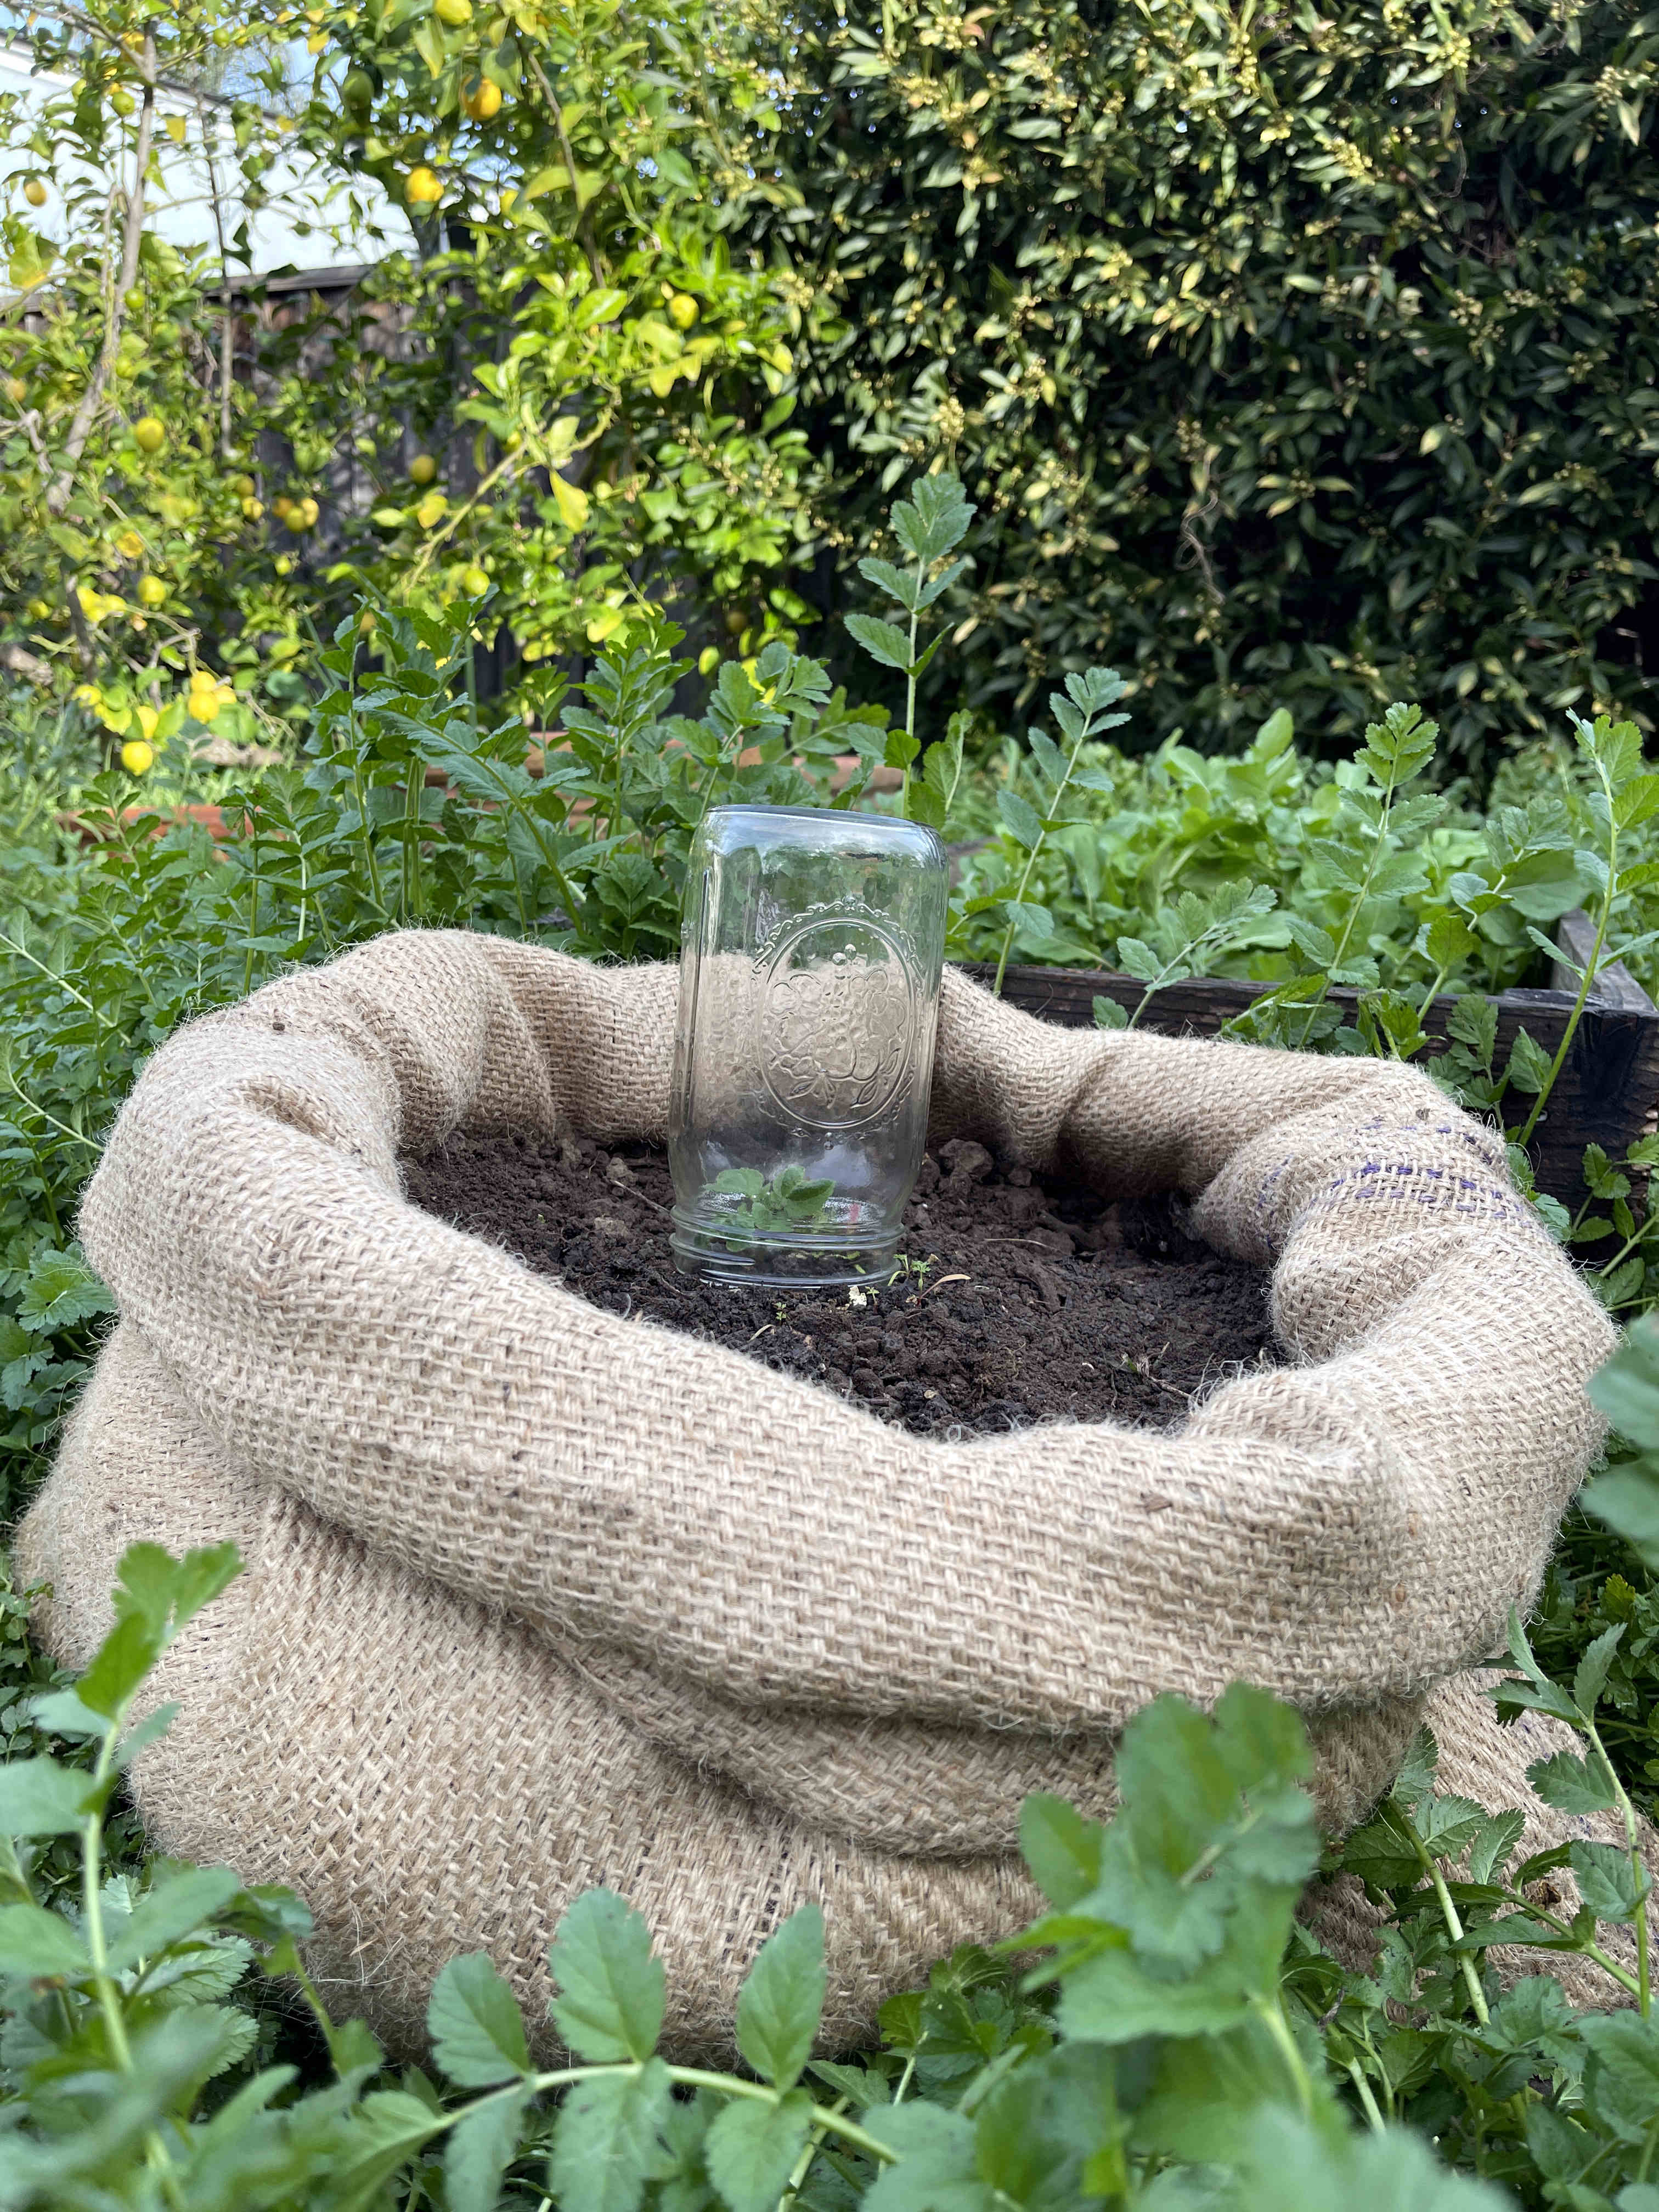
First, add a bit of soil to the bag to weigh the bottom down a bit. Anchoring the bag makes the next step easier. Now, roll the rim down to make a short planter of your desired height. I rolled my burlap sack planter down to a height of about 10 inches. Continue to fill the bag with soil, then compost, then more soil. Plant something.


Two rogue potato plants appeared in one of my raised beds in February—thanks to potato scraps in the compost that I had spread in the beds. I transplanted one of them to the burlap sack and covered it with a glass jar to protect it from the cold or anything that may want to eat the leaves. As potatoes grow in a sack, you can easily increase the height of the planter to hill the plant (i.e., cover the plant’s base with more soil). Simply roll up the rim and add more soil.

The total price for this little project: $0. I filled a free burlap sack with soil from the yard and free compost from one of the backyard bins.
Accolades for my cookbook, The Zero-Waste Chef: Plant-Forward Recipes and Tips for a Sustainable Kitchen and Planet:
- Shortlisted for a Taste Canada Award
- Finalist for the International Association of Culinary Professionals Cookbook Awards
- Shortlisted for a Gourmand World Cookbook Award
You can check out the book here.