At a holiday office lunch last week, some of my coworkers complained about women they have blocked on Facebook. Their crime? Posting too many new baby pics. While I understand not wanting to see every minute of a newborn’s life documented in one’s feed, I’m just like these new mothers, except I post pictures of bread not babies. And today I’m subjecting you to my latest loaves—my best ones yet!
I follow (mostly) Michael Pollan’s sourdough bread recipe in his brilliant book Cooked: A Natural History of Transformation, which I highly recommend. Pollan outlines not only the history of cooking, but also what we gain by performing what today constitutes an act of rebellion: better-tasting, healthier food; improved relationships with our families; decreased dependency on Big Food; stronger communities; more engagement with the natural world; and more.
I couldn’t find Pollan’s sourdough recipe online, but he bases it on Chad Robertson’s, which I did find here. You can read about my sourdough starter, Eleanor, here.
I produce zero trash when baking this bread. I buy the ingredients in bulk, either filling glass jars or homemade cloth produce/bulk bags, which I always carry with me to the store.
And now for the baby bread pictures.
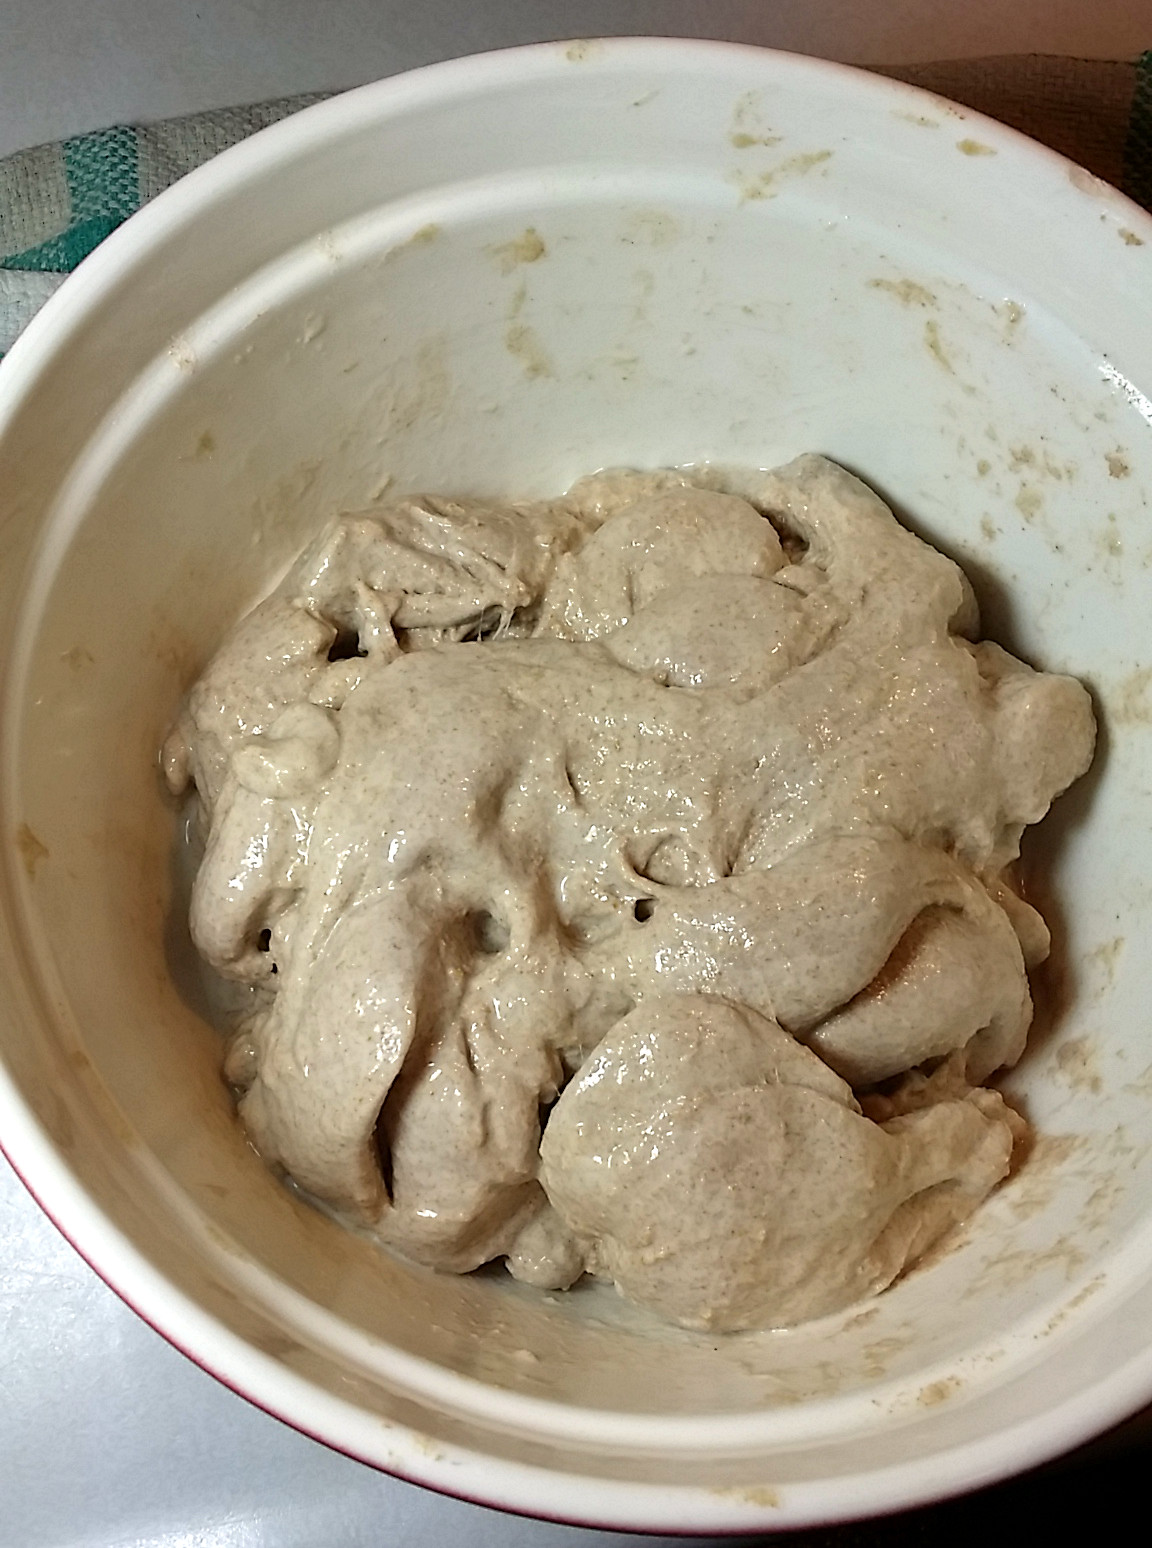
My bread was first conceived as a leaven (a larger starter), late one night in my kitchen. Below you see it the morning after.

I added half the leaven to flour (600 grams whole wheat, 150 grams rye, 250 grams white) I had soaked the night before in 700 grams of warm water. After letting this rest for about 20 minutes, I added 25 grams of coarse salt mixed with 50 grams of warm water, resulting in the formless sticky blob below.
As the bread fermented, I turned it every 45 minutes or so over a period of four to five hours. I took the pictures below after the third (or fourth?) and the last turns. Over these hours, the dough gained elasticity and air and felt, well, downright sensual.

 Next, I divided the dough and formed two blobs, which rested for 20 minutes.
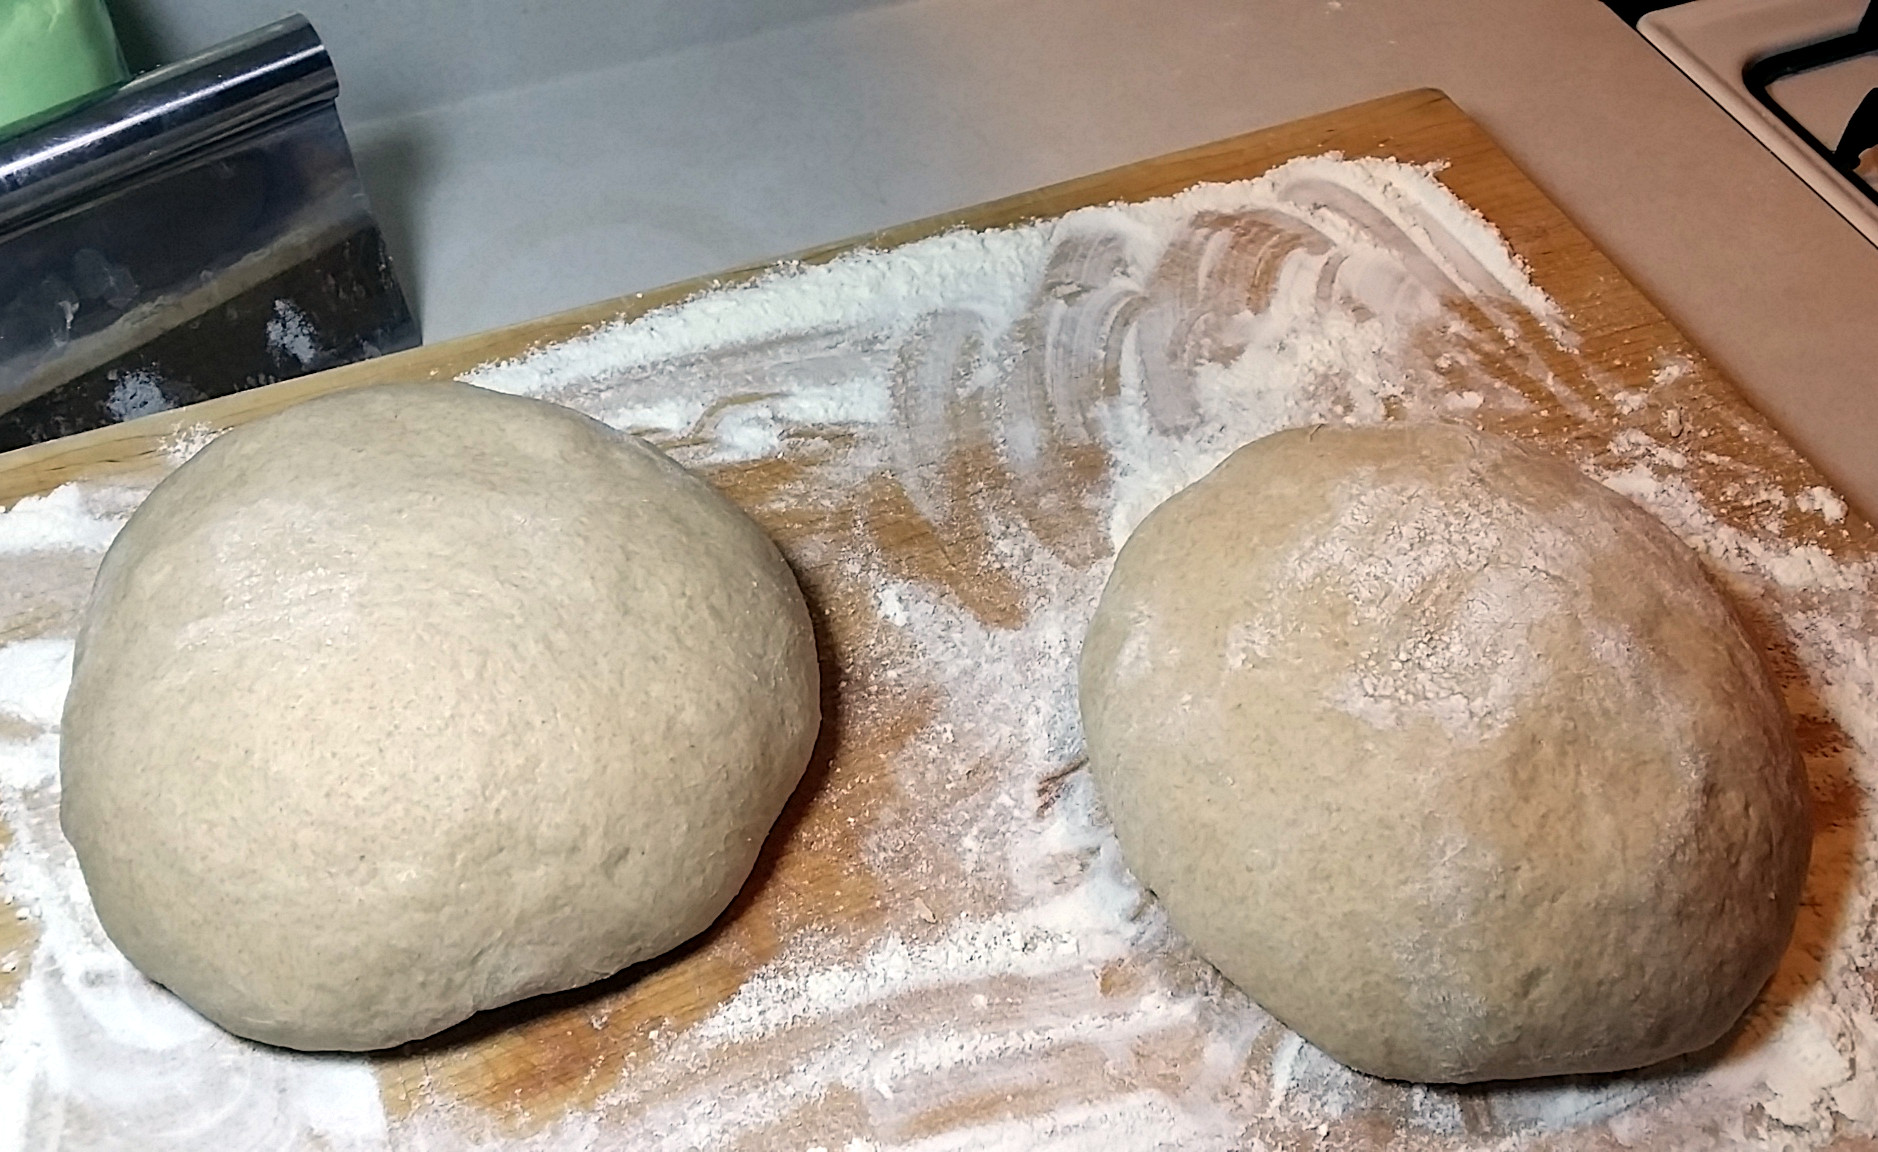 I then placed the blobs in proofing baskets, which I had dusted with large amounts of flour. The blobs fermented for another two plus hours, covered with a cloth.


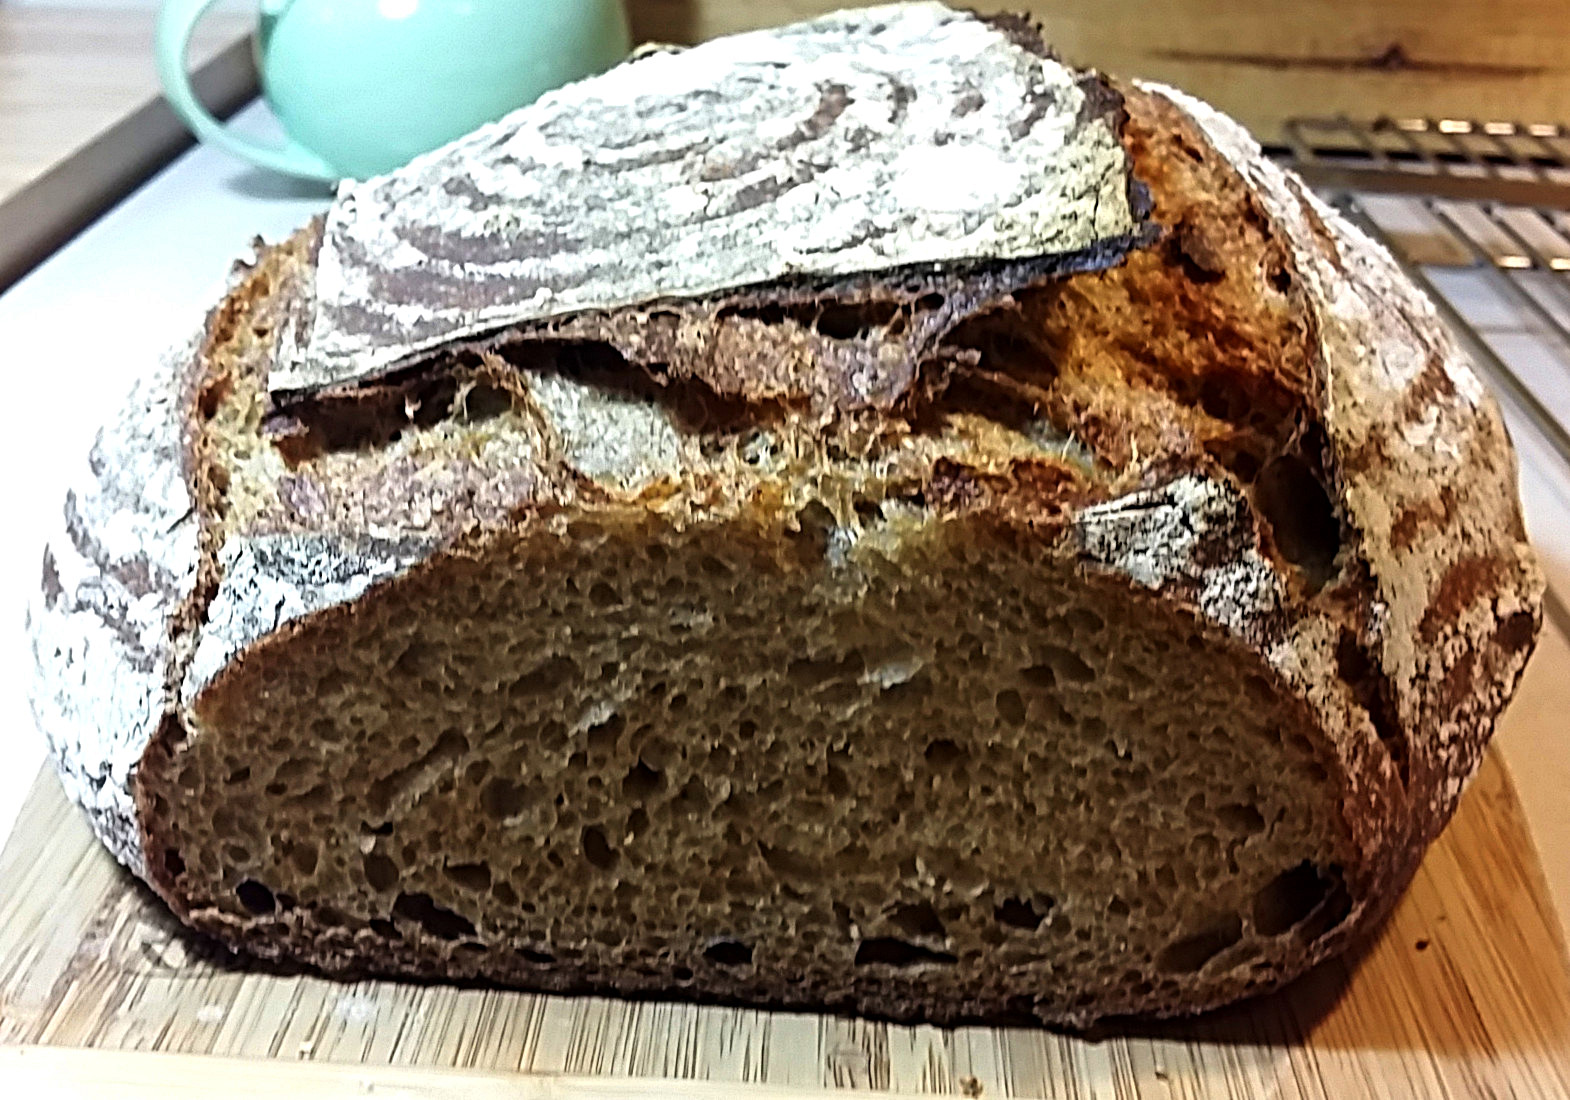
Just before baking in my Dutch oven, I scored the loaf tops with a razor blade. The blade works so well for this purpose. I can’t manage to score dough well with a kitchen knife.

Each loaf came out at about 1 pound (at least). The one of the left is a bit bigger (see below).

Only one more bread picture, I promise…
When people hear I live (nearly) plastic-free and zero-waste, they may imagine I live a dreary, monkish life of self-deprivation and self-flagellation. It’s just not true. I’m not a huge consumer, so the biggest lifestyle changes have come from the kitchen. Giving up processed “food” isn’t a sacrifice, it’s a blessing. It simply cannot compare with the real food I make myself. And what a pleasure it is to bake, share and eat this bread.
I’m making another leaven tonight, as we polished these loaves off in a few days. I hope tomorrow’s turn out as well. I promise I won’t post pics 🙂
Here is to a new year round the corner filled with lovely loaves and an array of deliciously fermented foods! M-A Djeribi
That’s a great way to start off the year! Happy new year 🙂
I let my previous starter die (!) but I bet if I named her, I would feed her regularly. Will work on a starter, and a name, in the next few days 🙂
I let my first starter die. She wasn’t very lively but I think that was probably my fault. Good luck with your starter and a name. Mine is named after Eleanor of Aquitaine 🙂
Wonderful! I’m gonna try this soon and post photos of it too! 😀 hahaha.. Merry Christmas!
Great! It’s delicious bread. Merry Christmas and happy new year 🙂
There is nothing like fresh baked bread.
I agree. Even when it doesn’t turn out as well as you’d like, it’s still pretty good.
Way to go! Wishing you a healthy, happy and wise new year.
Thank you. I hope you have a wonderful 2015 also.
Looks great! Just started reading that Pollan book, now looking forward to the bread bit 🙂 Thanks for sharing
You’re welcome. Thanks for the comment. I loved the book and refer to it constantly. I should probably photocopy the recipe in the back before I completely cover it in flour and dough. Happy reading 🙂
Babies and bread, I love them both. Thanks for sharing!
I need a picture of a baby eating my bread 🙂
Thanks for the comment and happy new year!
You do need a picture like that 🙂
Happy New Year to you! Looking forward to more of your posts in 2015!
Thank you. I look forward to more of yours too 🙂
Happy holidays:-) have tasted it many times but never tried.. Ur recipe looks inviting will try soon
looks good, no starter operating here at present but I am able to buy a good home madeish sourdough called the honor bread…
you are an inspiration…. still way too much plastic in my life
oh well work in progress…
sandra
Thank you! Lucky you can buy sourdough where you are. Most of the bread here is pretty terrible. You’re an inspiration in your hut in the woods! One day…
Happy new year!
That looks awesome! Hope you’re having a great holiday season and new year 🙂
Thanks Chris. The bread was delicious. I hope you’ve had a good holiday too. Happy new year!
The bread looks great! Quick question: I noticed you used two large, clay bannetons to rise the loaves. May I ask where you got them? I’ve been looking into buying some but I can only seem to find wicker ones. Thanks!
Thank you! Those bannetons are actually made out of a wicker-like material. They may look like ceramic because I have encrusted them with flour. I bought them at Sur la Table. They work really well but I would like to try proofing the bread in bowls lined with towels dusted with a lot of flour. A few people have asked me to teach a sourdough workshop and I don’t want them to have to buy a pile of expensive equipment (like I did!) to make this bread at home. Have you made sourdough without the baskets?
I haven’t actually made sourdough properly before (my starter died early on the first time I tried, and I haven’t gotten around to making a new one.) I have made bread using a ferment from the last batch, but usually I just make basic yeast bread. The recipe I’m using at the moment has two proves, the first I do in a glass bowl and the second in the bread tins. I’m looking into buying some bannetons online, as well as a baking stone, so I can make nice freeform loaves.
I have never tried baking this bread in tins (although that’s how I had always made yeast bread before I started making sourdough). I should experiment and see what happens if I try that. I would love to do a freeform sourdough loaf too. Thanks for the info and happy new year 🙂
No problem and a happy new year to you too!!
My goodness, that bread is BEAUTIFUL!
Thank you! It’s a joy to make.
Hier ist unser Roggenvollkornbrot:
Roggenvollkornbrot mit Sauerteig
Sauerteigherstellung
Grundansatz
Tag 1
100gr Roggenmehl und 100ml lauwarmes Wasser (30-40°) verrühren
Schüssel zudecken
24-48 Stunden an einen warmen Ort stellen
Tag 2
100gr Roggenmehl und 100ml lauwarmes Wasser zu der Mischung geben, alles wieder verrühren und 12 Stunden abgedeckt stehen lassen
Tag 3
200gr Roggenmehl und 200ml lauwarmes Wasser zugeben, verrühren und 12 Stunden stehen lassen wie gehabt.
Sauerteig fertig
Vorteig
erst 2-3 Esslöffel vom Sauerteig in ein Glas füllen und mit Mehl bestäuben, im Kühlschrank für den nächsten Backtag aufbewahren
375 Roggen-Kümmel-Koriander mahlen und mit
ca 50gr (2-3 Esslöffel)Sauerteig vom letzten Ansatz ,2Teelöffel Honig
Buttermilch (auf 30-40°)erwärmen
alles verrühren
12 Std an einen warmen Ort zugedeckt gehen lassen
Brotteig
Zum Vorteig ein Esslöffel Salz -Wasser (lauwarm) -Roggenmehl zugeben bis ein sehr weicher Teig entsteht
Zwei Stunden zugedeckt gehen lassen.
In Kastenformen füllen
nochmals 1 Stunde gehen lassen
Ofen auf 250° vorheizen
Schale mit Wasser in die Backröhre
die Brote 1 Stunde zugedeckt(Alufolie) backen lassen
Folie entfernen und nochmals 1Stunde bei 185° zu Ende backen
Thanks for the recipe. It sounds like you mill your own flour. I want to start doing that but don’t know what kind of mill to buy. What model do use? How do you like it?
Guten Tag, es ist eine Mühle der Firma Jupiter,jedoch schon sehr alt,aus dem Jahr 1984. Aber die Mühlen von Bekannten (andere Modelle sind auch alle gut)
Thank you! Old is good 🙂 I will look for that brand.
What is the oven temp and amount of time?
I wrote another post with more directions Kristi: http://zerowastechef.com/2015/09/17/sourdough-bread/
The short answer is 450 degrees and 40 to 45 minutes. If you bake it inside a Dutch oven, 20 minutes with the lid on and 23 or so with the lid off.