My kids love smoothies. They make them with yogurt, milk, bananas and frozen fruit. The other day, when I looked in the freezer, I found a plastic bag of frozen fruit from the grocery store. Ugh! I don’t have all that many rules here. But no plastic is one of them. So, no drugs in plastic baggies. Well, okay, actually, no drugs.
The bags of frozen fruit are really unnecessary, especially with summer nearly here, and we can once again enjoy the strawberries, raspberries, apricots and other seasonal, organic fruits from the farmer’s market. Plus, I planted a cherry tree about ten years ago in the backyard of MK and Charlotte’s dad’s house. And this year it has had a bumper crop!


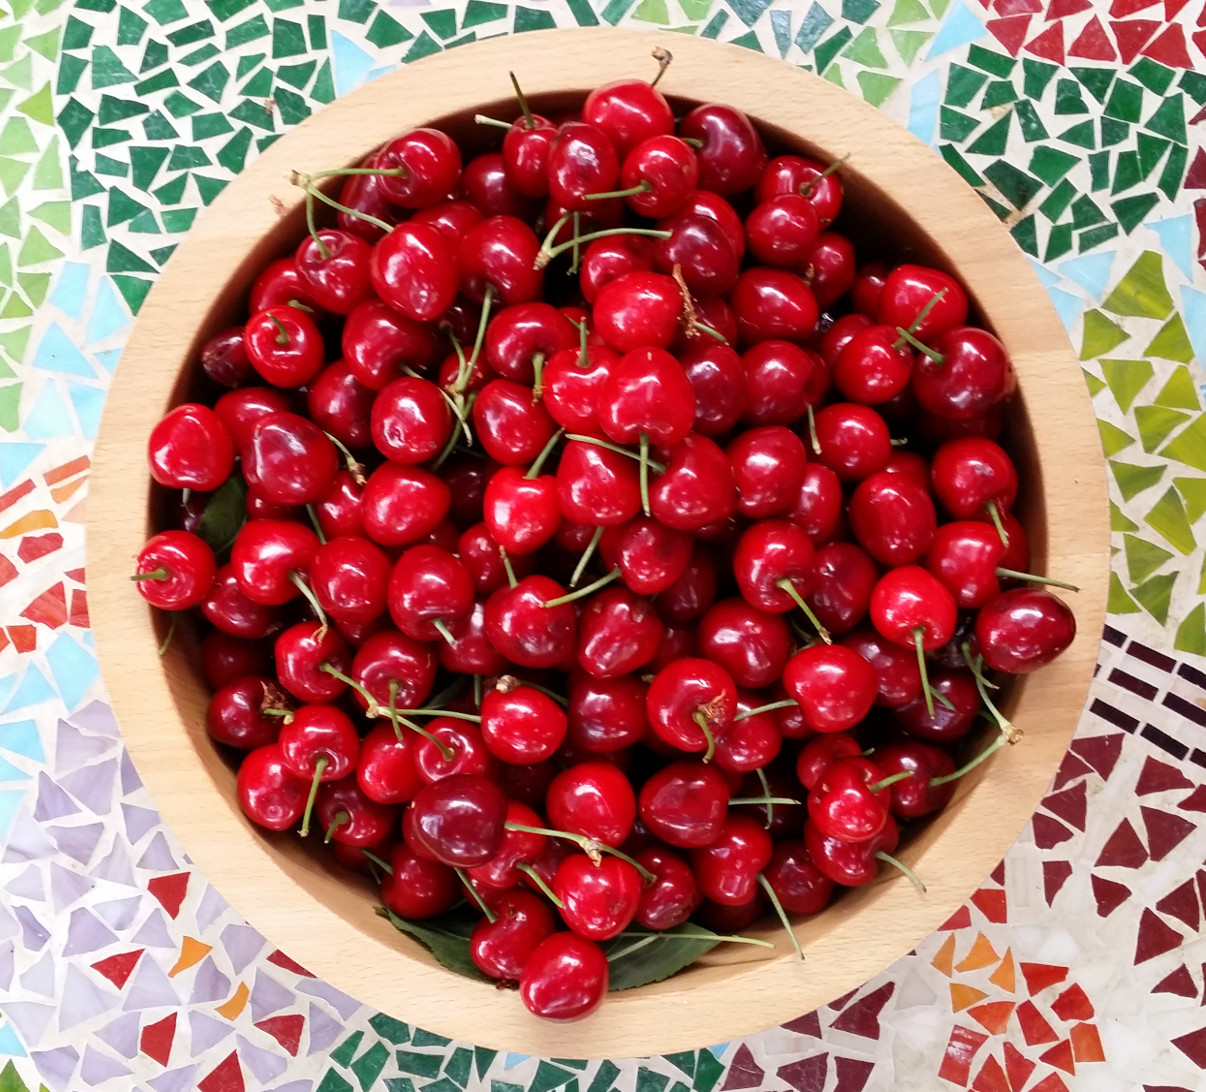
MK brought home a huge pile of cherries on Thursday. OMG they were so delicious—sweet and juicy and freshly picked. And this large harvest made just a small dent in the tree’s bounty. (We need to get the rest of the cherries before the birds do!)
Because fresh fruit goes bad fast, I had to do something with these cherries quickly. When I buy strawberries at the market, I clean, cut and freeze at least half of them since we can’t possibly eat them all before the flavor and nutrition deteriorates (and yes, freezing also does destroy some of that, but our market operates only once a week, so I have to do my best and stock up). But freezing all of these cherries meant I had to pit all of these cherries. And I had no idea how to do that. So I did a quick search and found a solution. (I’m convinced—if I think I need to buy something, I should always Google it first. I often find a free fix.)
Directions

1. If you don’t have a cherry pitter, make one out of an inexpensive fork following the clever instructions in this video. With pliers, you just bend the outside prongs all the way over and down at their base, and make little hooks at the top of the inner prongs. My cherry pitter looks like a mediaeval torture device. Or something from the dentist’s office.


2. Plunge your cherry pitter into the fruit, pull it out and pop the cherry pit.

3. Arrange your pitted cherries in a single layer on a cookie sheet. I freeze fruit this way rather than plopping it en mass in a container so it doesn’t turn into one big frozen lump that makes separating pieces of fruit difficult. Cherries won’t stick together like strawberries or mango chunks, but I froze them this any way just to be safe.

4. Put your tray of fruit in the freezer.

5. After the fruit has frozen, transfer it to reusable glass or metal containers and place them back in the freezer. (I’ve had that plastic container you see under the jars of cherries since before I went plastic-free. The rule is no new plastic.) I actually had way more cherries than this. But while I was at work on Friday, MK stole them to make…

…this pie! So much for cutting my sugar consumption. This was the best cherry pie I have ever tasted in my life. MK used the filling recipe from the Joy of Cooking and the pie crust recipe from the Complete Canadian Living Baking Book (I miss that magazine). I’ll post the recipe another day. I had a slice of this for breakfast this morning. After eating more fresh cherries.
You can use this method to freeze any type of fruit. It cuts down on waste and helps you easily preserve a large amount. We almost always gobble up the frozen fruit within a month, but it will stay good in the freezer for about six months.
Mmm! So yummy!
The cherries were yummy, the pie, gone.
Pie looks amazing, I can almost smell it! Love the red cherries, makes me excited for Summer.
Thanks! The pie was amazing. I’m looking forward to summer too 🙂
Amazing and simple! Bet it works with olives too – my daughter loves them. And pitted olives are not nearly as good. I can’t wait to try this idea!
:O I have never tried it on olives! What a brilliant idea. Thank you! I must try that. I think you’ll be amazed at how well the pitter works on cherries (and hopefully olives).
There’s a pin on Pinterest on how to pit cherries using a vastly easier method than having to struggle with bending a fork all to pieces; just take a metal paper clip–not one that’s coated with vinyl–bend it into an ‘S’ shape (half straightening it), then push one end into the stem end of the cherry, twist it, and out pops the pit without losing much of the juice. I live in the cherry capitol of the world, and have been pitting cherries for over 60 years; this method–not thought of by me, but now I use it–is the easiest ever, and is better than store-bought pitters, and certainly better than destroying cutlery.
I’m glad you’ve found a method you like. I haven’t destroyed a fork. I have transformed it into a useful tool that I use every summer to pit my homegrown cherries.
[…] pitted the cherries, as it seemed easier on the eating front! I used a home-made cherry pitter to start with, as suggested by the Zero Waste Chef, but must admit that although it worked, I found it a bit fiddly. And although there’s a learning […]