
Click here to go straight to the recipe.
Making yogurt takes a bit more work than making buttermilk, but it’s still very simple. You need yogurt with live cultures to get started, but once you have yogurt, set some aside to make the next batch and continue the cycle perpetually (or at least for many months, even years).
Most of the yogurt in the grocery stores comes in plastic containers. I avoid all food packaged in plastic. Even if plastic does wind up in the recycling bin, it gets downcycled, not recycled, meaning it degrades after each reincarnation, until it ends up in the trash (not exactly nirvana). Plastic also leaches chemicals into food. By making yogurt yourself, you’ll cut down on waste and exposure to BPA and just-as-harmful BPA alternatives.

Ingredients
- 4 cups organic whole milk in a returnable glass jar
- 1/2 cup organic whole yogurt with live cultures
The glass jar and lid from the yogurt does produce some waste. You can’t recycle the lid. St Benoit used to sell its yogurt in returnable jars but recently changed to the type in the picture above. But if I don’t let this culture die, I won’t have to buy yogurt again. The milk does have a plastic lid, so that results in some waste. I wish I had a cow…
Measure the yogurt out before you start so it can warm up to room temperature. You will add this to warm milk and so don’t want to plop very cold yogurt into warm milk and lower the overall temperature. Nothing horrible will happen. It just might take your yogurt a little longer to culture.
Directions

1. Pour milk into a heavy pot. Cream from my whole milk has melted here, causing those yellow blobs of fat to form. I eat fat. Fat is good for you.
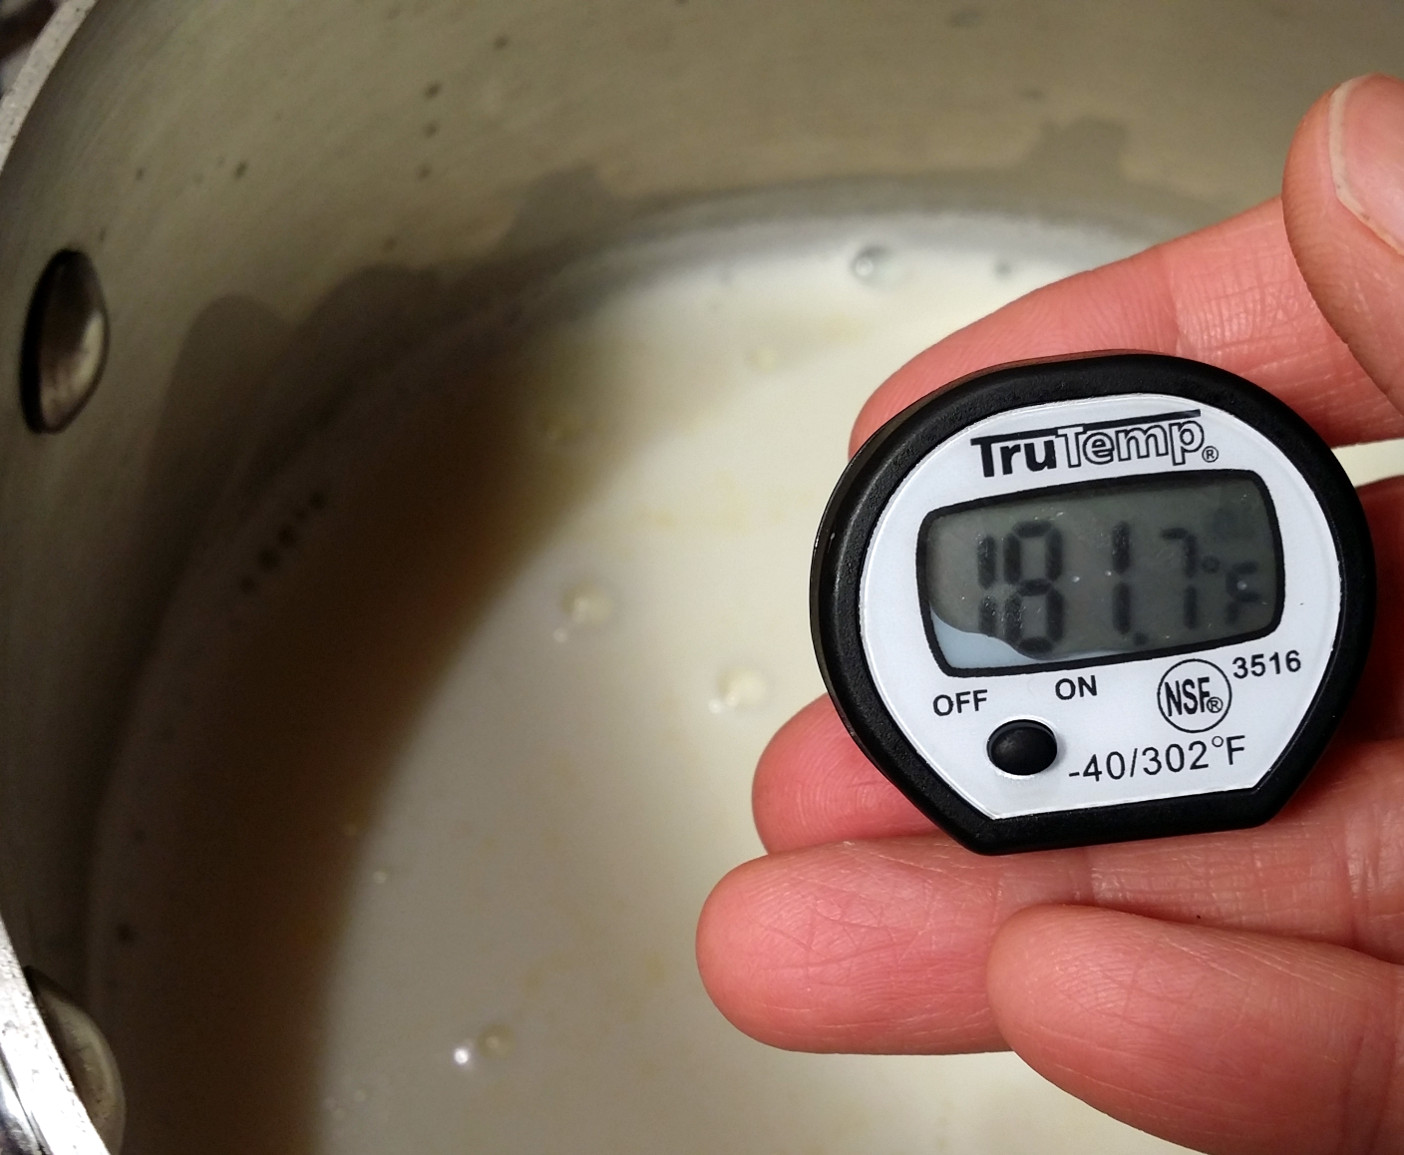
2. Slowly heat milk to 180 degrees over medium-low heat, stirring frequently to avoid scalding it. Heating the milk results in thicker yogurt by altering the milk protein casein, and by concentrating the milk.
Mine went over a bit. It’s hard to take photos and stir and hold a thermometer and hit 180 degrees on the nose.

3. Wait for milk to cool to 110 degrees. This seemed to take a while (twenty minutes?), probably because I was waiting to get this shot of the thermometer.

4. Stir yogurt into milk.

5. Cover the pot with a lid or transfer liquid to a shallow, covered dish. Put in a warm place overnight. My oven has a pilot light, which keeps things toasty but not hot.
That beige bubbling goop in back left is my sourdough starter. If you’ve read my blog or have spoken to me for more than five minutes, you may know that I make bread from wild yeast. I’m basically obsessed.

In the morning, you should have yogurt.

6. Transfer your yogurt to a glass jar and refrigerate. I yielded about 3 1/2 cups. It was runny but it will thicken when chilled. If you want it even thicker—like Greek yogurt—just strain it (see below).
Variation: Greek Yogurt
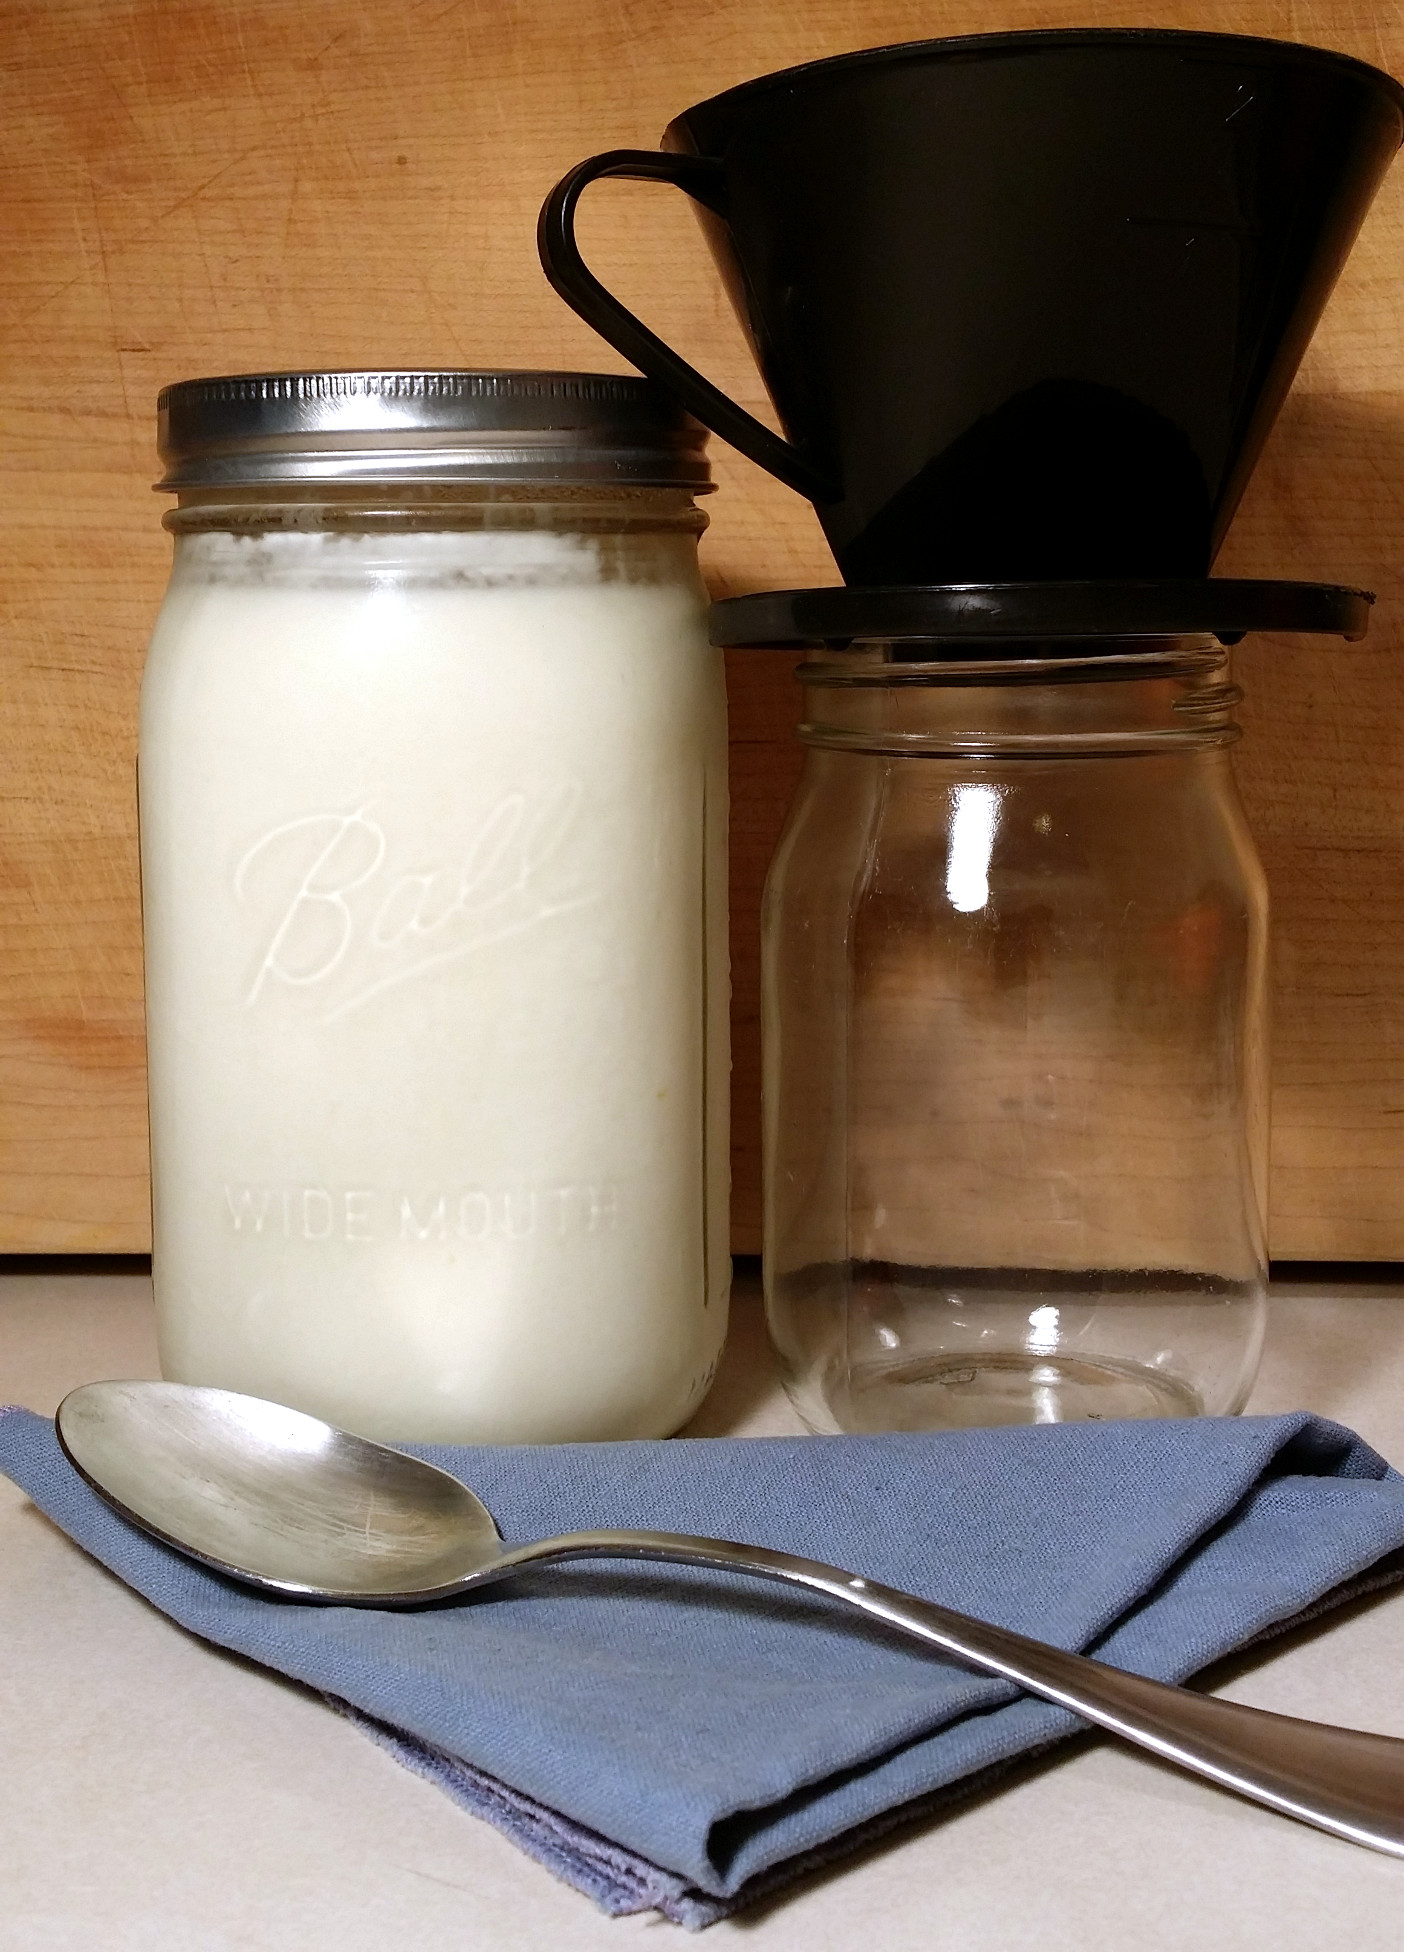
You’ll need something to strain the yogurt in—a sieve lined with cheesecloth or a coffee filter cone lined with a thin cotton cloth. I use the latter. (Alas, my coffee filter cone is made of plastic. I acquired it before I stopped buying plastic. I don’t use it for coffee though—plastic and hot water don’t mix. I actually don’t drink coffee, just vats of tea.) And you’ll need a container to catch the whey that drips out of your yogurt. Once you have your equipment assembled, just follow the instructions below.

1. Place the coffee filter or other strainer over a jar or container. Line it with your cheesecloth or other thin, loosely woven fabric. Pour in the yogurt. I used about 1/2 cup.

2. Wait for yogurt to strain. I covered my yogurt with a small plate after I took my photo. I had a bunch of whey after only a few minutes. You can use this whey, filled with probiotic goodness, to kickstart a ferment such as beet kvass or fermented salsa.

After about an hour, my yogurt had thickened substantially and I had collected quite a bit of whey. If you keep straining, you’ll eventually get yogurt cheese.

Save your whey! It’s full of microbes you can use it to kickstart a fermentation, such as sauerkraut, kimchi, pickled cucumbers, beet kvass, pickled garlic, pickled beets, relishes, chutneys (I’m getting hungry)—all sort of foods! You can add it to sourdough starter too, although I have yet to try this myself. It’s on my to-do list.
When I have neglected my yogurt and need yogurt to make yogurt (and to eat yogurt), I buy local St Benoit. Made from Jersey cow milk, it comes in a glass jar rather than plastic, and tastes sooooo good. It lasts about four weeks in the refrigerator, so I assume that’s how long mine lasts too. We usually use it up before then.
Enjoy your yogurt!
Zero-Waste Yogurt
Yields approximately 3 1/2 cups
Ingredients
- 4 cups whole milk
- 1/2 cup whole yogurt with live cultures
Directions
1. Pour milk into a heavy pot.
2. Slowly heat milk to 180 degrees over medium-low heat, stirring frequently to avoid scalding it.
3. Wait for milk to cool to 110 degrees.
4. Stir yogurt into milk.
5. Cover the pot with a lid or transfer liquid to a shallow, covered dish. Put in a warm place overnight.
6. In the morning, transfer yogurt to a glass jar and refrigerate.
7. To make Greek yogurt, strain yogurt in a coffee filter cone or sieve lined with cheesecloth or other thin fabric, and place over a container to collect the whey. Set aside for an hour or more, until yogurt has reached your desired consistency.
I love making my own yogurt! I just wish they had a non-plastic starter where we live.
It’s hard to find yogurt in glass. I’m trying to keep this culture alive for as long as possible to cut down on the packaging (plus, like you, I enjoy making it 🙂 Have you tried Cultures for Health? It carries a lot of different starters. I’ve never tried one myself but my daughter has for kefir.
[…] making it. I’m planning on combining a number of recipes I’ve seen including here and here. I’ll still be buying milk in plastic for now (but researching alternatives) which means if […]
[…] my own yoghurt will save us a lot of money and a lot of plastic and I’m sure I can do it. This great tutorial from Zero Waste Chef will be essential (I probably need to start by buying a new […]
Is it really necessary to heat the milk to 180 degrees?
Hi Aggie. That is how I have always made it. From what I understand, the consistency turns out better if you heat up the milk first. I found this blog that says you can likely just heat it to 110 and keep the temperature steady, skipping the step of heating to 180 first: http://www.nwedible.com/do-you-need-to-heat-milk-for-yogurt-making/ If you try that will you please let me know?
That is a great discussion that you found! Ok, will try it with both ways – eventually – and report back. It might be necessary to heat to remove some other creatures from my raw milk. Thank you so much!
Thank you, Aggie!
I like that line of yours: I eat fat. Fat is good for you.
I love the cream on top of the Strauss milk. I put it in soups or on a slice of bread or in my granola or I just eat it without anything else. So good!
I’m going to digg through your recipes of fermented foods, now that I’ve got first experiences with whey. Fermented ketchup turned out delicious.
Mmm, Straus milk fat. My kids used to fight over it when we opened a fresh bottle of milk! I just used some whey from yogurt to kickstart a batch of salsa. I love that you get a bunch of whey from making yogurt. It’s so useful. Let me know if you have questions about fermenting. I am obsessed! It’s so fun, healthy and delicious. I am convinced that anyone trying to simplify their live will eventually stumble onto fermentation. Enjoy!
Hello, thanks for sharing this. Any ideas why the yoghurt would be slightly stringy, gooey?
You are the second person to ask me that so I looked it up. On the Nourished Kitchen website, I found this:
“Why is my yogurt foamy/stringy and why does it smell like beer/bread?
If your yogurt is foamy, stringy or smells yeasty like beer or bread, it is likely contaminated by yeast. This can be yeast from baking, or wild yeast naturally present in your home and on your hands. To prevent it from happening, make sure to practice good hygiene in the kitchen, using clean equipment. Also, avoid baking yeast-based breads (including sourdoughs) on the day you make yogurt to avoid cross-contamination.”
That page has some great yogurt troubleshooting tips: http://nourishedkitchen.com/troubleshooting-homemade-yogurt-questions/
I have a tip for you. I don’t like strained yogurt, but I don’t like runny yogurt, either. If you keep the milk hot for a couple of hours before you allow it to cool, the yogurt is much thicker, with an almost jelly-like springiness. I don’t mean evaporating the water out, either– I do this in a crock pot and it doesn’t reduce. Someone explained why this works to me– something about proteins denaturing and making a matrix that holds the whey in or something– but I’ve forgotten the details. However, it really does work! I typically do it like this– put milk in the crock pot when I come home from work, turn it on high. When it gets to about 180 degrees, turn it down to low. Let it stay there for a couple of hours. Just before bedtime, I cool the milk (I have a comical array of techniques for speeding up the cooling because I always forget to start early enough– an ersatz radiator made of stainless-steel straws, pouring it back and forth between bowls, and if I’m really trying to hurry, setting the bowl on a block of ice). Then I inoculate it and put it in a camping cooler, wrapped in towels, with a couple of mason jars full of boiling water to keep it warm. Then I go to bed. In the morning, I have thick, very mild yogurt.
Thank you for the tips, Sadie. I like your resourcefulness! I do have a crockpot and have thought about making it in there but never have. I’ll have to give it a try the next time I make yogurt.
We are used to just drinking goat milk, but I can’t find goat yogurt here (in Costa Rica), so I was wondering whether it would work to use goat milk in combination with cow’s yogurt????
Hi Iris. Yes you can! My neighbor has made goat yogurt using cow yogurt to start it. She said it works but the goat yogurt will have a thinner consistency than the cow yogurt. But if you eat only goat yogurt, you probably already know that 🙂 So if you try this, you’ll have to use cow’s yogurt just once in the first batch and then you’ll use your homemade yogurt from then on.
Any chance this recipe could be adapted with soy yogurt and soy milk? Or any other non dairy options ? Thanks so much!
I’ve been making yoghurt in the crock pot for about six months, works a treat even though we can only get uht milk. Since finding your blog (a week ago) I’ve made ricotta cheese twice, love it, buttermilk twice (I put it in a heated thermos and leave it 24 hours) my husband grew up drinking this when his mum would make soda bread (I stopped making soda bread as I just kept eating it^^) and am trying vinegar from Apple scraps 🙂 plus for once we harvested the olives from our two trees and are up to the brine stage. Oh and sourdough crackers, also irresistible, especially with the cheese…. Thanks a lot for the ideas 🙂
Wow that all sounds fantastic! I’m coming over for dinner 😉 I haven’t made soda bread in years and would love to try it with my buttermilk. Thanks for the idea and enjoy your olives!
I have a yoghurt question! I have been making my yoghurt for ages, but my recipe contains milk powder, which I can’t find bulk. I have trialled a couple of versions of it without the milk powder (heat milk to 80 degrees centigrade… sorry don’t know how that translates in Farenheit), cool down to 37 degrees, add yoghurt and keep overnight in thermos to thicken) but the liquids seem to separate and the texture is a mix of water and lumps. The result is beautiful if I put the mild powder, but I would like to stop using it. Any idea why my yoghurt can’t work without milk powder?
I am guessing it thickens it up Bernadette. What if you strain the yogurt for a little while after you make it? That might help. Then you’ll have whey left over with live cultures if you want to ferment something 🙂
Haha! I am trying to resist the whole fermentation temptation… I’ll never get out of the kitchen. (I know I will succumb eventually!) I’ll give the yoghurt another shot.
Sauerkraut is the gateway ferment. Once you try that, you’ll be hooked and there is no known cure for fermentation addiction 😉 Good luck with your yogurt. I hope you have better luck this time.
How do you know of your oven is warm enough?
Hmmm, that’s a good question. If there is pilot light on in there, it should be fine. My oven is probably around 90 or so. If you don’t have a pilot light in your oven, you could try using a heating pad on low if you have one. I haven’t made yogurt in a slow cooker but would love to try it. It’s supposed to work well. Mine might be too hot though.
I just tried this and came up with something like curds and whey. Not sure what I might have done wrong.The temp in my oven is about 94. A computer search said 110 to 115 was a good temp.Am straining the whey now. Is it good for anything?
Hi Nic. Yes the whey is useful! I made yogurt on Sunday and last night strained off some of the whey to use in place of water for tortillas. They were delicious! I’ve also used it in pizza crust. It works well in lots of baked goods. After you strain your yogurt, it should look more like yogurt but it does sound quite runny. Mine has quite a bit of whey pooled on the surface of a solid giggly blob of yogurt underneath. ~ Anne Marie
[…] Yogurt […]
[…] Yogurt […]
[…] as it didn’t cut down on plastic consumption. Now I have plastic free milk! I use the Zero Waste Chefs yoghurt […]
[…] Yoghurt – I often buy small flavoured yoghurts in glass jars at the supermarket, but the price adds up and unfortunately I can’t find large glass containers. If you can’t get yoghurt plastic-free, you could try making it at home. […]
Do you have a yogurt starter you recommend if I can’t get my hands on yogurt with live cultures?? My parter eats a lot of yogurt and I would love to make our own so we don’t have to constantly buy it in plastic!
Hi Elizabeth,
You can buy a yogurt starter at culturesforhealth.com. That shop sells all kinds of different starters–kombucha, kefir, sourdough. Happy yogurt making!
~ Anne Marie
Comment about the small glass yoghurt jars: I bought those too and now use them and my warming drawer with the proof setting to make yoghurt. I own 12 of those. As a starter I used St. Benoit and also once Strauss original plain yoghurt. Heat 900 ml to 180˙F, let cool to 110˙F. Add about 90 to 180g yoghurt. This makes 7 small jars of yoghurt and before eating the last jar, I will make the new batch and use that last jar to inoculate the new batch. Place jars in the metal warming dreaer container with the lid, leave over night or about 6 to 8 hours. In the morning I take them out and place a small piece of aluminium foil on top. I reuse the foil, just rinse , but there isn’t really any yoghurt clinging to it. Maybe in summer I will make some small wax cloth covers and use a rubber band to secure. I stack them two high in the fridge and feel the “lid” helps keeping them fresh and pure.
Hi Anne Marie!
Unfortunately for my starter I couldn’t find yogurt in a glass jar, so I bought plastic.
To your knowledge, is there any way to make this yogurt (or the new yogurt I made from it) live for a long time? I tend to make yogurt every other month or so, and I’m hoping not to buy a bunch of plastic yogurt cups to keep re-starting!
Let me know if you have any ideas 🙂
Alice
Can the same method be used to make almond milk yoghurt? Has anyone experimented in that way?
Hi Anne Marie, I have a daft question. Could you use the whey to innoculate the next batch rather than the yogurt? Thanks, your blog is great 😇😍
Siona
Hi Siona,
That’s a brilliant question, not a daft one! I haven’t tried it but I don’t see why not. The one thing I’m thinking is that the final product may be runnier than usual. But the whey will contain the necessary bacteria and yeasts for fermentation, so it should work. I MUST try this! Thanks for asking about this!
~ Anne Marie
Hi Anne Marie!
Have you experimented with Oat milk yogurt or Coconut milk yogurt ?
Thanks,
Melina
Hi Melina,
I have experimented with coconut milk yogurt. I used my own starter and haven’t had great results. I haven’t tried oat milk yogurt. That might work well because oat milk thickens when heated.
~ Anne Marie
Hi Anne Marie,
thanks for the great recipe, you’re my go to for simple clear instructions for food that tastes great (pumpkin daal is now a staple at this house).
I thought I would leave this tip here for your readers for getting thick yogurt. I heat the milk to 180 on the stove and then pour it immediately into a large thermos (love that I now have another use for this item that before I used rarely). I leave the lid off and wait for it to cool to 110 before adding my yogurt culture and sealing it. It takes a couple hours for the milk to cool to 110 which results in a very thick yogurt without any additional heating or really work on my part (except cleaning the thermos — that’s always a pain).
Ashley
Hi! I tried making this yogurt recipe and it totally failed. I followed the steps in the cookbook. I think the problem is that I our room was not warm enough. Do you or the readers have any tricks on how to keep it warm but not too warm? I was thinking of putting the pot on a heating pad on low over night and wrapping the pot with a towel so it’s not getting direct heat. Thanks for the help.